Frijol de Ojo Negro (Caupí)
El frijol de ojo negro (Vigna unguiculata) es una leguminosa de origen africano, reconocible por su característico punto negro en el hilum de la semilla cremosa.




En esta páginaResumen
Conoce Frijol de Ojo Negro (Caupí)
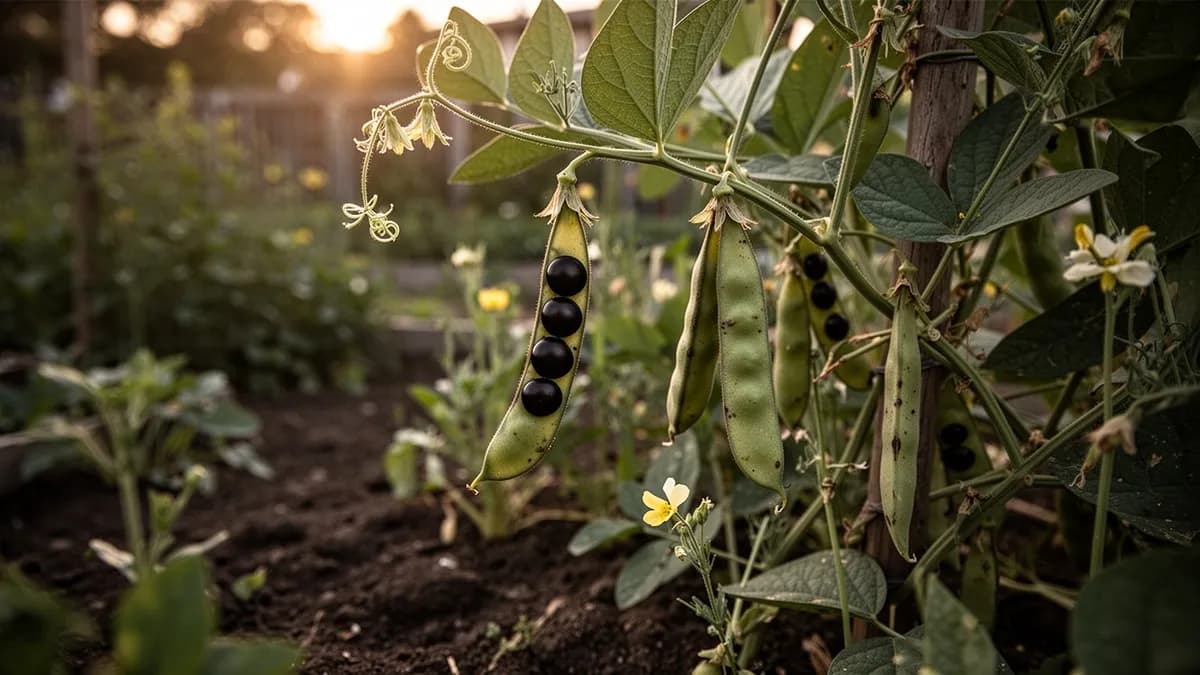
El frijol de ojo negro (Vigna unguiculata) es una leguminosa de origen africano, reconocible por su característico punto negro en el hilum de la semilla cremosa. Es extraordinariamente resistente al calor y la sequía, lo que lo convierte en un cultivo ideal para climas cálidos, y es un ingrediente esencial de la cocina del sur de Estados Unidos, África y el Caribe.
Cuándo plantar Frijol de Ojo Negro (Caupí)
Siembre directamente cuando el suelo supere 18 °C. No trasplanta bien. Plante a 2-3 cm de profundidad. Inocule con Rhizobium específico para Vigna. Germinación rápida en 5-8 días. No remoje las semillas.
Tu año de Frijol de Ojo Negro (Caupí)
Ajustado a Zona 7 · temporada típica · la helada se va hacia el 2 abr y vuelve hacia el 1 nov
Planta Frijol de Ojo Negro (Caupí) May – Jul y cosecha Ago – Oct. Consulta los métodos de plantación y elige tu clima para adaptar los periodos.
Cómo cultivar Frijol de Ojo Negro (Caupí)
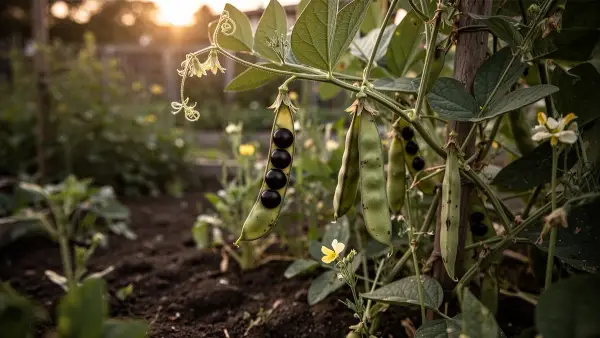
Siembre directamente cuando el suelo supere 18 °C y haya pasado todo riesgo de helada. Plante a 2-3 cm de profundidad, espaciando 8-10 cm entre plantas en filas de 60-75 cm. Las variedades arbustivas alcanzan 45-60 cm y no necesitan soporte.
El caupí es notablemente tolerante al calor y la sequía, prosperando donde otros frijoles fracasan. Riegue moderadamente con 2-3 cm semanales; las plantas maduras toleran periodos cortos de sequía. Evite el riego excesivo que favorece enfermedades fúngicas.
Como leguminosa, fija su propio nitrógeno y no necesita fertilización nitrogenada. Aplique un abono bajo en nitrógeno y rico en fósforo al inicio de la floración. El caupí es uno de los cultivos más fáciles y gratificantes para principiantes en climas cálidos.
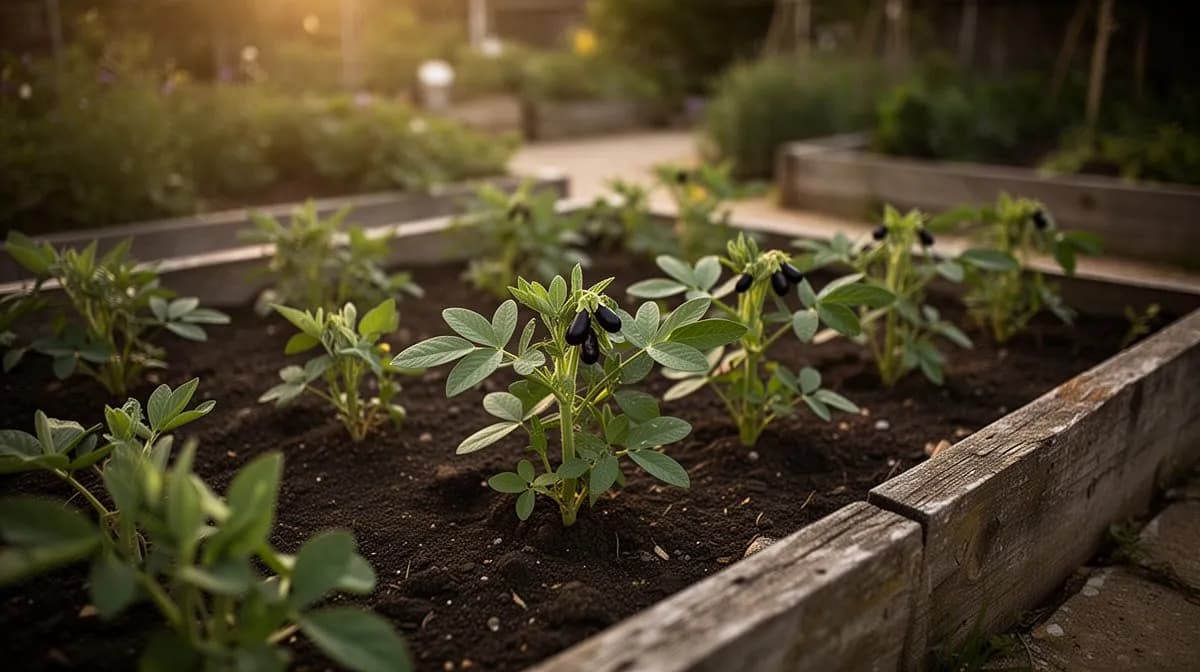
128 plantas caben en un bancal de 120 × 240 cm
Cada Frijol de Ojo Negro (Caupí) pide 15 cm de margen. El planificador guarda ese marco por ti — cada planta, cada bancal.
Los mejores vecinos de Frijol de Ojo Negro (Caupí)
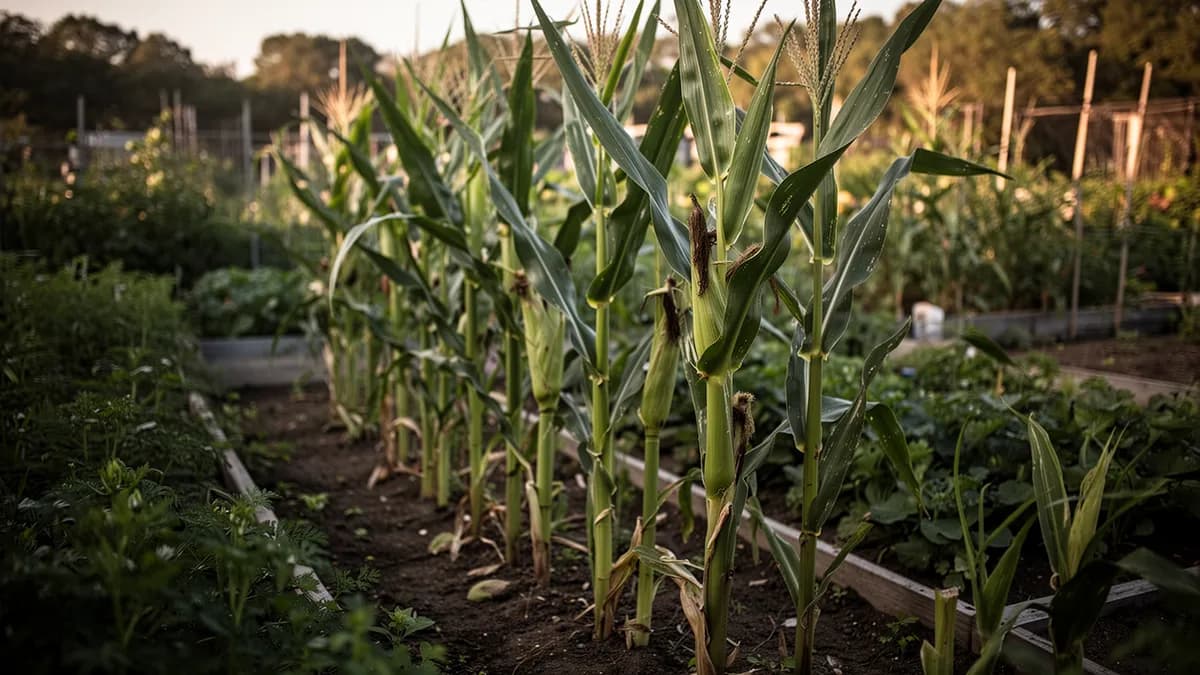
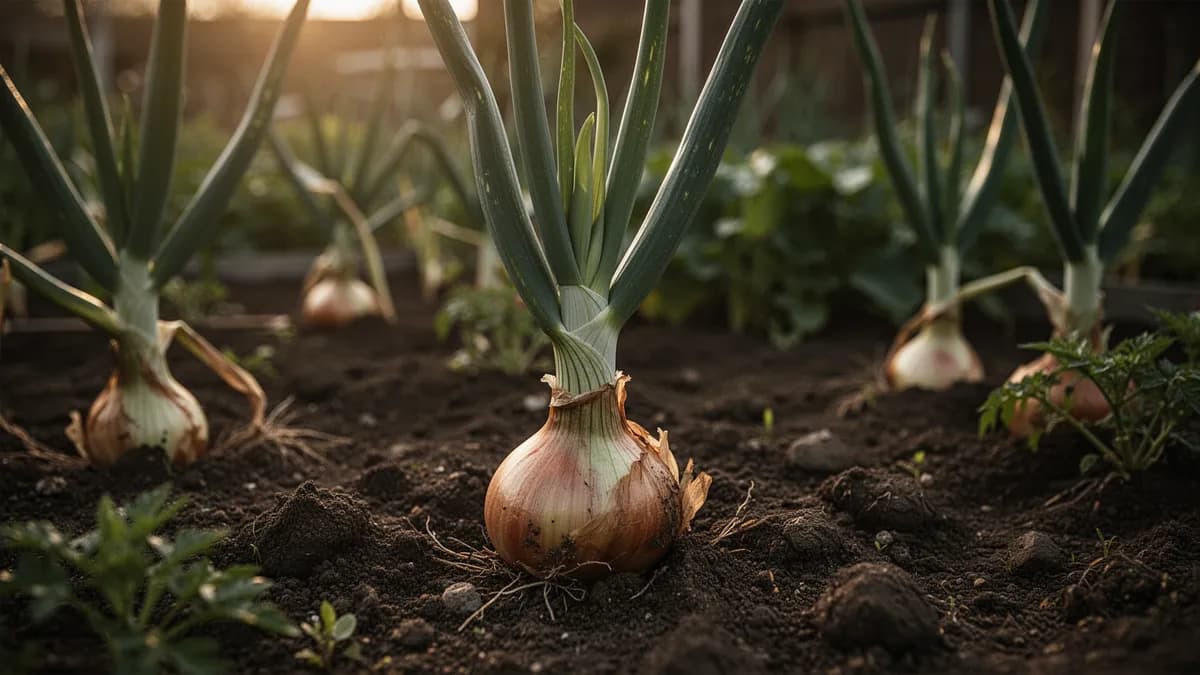
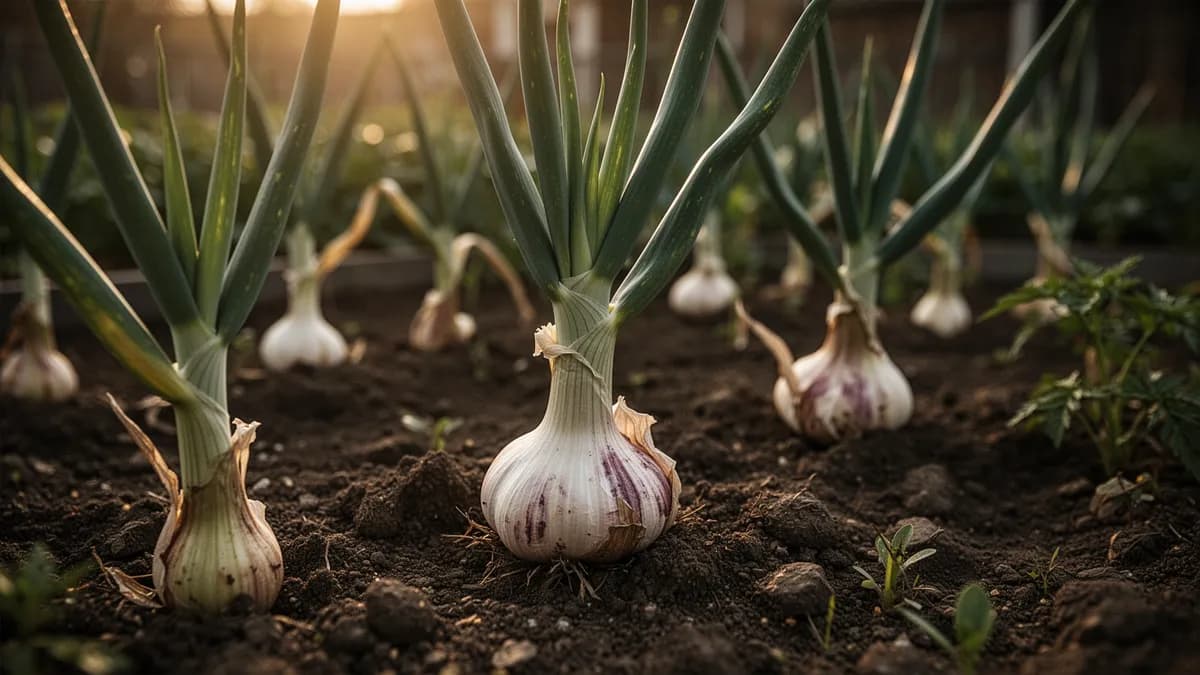
Crecen bien junto a maíz, calabazas y okra. Como leguminosa, fijan nitrógeno que beneficia cultivos vecinos. Los girasoles pueden servir como soporte para variedades trepadoras. Evite plantar junto a ajos y cebollas.
Maíz va a su lado. Cebolla no.
Saber de huerto de siempre, cotejado con la tabla real de Frijol de Ojo Negro (Caupí) — prueba cualquier planta que cultives.
Prueba Frijol de Ojo Negro (Caupí) en un bancal, aquí mismo
Un bancal real del planificador con Frijol de Ojo Negro (Caupí) ya plantado. Toca una planta compañera para colocarla y mira cómo responde la comprobación de vecinos: verde para buenos vecinos, rojo si hay conflicto.


Guías de cultivo relacionadas
Abónalo bien
Suelos bien drenados de cualquier textura con pH 5,5-7,0. Muy tolerante a suelos pobres y ácidos. Como leguminosa fija nitrógeno; no fertilice con nitrógeno. Aplique fósforo y potasio moderados.
Temperatura ideal
Compatibilidad de zonas de rusticidad
De la semilla a la cosecha, etapa por etapa
Germinación
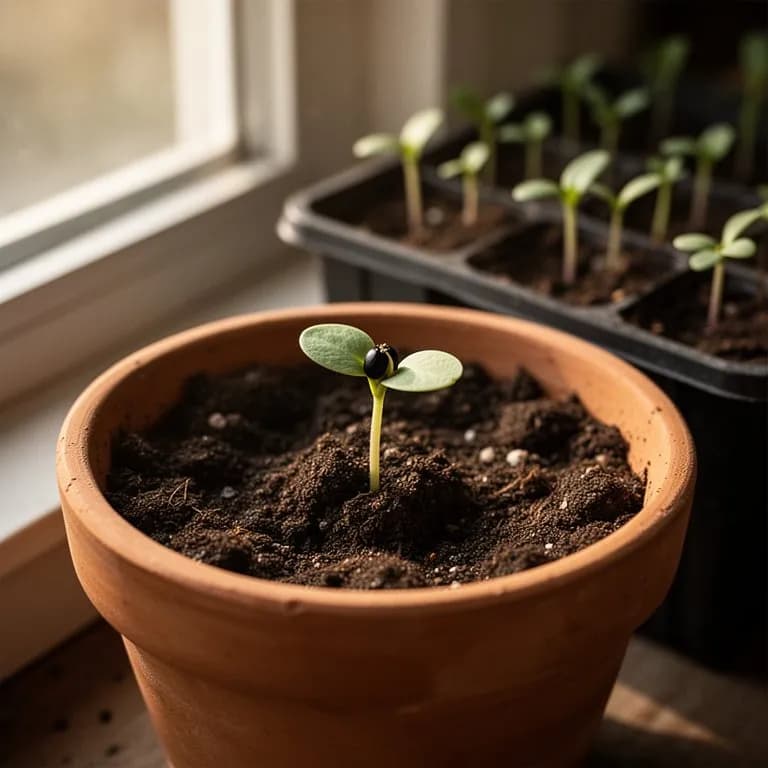
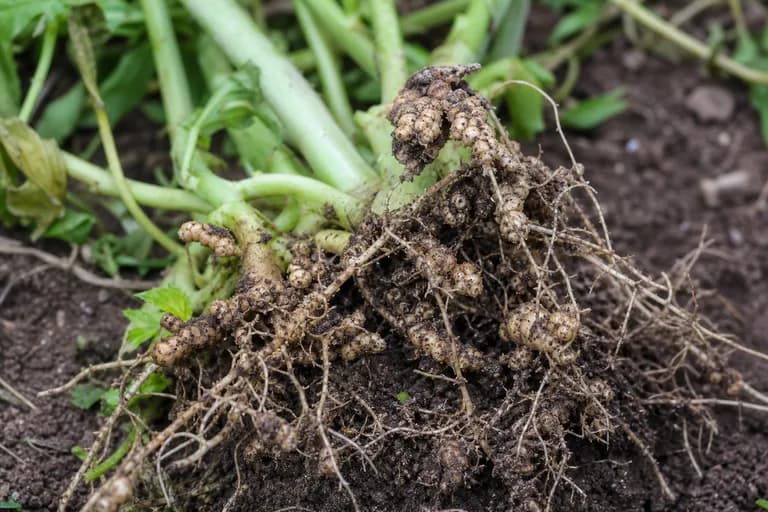
Las semillas se hinchan y germinan rápidamente en suelo cálido, enviando un hipocótilo robusto que eleva dos cotiledones grandes y carnosos por encima de la superficie. La raíz principal se fija rápido y empieza a formar pequeños nódulos rosados o blancos donde las bacterias Rhizobium fijadoras de nitrógeno colonizan las raíces. La germinación requiere temperaturas del suelo de al menos 18°C y suele tardar de 5 a 10 días.
Desarrollo de plántula
Las primeras hojas verdaderas trifoliadas se despliegan, cada una compuesta por tres foliolos anchos y puntiagudos sobre un pecíolo corto. El sistema radicular se expande rápidamente hacia abajo y los nódulos fijadores de nitrógeno quedan bien establecidos. Las plántulas toleran el calor desde una etapa temprana y crecen notablemente más rápido a medida que las temperaturas superan los 27°C.
Crecimiento vegetativo
Las plantas crecen con vigor en clima caluroso, formando un dosel frondoso de hojas trifoliadas que sombrea el suelo y suprime de forma natural las malas hierbas. Las variedades arbustivas permanecen compactas, con una altura de 45-60 cm, mientras que los tipos semirastreros comienzan a extenderse. La fijación de nitrógeno alcanza su máxima eficiencia en esta etapa, enriqueciendo el suelo para los cultivos posteriores.
Desarrollo de las vainas
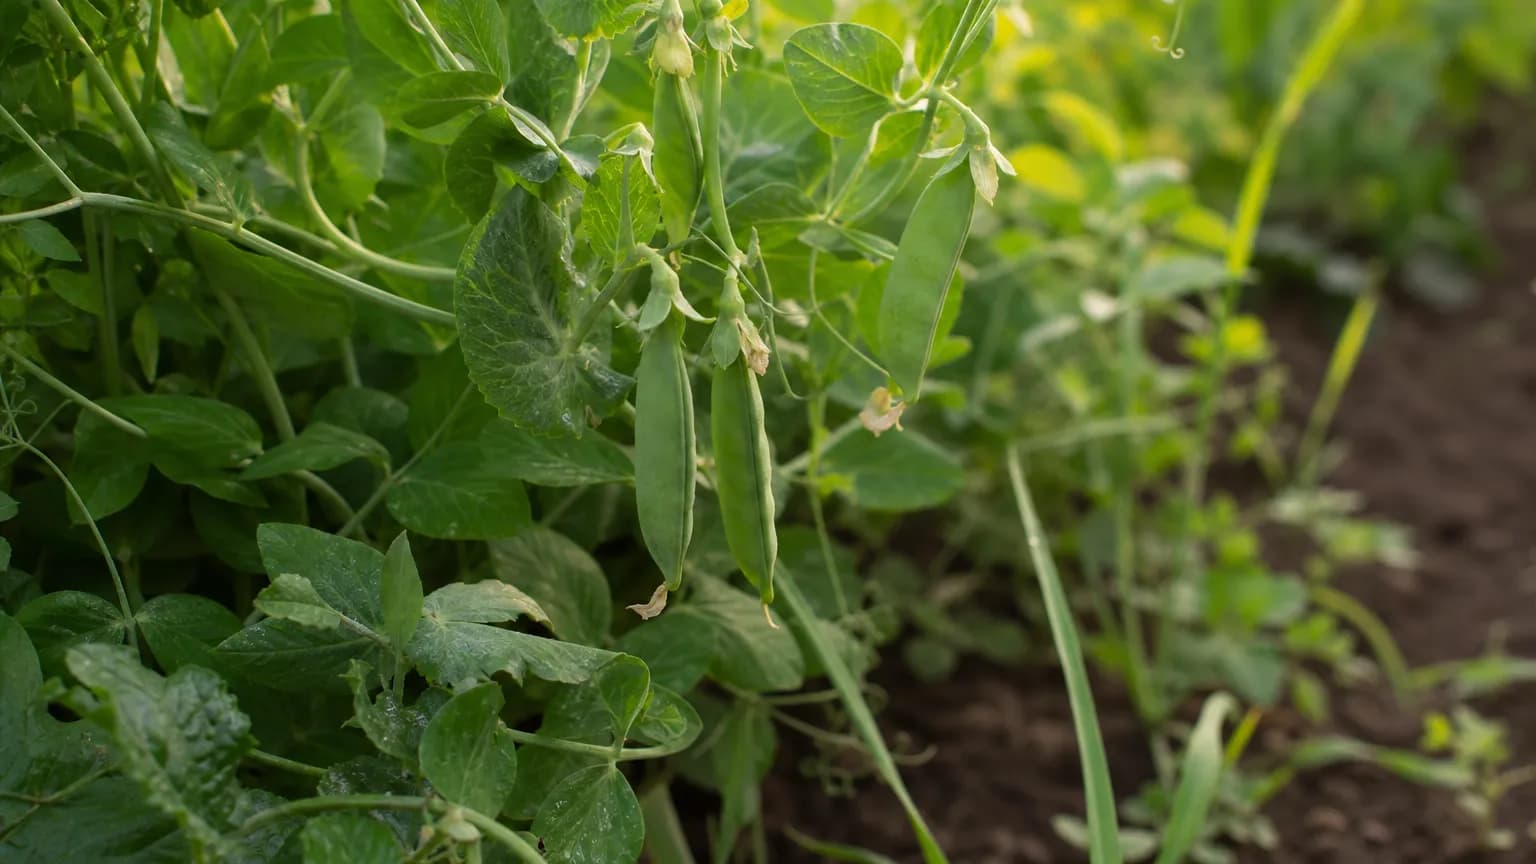
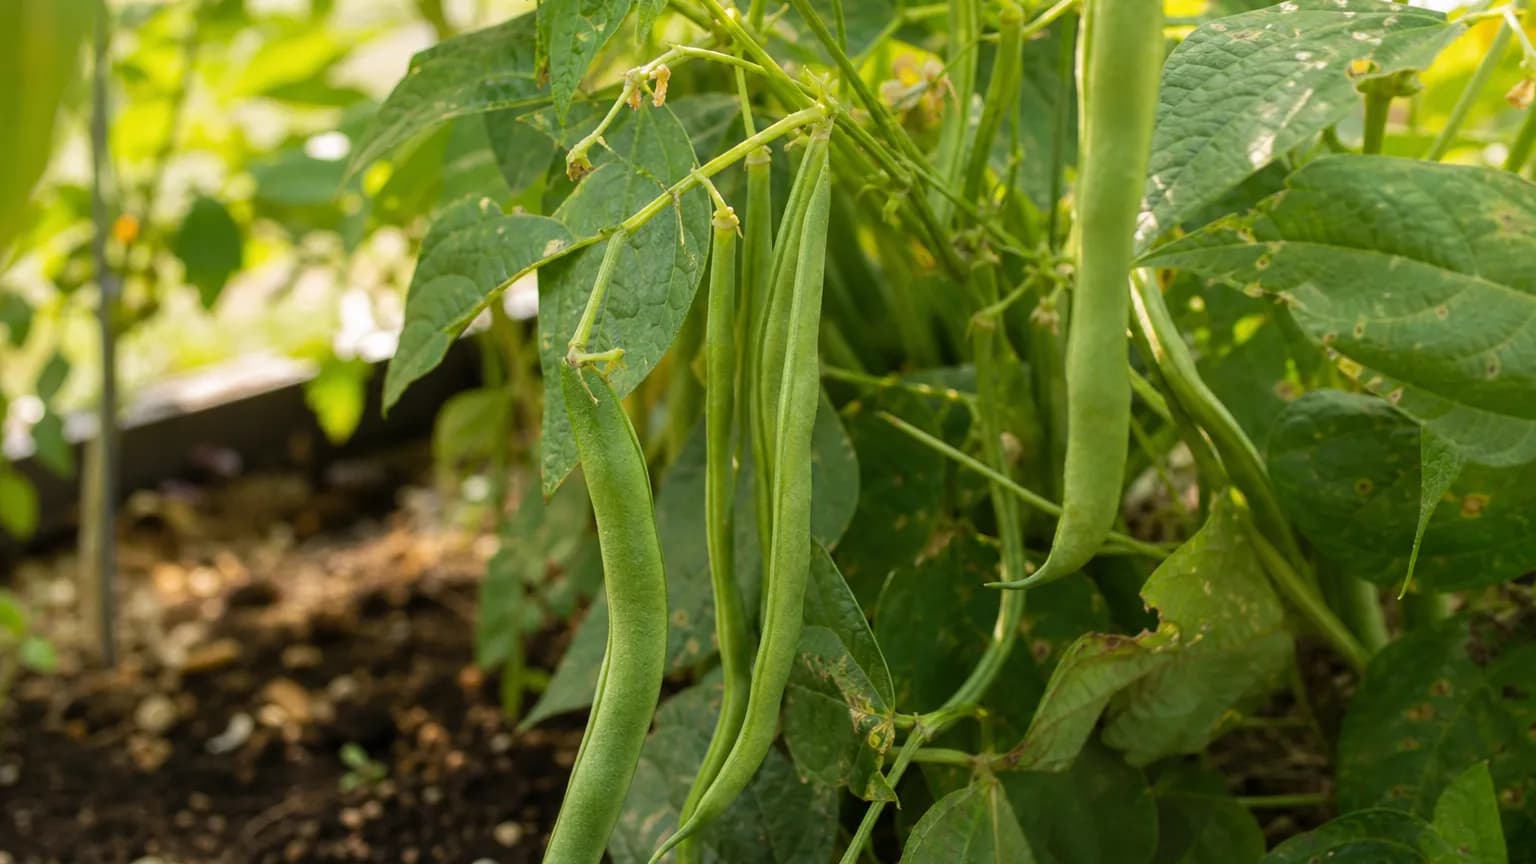
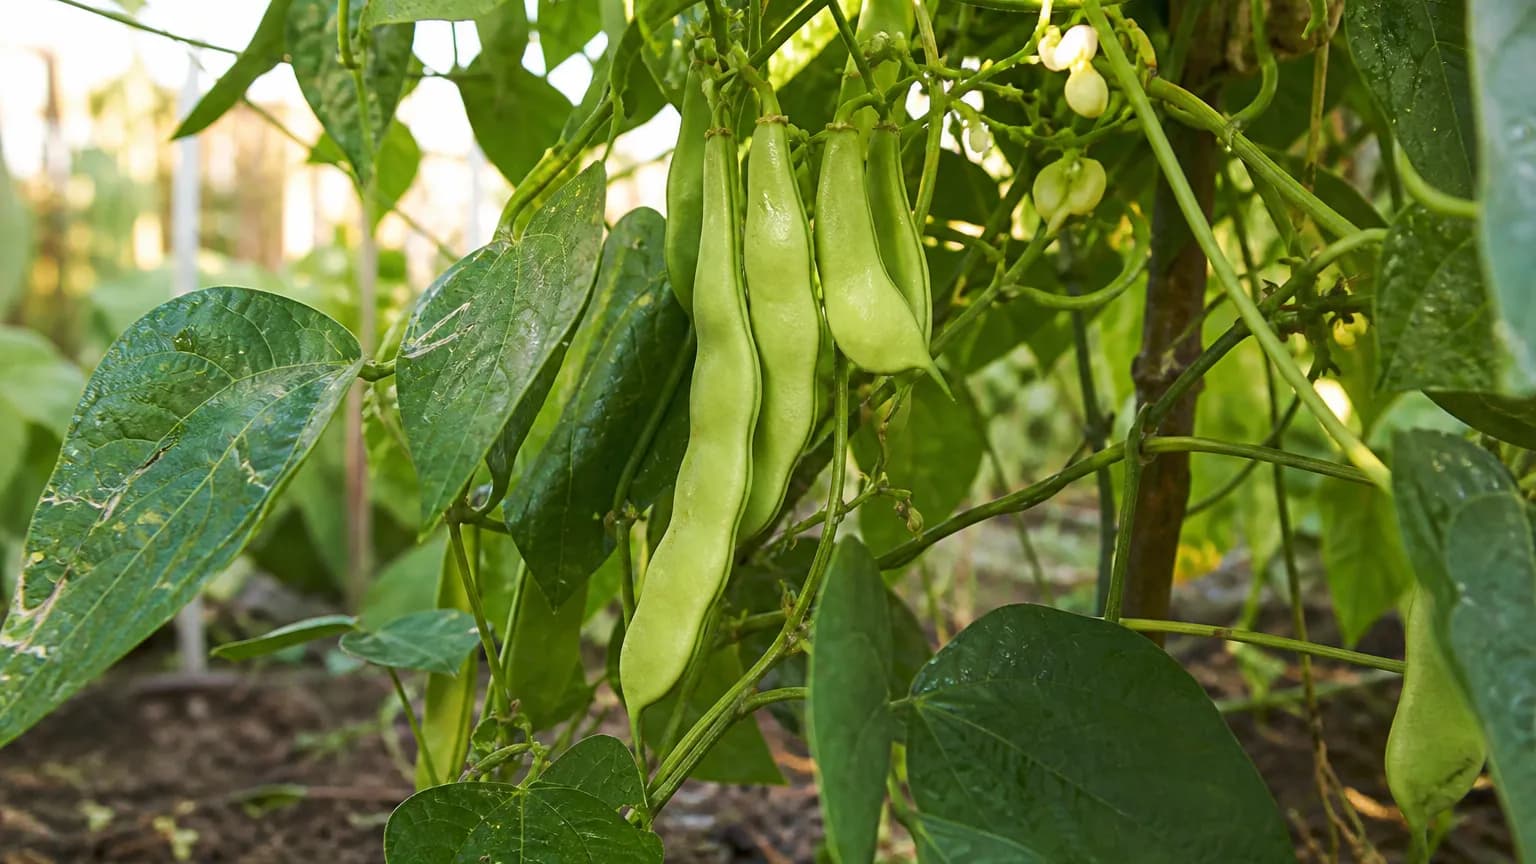
Las vainas largas y delgadas se desarrollan rápidamente a partir de las flores polinizadas y cuelgan en racimos colgantes desde las axilas de las ramas. Las vainas alcanzan 15-20 cm de longitud y contienen 8-12 granos en desarrollo. Para consumo fresco, las vainas están llenas y de color verde brillante; para almacenamiento en seco, empiezan a amarillear y a perder humedad en la planta.
Secado y cosecha
Las vainas dejadas para cosechar grano seco se vuelven papiráceas y quebradizas a medida que el contenido de humedad baja por debajo del 14 %. Los granos del interior se endurecen y desarrollan su color final blanco crema con el característico ojo oscuro en el hilio. Las plantas senescen de forma natural cuando todos los nutrientes restantes se redirigen al desarrollo de la semilla.
Después de la cosecha
Tras la cosecha, el cultivo completa su ciclo anual. Las raíces restantes se descomponen en el lugar y devuelven nitrógeno al suelo.
Siembra las semillas a 2,5 cm de profundidad en un suelo realmente cálido; usa un termómetro de suelo a 10 cm de profundidad. Inocula las semillas con un inoculante específico de rizobios para caupí antes de sembrar para maximizar la fijación de nitrógeno. Mantén el suelo uniformemente húmedo, pero nunca encharcado.
Cuidar Frijol de Ojo Negro (Caupí) mes a mes
Qué hacer cada mes para tu Frijol de Ojo Negro (Caupí)
Octubre
Mes actualComplete dry bean harvest — pods should be completely brittle and beans should rattle when shaken. Thresh by crushing dried pods in a cloth bag, then winnow outdoors to separate beans from chaff. Freeze dried beans for 48-72 hours to kill any weevil eggs.
Ten claro qué hacer en tu huerto, cada mes
Un correo al empezar cada mes: qué sembrar, plantar y hacer ahora mismo — para tu Frijol de Ojo Negro (Caupí) y todo lo que crece alrededor. Más un breve curso inicial para esquivar los errores clásicos.
- Qué hacer ahora mismo
- Ajustado a tu temporada
- Curso inicial incluido
Cosechar Frijol de Ojo Negro (Caupí)
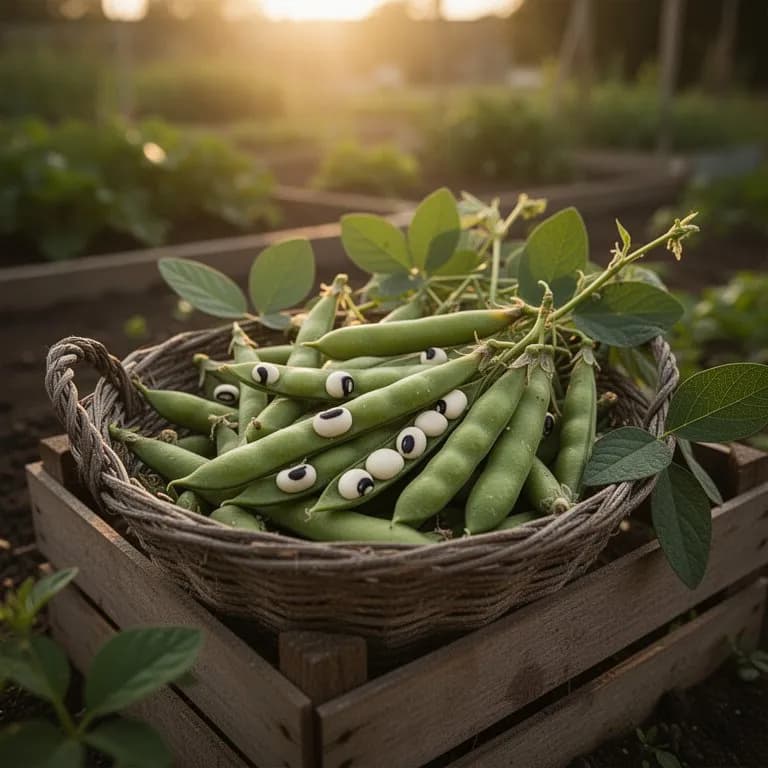
Para frijoles frescos, coseche cuando las vainas estén llenas pero aún verdes y tiernas, unos 60-70 días tras la siembra. Para frijoles secos, deje madurar completamente las vainas en la planta hasta que estén secas y crujientes, unos 80-100 días. Las hojas jóvenes también son comestibles.
se supone que plantas al comenzar el periodo — indica tu fecha real
Aproximadamente 70 días después de la siembra para vainas verdes frescas; para granos maduros frescos, cosecha antes de que las vainas se sequen en la planta; para granos secos, espera hasta que las vainas se pongan marrones y quebradizas.
Almacenamiento y conservación
Los granos secos se conservan en recipientes herméticos en lugar fresco durante 1-2 años. Los frijoles frescos se conservan en refrigerador 3-5 días o se pueden congelar tras escaldar 3 minutos. También se enlatan en salmuera o se deshidratan.
Qué falla — y cómo solucionarlo
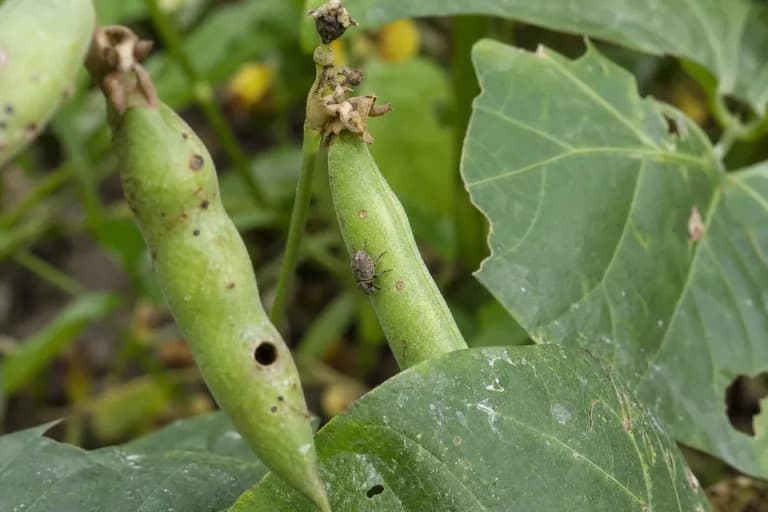
Gorgojo del caupí (Callosobruchus maculatus)
PlagaAgujeros en granos almacenados, polvo fino, presencia de pequeños escarabajos.
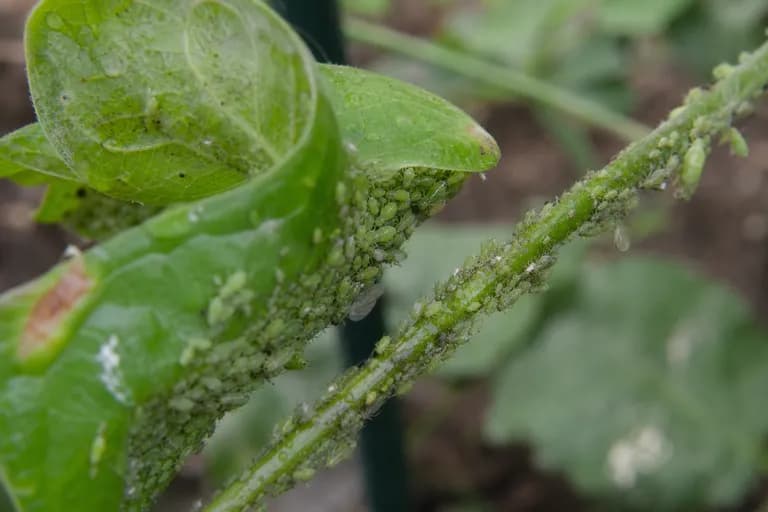
Virus del mosaico del caupí
EnfermedadMosaico de verde claro y oscuro en hojas, deformación foliar, reducción de producción.
Trips (Megalurothrips sjostedti)
PlagaDecoloración y deformación de flores, caída prematura de flores, reducción de vainas.
Solución de problemas comunes
Los gorgojos de almacenamiento son el mayor problema práctico; congele los granos 48 horas tras la cosecha como prevención. Las plantas no toleran heladas ni suelos encharcados. El riego excesivo favorece pudrición de raíces.
Consejos de cultivo
- Never add nitrogen fertilizer to black-eyed peas. As champion nitrogen fixers, they produce their own nitrogen through symbiotic Rhizobium bacteria in root nodules. Adding nitrogen fertilizer suppresses this natural process and promotes excessive leafy growth at the expense of pod production.
- Inoculate seeds with cowpea-specific Rhizobium inoculant before every planting, especially in soil that has not grown cowpeas in the past 3-4 years. Moisten seeds, dust with inoculant powder, and plant immediately — this simple step can boost yields by 20-40%.
- Wait for genuinely warm soil before planting. Seeds sown in cool soil below 18°C (65°F) germinate poorly or rot entirely. Use a soil thermometer at 10 cm depth and be patient — a week of waiting in late spring translates to dramatically better germination and healthier stands.
- Grow black-eyed peas as a dual-purpose crop: harvest some pods at the green-shell stage for fresh eating with superior flavor and delicate texture, and leave others to dry on the vine for pantry storage. This provides both summer meals and winter cooking beans from the same planting.
- Use black-eyed peas as companion plants with corn, okra, or sunflowers. The dense canopy suppresses weeds and conserves soil moisture, while the nitrogen-fixing roots benefit neighboring heavy-feeding crops throughout the season.
- For the freshest green-shell peas, harvest pods in the cool of the morning when they are turgid and crisp. Shell immediately and cook or blanch-and-freeze within hours — the delicate, sweet flavor of fresh-shelled black-eyed peas deteriorates rapidly after shelling.
- Leave roots in the ground after harvest rather than pulling entire plants. The nitrogen-rich root nodules decompose over winter and release fixed nitrogen for the next season's crop — this is free fertilizer equivalent to a significant compost application.
- In humid climates where pods are slow to dry on the vine, cut entire plants at ground level when most pods have turned yellow and hang upside down in a dry, well-ventilated shed to finish curing. This prevents mold and ensures clean, high-quality dried beans for storage.
Cultiva tu mejor Frijol de Ojo Negro (Caupí) — y todo lo que la rodea.
Empieza un plan gratis hoy. Diseña tus bancales, coloca tu Frijol de Ojo Negro (Caupí) y deja que PlotMyGarden gestione el momento, el espaciado, las asociaciones y los recordatorios de la semilla a la cesta.
Elige tu Frijol de Ojo Negro (Caupí)
California Blackeye No. 5
Variedad estándar con granos grandes cremosos y punto negro prominente. Muy productiva. Madura en 75 días.
Queen Anne
Variedad semi-trepadora con vainas largas y granos de excelente sabor. Buena resistencia a nematodos. Madura en 68 días.
Pinkeye Purple Hull
Variedad con vaina morada que facilita la cosecha y punto rosado en el grano. Sabor dulce. Madura en 65 días.
Mississippi Silver
Variedad con vainas plateadas largas y granos grandes. Resistente al calor extremo. Madura en 70 días.
A single seed packet ($3-5) can plant a 6-meter row producing 2-4 kg of dried beans, equivalent to $12-24 of organic dried black-eyed peas at retail prices. Fresh-shelled black-eyed peas are a true luxury item rarely available outside the Deep South, commanding $6-10 per pound at farmers markets when found. Growing your own provides access to this seasonal delicacy at virtually no cost. As a bonus, black-eyed peas fix nitrogen in the soil, reducing fertilizer needs for subsequent crops — a compounding economic benefit in any well-planned crop rotation.
Recetas rápidas
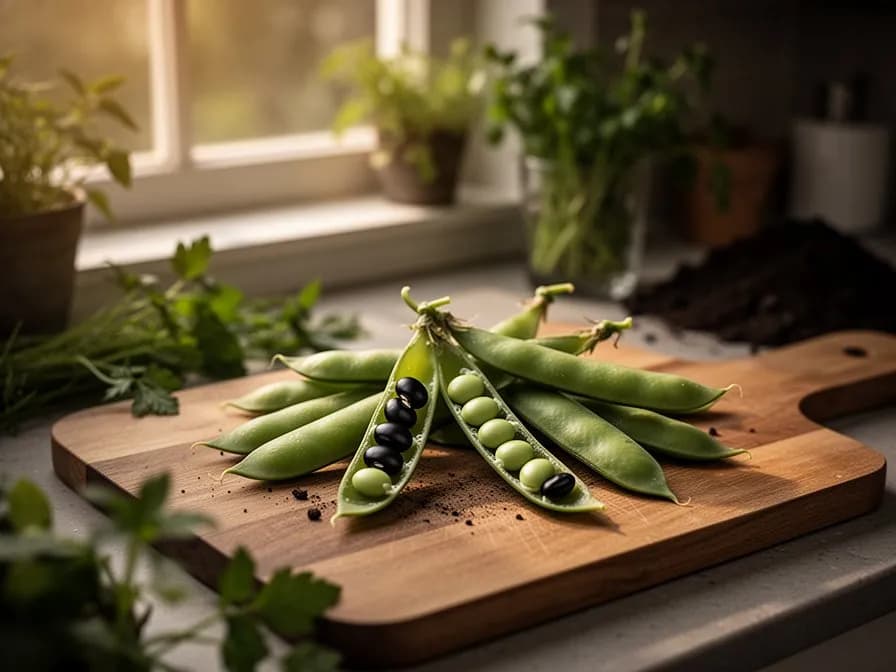
Classic Hoppin' John
45 minThe iconic Southern New Year's dish of black-eyed peas simmered with smoky pork and served over fluffy long-grain rice. Eating Hoppin' John on January 1st is said to bring good luck and prosperity for the coming year, but this hearty, comforting one-pot meal is delicious any day.
10 ingredientesTexas Caviar
20 minA bright, tangy, and refreshing cold salad that doubles as a dip with tortilla chips. The vinaigrette-dressed black-eyed peas with crunchy bell peppers, sweet corn, and fresh cilantro are even better after marinating overnight in the refrigerator.
11 ingredientesWest African Akara (Black-Eyed Pea Fritters)
35 minCrispy, golden fritters made from a simple batter of ground black-eyed peas seasoned with onion and chili. These protein-packed fritters are beloved street food across West Africa and Brazil, traditionally served for breakfast or as a satisfying midday snack.
6 ingredientesUsos culinarios
Los frijoles de ojo negro son imprescindibles en el Hoppin' John del sur de EE.UU. (con arroz y tocino), plato tradicional de Año Nuevo. En África se preparan como akara (buñuelos fritos de pasta de caupí) y moin moin (pastel al vapor). También se usan en sopas, guisos, ensaladas y como acompañamiento de arroz.
Qué contiene
Beneficios para la salud
- Outstanding source of plant-based protein at 23-25% of dry weight, providing all essential amino acids when paired with grains like rice or corn — the nutritional foundation behind the universal tradition of beans and rice.
- Rich in soluble fiber that slows glucose absorption and supports stable blood sugar levels, making black-eyed peas an excellent dietary choice for managing type 2 diabetes and insulin resistance.
- Provides over 50% of the daily value of folate (B9) per cup cooked — critical for DNA synthesis, red blood cell formation, and preventing neural tube defects during pregnancy.
- Contains resistant starch that acts as a prebiotic, feeding beneficial gut bacteria and promoting the production of short-chain fatty acids that support colon health and may reduce colorectal cancer risk.
- Supplies significant iron (2.5mg per 100g cooked) and zinc — two minerals commonly lacking in plant-based diets — with bioavailability improved by soaking, cooking, or pairing with vitamin C-rich foods.
- The phenolic antioxidant compounds concentrated in the seed coat around the dark eye have demonstrated anti-inflammatory and free-radical-scavenging properties in laboratory studies.
De dónde viene Frijol de Ojo Negro (Caupí)
The black-eyed pea (Vigna unguiculata) is a cultivar of the cowpea, domesticated in West Africa between 3,000 and 5,000 years ago. Archaeological evidence from Kintampo culture sites in modern-day Ghana dates cowpea cultivation to approximately 1800 BCE, and wild ancestors still grow across the savannas of sub-Saharan Africa. From its West African homeland, the cowpea spread eastward along ancient trade routes to East Africa, India, and Southeast Asia, becoming a staple protein source and soil-building crop in diverse agricultural systems across the tropics.
Black-eyed peas arrived in the Americas through the transatlantic slave trade beginning in the 1600s. Enslaved West Africans carried seeds of their essential food crops to the New World, and the cowpea became deeply woven into the agriculture and cuisine of the American South, where the hot, humid climate perfectly matched its tropical origins. Dishes like Hoppin' John evolved directly from West African rice-and-bean preparations, forming one of the most important culinary bridges between African and American food culture. During the Civil War, black-eyed peas sustained soldiers and civilians when other crops were destroyed or unavailable, cementing their cultural significance across the region.
Today, Nigeria is the world's largest producer of cowpeas, contributing roughly 45% of global production across 14 million hectares. Niger, Burkina Faso, Tanzania, and Brazil are also major producers. In the United States, black-eyed pea cultivation is concentrated in the Southeast and Texas, where they are grown both as a food crop and as a summer cover crop prized for nitrogen fixation and soil improvement. The International Institute of Tropical Agriculture in Nigeria continues to develop improved varieties with enhanced pest resistance and drought tolerance, ensuring that this ancient crop remains vital to food security in the 21st century.
Frijol de Ojo Negro (Caupí): ¿sabías que?
Datos fascinantes sobre Frijol de Ojo Negro (Caupí)
Black-eyed peas are not actually peas at all — they are a type of cowpea (Vigna unguiculata), more closely related to mung beans and adzuki beans than to garden peas. The 'eye' is a marking on the hilum, the scar where the bean was attached to the pod.
Frijol de Ojo Negro (Caupí): preguntas frecuentes
¿Cuándo debo plantar Frijol de Ojo Negro (Caupí)?
¿Cuáles son buenas plantas acompañantes para Frijol de Ojo Negro (Caupí)?
¿En qué zonas de rusticidad puede crecer Frijol de Ojo Negro (Caupí)?
¿Cuánto sol necesita Frijol de Ojo Negro (Caupí)?
¿A qué distancia debo espaciar Frijol de Ojo Negro (Caupí)?
¿Qué plagas y enfermedades afectan a Frijol de Ojo Negro (Caupí)?
¿Cómo almaceno Frijol de Ojo Negro (Caupí) después de la cosecha?
¿Cuáles son las mejores variedades de Frijol de Ojo Negro (Caupí) para cultivar?
¿Qué suelo necesita Frijol de Ojo Negro (Caupí)?
Are black-eyed peas the same as cowpeas?
Do black-eyed peas need a trellis?
Why are my black-eyed pea plants leafy with very few pods?
How do I store dried black-eyed peas long-term?
Can I grow black-eyed peas in containers?
When should I harvest black-eyed peas — fresh or dried?
Acabas de leer la teoría. Ahora cultívala en piloto automático.
Todo lo que hace que Frijol de Ojo Negro (Caupí) sea delicado — el momento, el espaciado, las asociaciones, la ventana de cosecha — es justo lo que PlotMyGarden resuelve por ti, para cada planta de tu huerto.
Un plan que conoce tu clima
Indica tu ubicación una vez. Recibe fechas de siembra, abonado y cosecha basadas en tu última helada real y el pronóstico en vivo — sin adivinar con un sobre genérico.
De la sección “Cuándo plantar”Planificador de bancales de arrastrar y soltar
Diseña bancales sobre una cuadrícula. Cada planta encaja con su espaciado correcto y ves toda la temporada antes de gastar un céntimo en semillas.
De la sección “Cultivo”Conflictos de asociación, detectados a tiempo
Más de 200 buenas y malas combinaciones comprobadas en vivo mientras plantas — para que un error que arruine la temporada nunca llegue a la tierra.
De la sección “Asociaciones”Recordatorios que sí vas a seguir
“Riega las judías.” “Recoge hoy antes de que se pase.” Oportunos, concretos y ligados a las plantas que de verdad cultivas.
De la sección “Cosecha”Escalonado, programado
¿Quieres cosechar seis semanas en vez de seis días? Reparte tus siembras automáticamente y te avisa cuando toca el siguiente lote.
De la sección “Cuándo plantar”Un registro que se vuelve más listo
Cada cosecha que registras le enseña tu huerto. El plan del año que viene parte de lo que de verdad funcionó en tu suelo, no en un manual.
De la sección “Resumen”Planta estos junto a Frijol de Ojo Negro (Caupí)
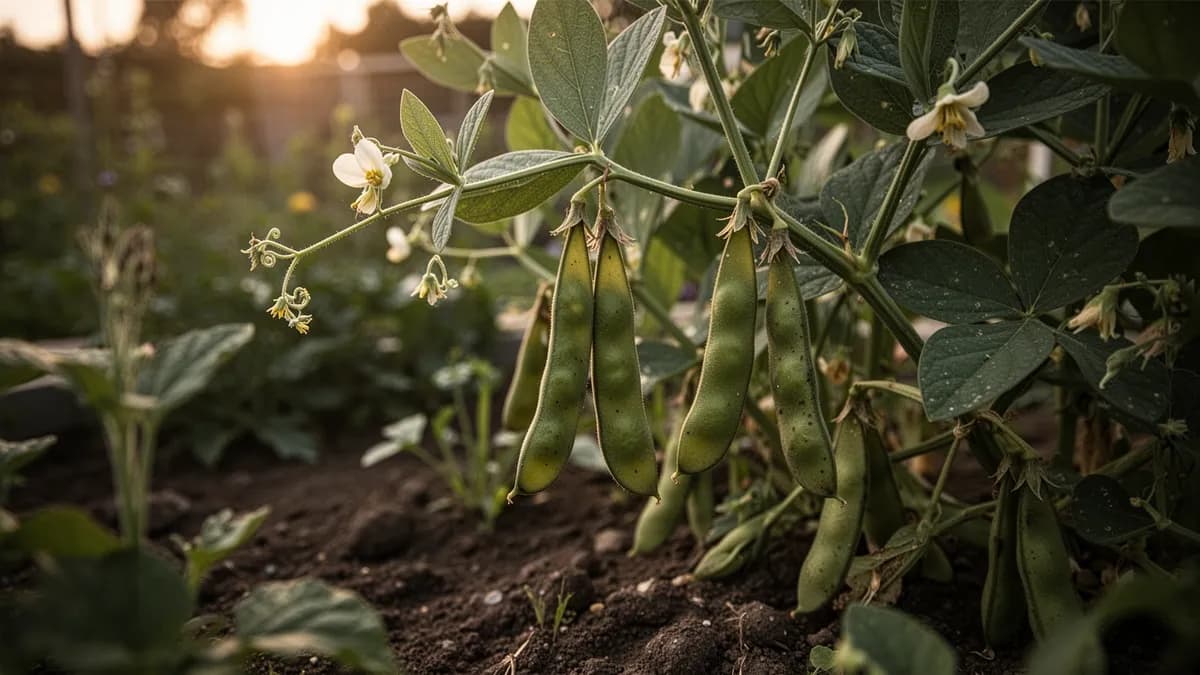
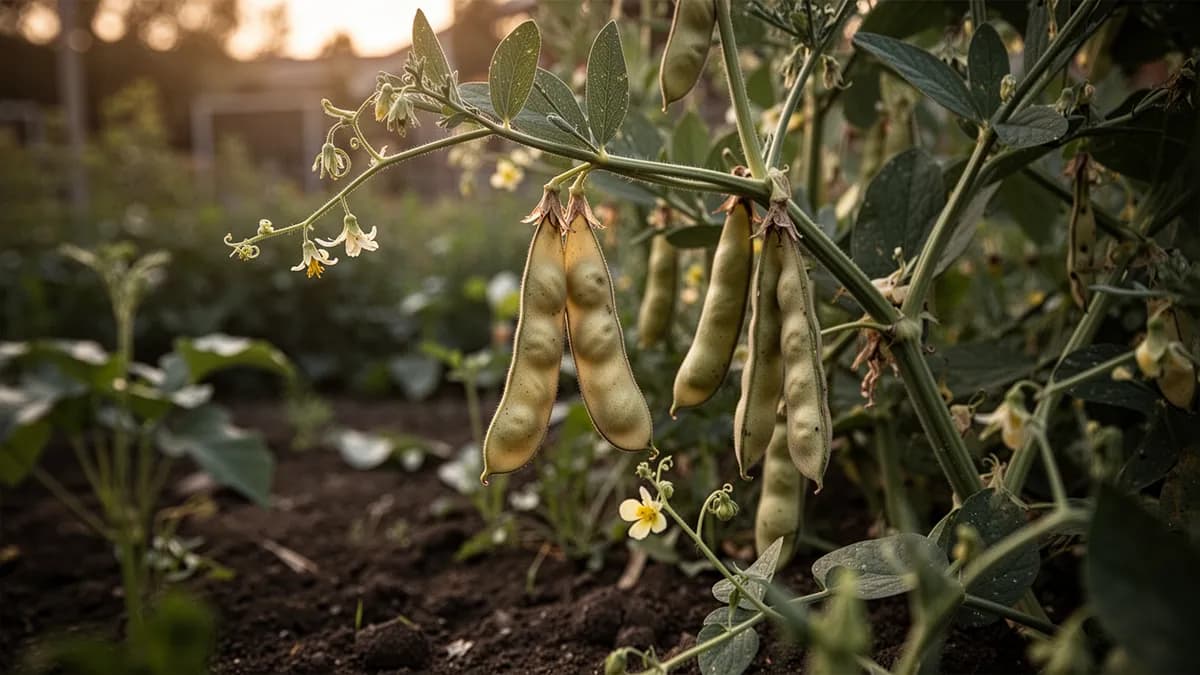
Más Legumbres
Mantén Frijol de Ojo Negro (Caupí) lejos de estos
Cultiva tu mejor Frijol de Ojo Negro (Caupí) — y todo lo que la rodea.
Empieza un plan gratis hoy. Diseña tus bancales, coloca tu Frijol de Ojo Negro (Caupí) y deja que PlotMyGarden gestione el momento, el espaciado, las asociaciones y los recordatorios de la semilla a la cesta.