Bell Pepper
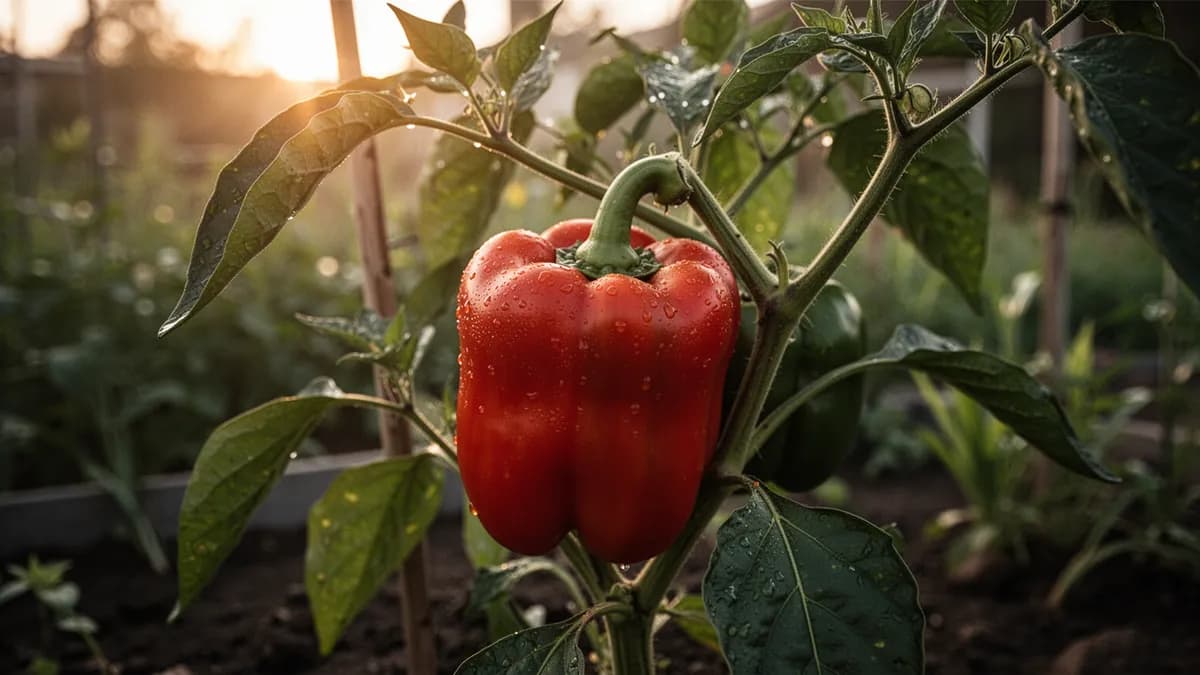
A warm-season crop producing sweet, crunchy fruits in a range of colors when fully ripe.


On this pageOverview
Meet Bell Pepper
A warm-season crop producing sweet, crunchy fruits in a range of colors when fully ripe. Provide rich, well-drained soil and consistent watering to prevent blossom end rot and cracking during fruit development. Peppers benefit from warm nights above 55 degrees Fahrenheit and appreciate a side-dressing of compost at flowering time. Allow fruits to ripen fully on the plant for maximum sweetness and highest vitamin C content.
When to plant Bell Pepper
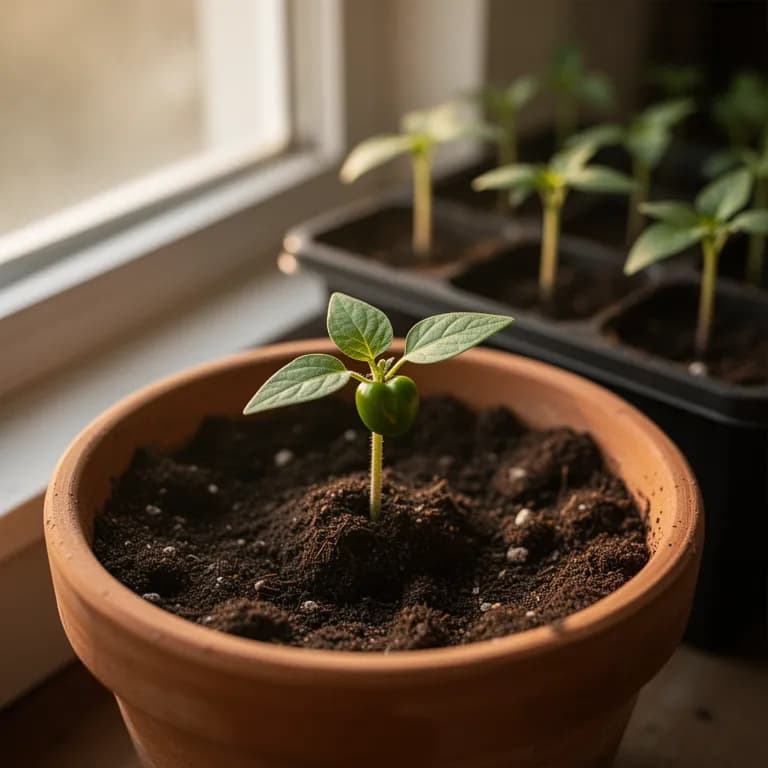
Start bell pepper seeds indoors 8-10 weeks before your last expected frost date — peppers need a long head start because they grow slowly in the seedling stage. Sow seeds 6mm (1/4 inch) deep in sterile, pre-moistened seed-starting mix. Temperature is critical for germination: maintain a consistent 24-29°C (75-85°F) using a seedling heat mat. Without bottom heat, pepper seeds can take 3-4 weeks to germinate or may fail entirely. Cover trays with a humidity dome until sprouts appear, then remove immediately to prevent damping off.
Once seedlings emerge, provide 14-16 hours of strong light daily from grow lights positioned 5-8 cm above the plants. A sunny windowsill alone is almost never sufficient — it produces leggy, weak transplants that struggle to establish outdoors. Pepper seedlings grow noticeably slower than tomato seedlings, so don't worry if progress seems glacial in the first few weeks. This is normal.
Transplant seedlings into individual 10 cm (4 inch) pots when the first set of true leaves develops. Use a quality potting mix and bury the stem slightly deeper than it was in the starter cell. Begin feeding with a dilute liquid fertilizer (quarter strength) every 10-14 days from the two-leaf stage onward. Keep the soil consistently moist but never waterlogged — pepper seedlings are particularly susceptible to damping off in soggy conditions.
Begin hardening off 10-14 days before your planned transplant date. Start with 1-2 hours in a sheltered, shaded outdoor spot, gradually increasing sun exposure and duration each day. By day 10, seedlings should tolerate full sun and light wind. Peppers are significantly more cold-sensitive than tomatoes — do not rush transplanting. Wait until nighttime temperatures are consistently above 13°C (55°F) and soil has warmed to at least 18°C (65°F). Transplant on a cloudy day or in late afternoon to minimize shock, and water deeply with a dilute fish emulsion solution immediately after planting.
We watch the calendar so you don't have to
Tell us where you garden once. We line your sow and harvest windows up with your local season — and nudge you the moment each one opens.
See your exact Bell Pepper dates
Share your location once and we'll line every sow and harvest date up with your real local season — not a generic seed-packet guess.
Used once to set your season · never sharedHow to grow Bell Pepper
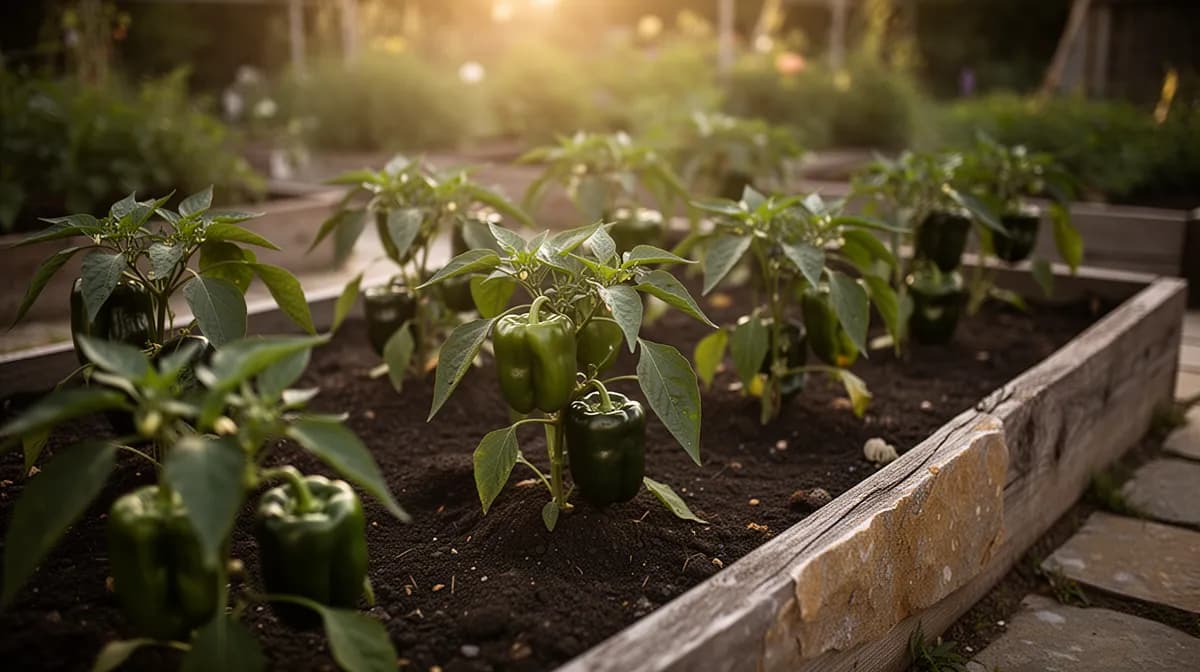
Bell peppers are warm-season crops that demand patience and consistent warmth to produce their best yields. Start seeds indoors 8-10 weeks before the last frost date, sowing 6mm deep in a warm seed-starting mix at 24-29°C (75-85°F). Transplant outdoors only after nighttime temperatures reliably stay above 13°C (55°F) and soil has warmed to at least 18°C (65°F). Space plants 45-60 cm apart in a location receiving at least 6-8 hours of full sun, and consider using black plastic mulch or landscape fabric to warm the soil and suppress weeds.
Prepare beds by working 5-8 cm of compost into the top 30 cm of soil along with a balanced slow-release fertilizer. Peppers prefer slightly acidic to neutral soil (pH 6.0-6.8) with excellent drainage. At transplanting, set plants slightly deeper than they grew in their pots and water with a dilute fish emulsion solution to reduce transplant shock. Stake or cage taller varieties to support heavy fruit loads and prevent branches from snapping.
Water deeply and consistently, providing 2.5-5 cm per week through drip irrigation to keep foliage dry and reduce disease pressure. Mulch around the base of plants with straw or shredded leaves to retain soil moisture and moderate root temperature. Side-dress with a low-nitrogen, high-phosphorus fertilizer when the first flowers appear, and again when the first fruits are setting. Avoid excessive nitrogen, which promotes lush foliage at the expense of fruit production.
The bed planner spaces every plant for you
Pick a bed size and PlotMyGarden spaces your Bell Pepper at 45 cm, counts how many fit, and lays the block out before you buy a single seed.
Bell Pepper's best neighbours
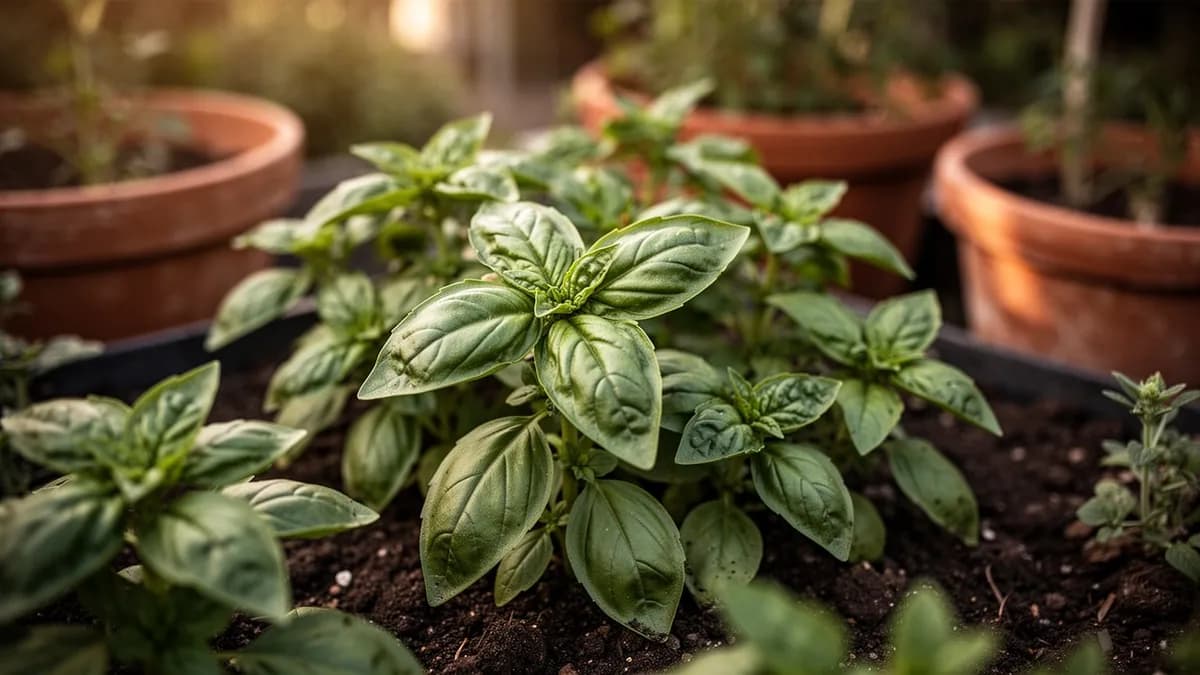
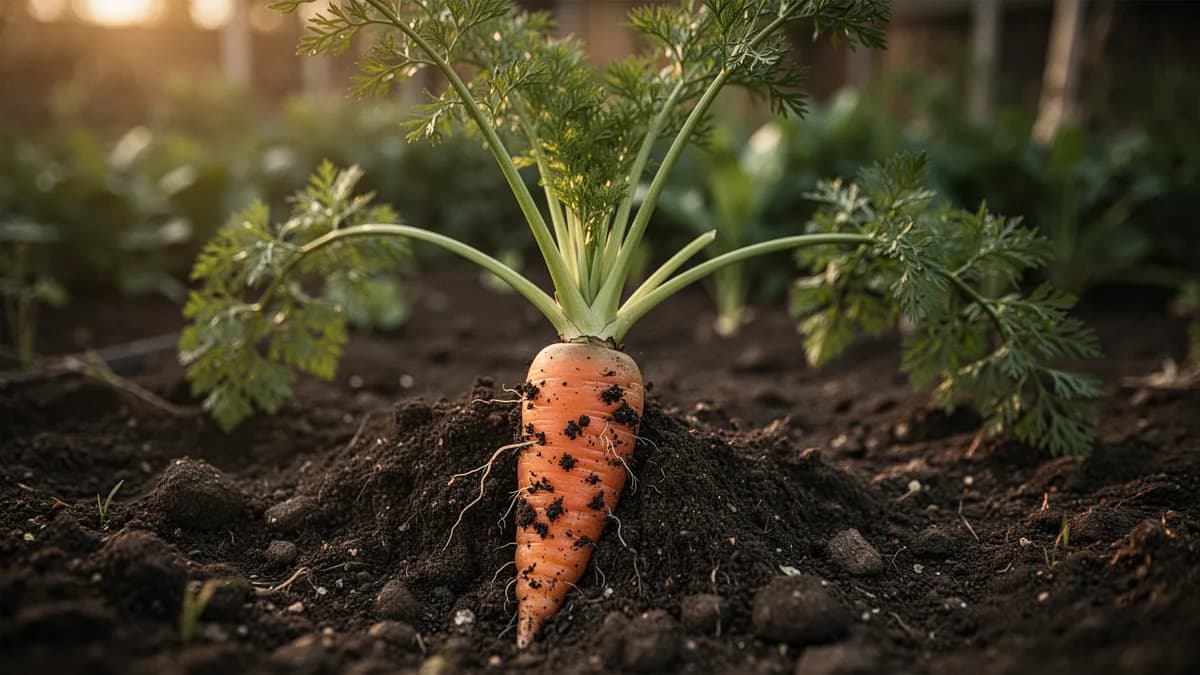
Tomatoes and peppers share similar growing requirements and benefit from proximity — both attract the same pollinators and the tomato's dense foliage can provide partial shade that reduces pepper sunscald. Basil planted nearby repels aphids and thrips with its volatile aromatic oils while potentially improving pepper flavor. Carrots loosen the soil with their taproots, improving drainage and aeration around pepper roots. Avoid planting near fennel, which exudes allelopathic compounds from its roots that inhibit pepper growth, and keep away from kohlrabi, which competes aggressively for the same soil nutrients.
It flags clashes before you plant, not after
Every plant you place is checked against its neighbours in real time. Good matches glow green; conflicts get flagged on the spot — so a season-wrecking mistake never makes it into the ground.
Feed it well
Bell peppers demand well-drained, loamy soil rich in organic matter with a pH of 6.0-6.8. Heavy clay soil is their worst enemy — waterlogged roots lead to stunted growth, root rot, and poor fruit set. If your soil is heavy, raise beds at least 15-20 cm and amend generously with compost, perlite, or coarse sand. Sandy soil drains too fast and needs extra compost to retain moisture and nutrients. Test your soil pH before planting — peppers struggle in acidic soil below 5.8 and alkaline soil above 7.2.
Before transplanting, work 5-8 cm of aged compost into the top 30 cm of soil along with a balanced slow-release fertilizer (10-10-10). At planting time, mix a tablespoon of bone meal into each hole for phosphorus to support root establishment, plus a teaspoon of Epsom salts for magnesium, which promotes chlorophyll production and strong cell walls. Water transplants with a dilute fish emulsion solution to reduce shock and kickstart root growth.
Once the first flowers appear — this is the critical transition — switch from balanced fertilizer to a low-nitrogen, high-phosphorus and potassium formula (5-10-10 or a dedicated pepper/tomato fertilizer). Excess nitrogen at this stage is the most common fertilizer mistake with peppers: it produces lush, dark green foliage but delays flowering and dramatically reduces fruit set. Side-dress with compost tea or liquid kelp every 3-4 weeks throughout the growing season. A calcium foliar spray applied every 2 weeks during rapid fruit development can prevent blossom end rot, especially during hot, dry spells when calcium uptake is disrupted. Stop fertilizing 3-4 weeks before your expected first frost to help plants harden off naturally.
Ideal Temperature
Hardiness Zone Compatibility
From seed to harvest, stage by stage
Seed Starting
Sow seeds 6mm deep in warm seed-starting mix at 24-29°C. Germination is slow without bottom heat, typically taking 10-14 days. Seeds need consistent moisture and warmth.
Seedling Growth
Seedlings develop their first true leaves and grow slowly but steadily. Provide 14-16 hours of strong light daily. Transplant to individual pots when 2-3 true leaves appear.
Transplanting
Harden off plants over 10-14 days before transplanting outdoors. Wait until nighttime temperatures stay above 13°C and soil is at least 18°C. Set plants slightly deeper than they grew in pots.
Flowering
Plants produce small, white, star-shaped flowers at branch junctions. Each flower can self-pollinate but benefits from insect visitors. First flowers may drop if nights are too cool.
Fruiting
Small green fruits develop and grow over several weeks. Fruits can be harvested green or left to ripen to red, yellow, or orange depending on variety. Ripening takes an additional 2-3 weeks.
Harvest
Harvest peppers when they reach full size and feel firm. For maximum sweetness and vitamin C, allow fruits to ripen fully to their mature color. Regular harvesting encourages continued production.
Use a heat mat set to 27°C — bell pepper germination rates drop dramatically below 21°C. Keep the mix evenly moist but never waterlogged.
Caring for Bell Pepper month by month
What to do each month for your Bell Pepper
July
You are herePeak flowering and fruit set period. Maintain consistent watering to prevent blossom end rot. Harvest green peppers regularly or leave to ripen for sweeter colored peppers.
Harvesting Bell Pepper
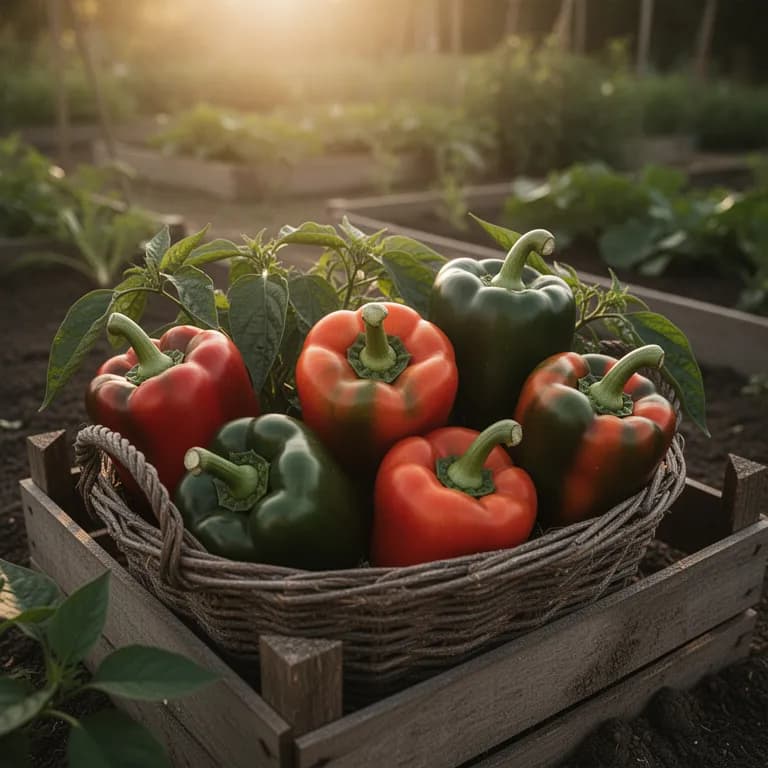
Bell peppers can be harvested at any stage of ripeness, but the timing dramatically affects flavor, nutrition, and plant productivity. Green peppers are simply immature fruits — they have a mildly bitter, grassy flavor and a satisfying crunch, and harvesting at the green stage encourages the plant to set more fruit because it redirects energy away from the ripening process. For maximum sweetness and nutritional value, leave fruits on the plant to ripen fully to red, yellow, or orange depending on the variety — this takes an additional 2-3 weeks past the green stage and requires patience.
Always use sharp pruning shears or a clean knife to cut the stem, leaving a 2-3 cm stub attached to the fruit. Never pull or twist peppers off the plant — the branches are brittle and snap easily, which can tear the stem and create open wounds susceptible to bacterial infection. Harvest in the morning after the dew has dried for the crispest texture and longest shelf life. A pepper is ready when it feels firm with thick walls, has a glossy sheen, and has reached its expected mature size for the variety.
Harvest regularly — at least twice a week during peak season — to encourage continued fruit production. Leaving overripe fruits on the plant signals it to slow down and stop flowering. In late autumn as frost approaches, harvest all remaining peppers regardless of color. Even a light frost (below 0°C / 32°F) damages fruit quality and turns the skin soft and translucent. Green peppers picked before frost will ripen slowly indoors if placed on a sunny windowsill at room temperature — place a banana or apple nearby to speed ripening with ethylene gas.
We count the days and tell you when to pick
Tell us when you planted and PlotMyGarden tracks the 70-day countdown to harvest, then pings you the day your Bell Pepper is ready.
Storage & Preservation
Fresh bell peppers keep best unwashed in the refrigerator crisper drawer, loosely wrapped in a paper towel inside a perforated plastic bag. Green peppers store for 2-3 weeks this way, while fully ripe colored peppers last 1-2 weeks. Never store peppers in airtight containers or sealed bags — trapped moisture accelerates rot. Keep them away from ethylene-producing fruits like apples and bananas unless you want to speed up ripening of green peppers.
Freezing is the easiest long-term preservation method. Wash, core, and cut peppers into strips or dice, then spread in a single layer on a parchment-lined baking sheet and flash-freeze for 2 hours before transferring to labeled freezer bags. This prevents clumping and lets you grab just the amount you need. Frozen peppers keep for 10-12 months and work beautifully in cooked dishes — stir-fries, soups, fajitas, and sauces — though they lose their crisp raw texture.
Roasting and freezing produces a gourmet pantry staple. Char whole peppers under the broiler or over a gas flame, turning until blackened on all sides. Steam in a covered bowl for 10 minutes, then peel off the skin, remove seeds, and slice. Pack into jars or bags with a drizzle of olive oil and freeze for up to 12 months. These roasted peppers are ready to use straight from the freezer in hummus, sandwiches, pasta, and antipasti platters.
Dehydrating sliced peppers at 57°C (135°F) for 8-12 hours produces a lightweight, shelf-stable product that lasts 1-2 years in airtight containers. Dried pepper strips rehydrate quickly in soups and stews, or you can grind them into homemade paprika powder — far more flavorful than store-bought. Pickling in a vinegar-sugar brine with garlic and herbs preserves peppers for 6-12 months and makes an excellent condiment for sandwiches and charcuterie boards.
What goes wrong — and the fix
Aphids
PestClusters of small green or black soft-bodied insects on new growth and leaf undersides. Leaves curl, become sticky with honeydew, and may develop sooty mold. Plant growth becomes stunted with heavy infestations.
Blossom End Rot
DiseaseDark, sunken, leathery patches on the bottom of developing fruits. Typically affects the first fruits of the season and is most common during periods of rapid growth.
Bacterial Leaf Spot
DiseaseSmall, dark, water-soaked spots on leaves that enlarge and turn brown with yellow halos. Severely affected leaves drop prematurely, exposing fruits to sunscald. Raised, scabby lesions may appear on fruits.
Pepper Hornworm
PestLarge green caterpillars feeding on leaves and occasionally on fruits, leaving behind dark frass droppings. Plants may be partially defoliated overnight.
Troubleshooting Common Problems
Flower drop is the most common frustration for pepper growers and is almost always caused by temperature fluctuations. Nighttime temperatures below 13°C (55°F) or above 24°C (75°F) cause the plant to abort flowers without setting fruit. Sudden temperature swings of more than 10°C within a few hours can also trigger massive blossom drop. Make sure you wait to transplant until nights are consistently warm, and keep floating row covers on hand for unexpected cold snaps. Sunscald appears as pale, papery, sunken patches on fruits exposed to intense afternoon sun, especially at temperatures above 32°C (90°F). Unlike tomatoes, pepper foliage grows less densely, leaving fruits more exposed to direct sunlight. Use shade cloth (30-50%) during heat waves, especially on south and west-facing sides. In extremely hot regions, plant more heat-tolerant varieties like 'Carmen' or 'Islander' that handle intense sun better. Small or thin-walled fruits are a sign of nutrient deficiency, overcrowding, or chronic water stress. Peppers require consistent, deep watering and regular side-dressing with phosphorus- and potassium-rich fertilizer from the flowering phase onward. A spacing of at least 45-60 cm and full sun exposure for 6-8 hours daily is essential for thick, juicy walls. Plants that produce lush foliage but barely set fruit are almost always receiving too much nitrogen. Switch immediately to a low-nitrogen, high-phosphorus fertilizer (5-10-10) when the first flowers appear. Avoid fresh manure and nitrogen-heavy compost applications during the fruiting phase. Slow ripening is completely normal for peppers and is no cause for concern — most varieties need 2-3 weeks longer than expected to develop their full color. Green peppers are simply unripe fruits from the same plant. Patience pays off here: fully ripened peppers have triple the vitamin C content and significantly more sweetness. Purple or reddish leaf discoloration in cool spring weather indicates phosphorus deficiency, which normally resolves on its own once the soil warms up.
Growing Tips
- Bell peppers are extremely frost-sensitive — even a light frost will kill plants. Wait at least 2 weeks after last frost to transplant, and have row covers ready for unexpected cold snaps.
- Warm the soil with black plastic mulch 2 weeks before transplanting. Peppers grow significantly faster and produce earlier in warm soil above 21°C.
- Provide 6-8 hours of direct sunlight daily. In extremely hot climates above 35°C, afternoon shade can actually improve fruit set by preventing flower drop.
- Water deeply but less frequently, providing 2.5-5 cm per week through drip irrigation. Inconsistent watering is the #1 cause of blossom end rot.
- Pinch off the first few flower buds to redirect energy into building a stronger root system and larger plant framework before allowing fruit to set.
- Switch from a balanced fertilizer to a low-nitrogen, high-phosphorus formula (like 5-10-10) when flowering begins to maximize fruit production.
- Stake or cage plants when they are 30 cm tall. Heavy fruit loads can snap branches and bring entire plants to the ground.
- Harvest green peppers regularly if you want maximum yield. Leaving peppers on the plant to ripen to full color reduces total yield but increases sweetness and nutritional value.
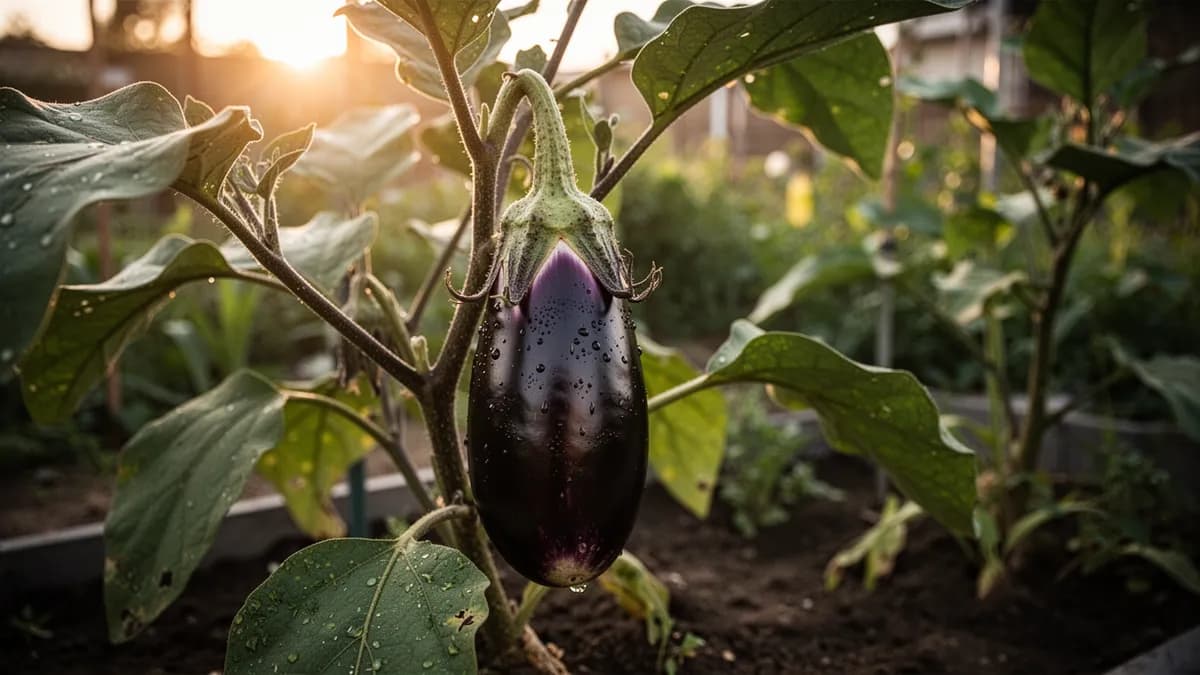
- Avoid planting peppers where tomatoes, eggplant, or potatoes grew in the last 2-3 years to prevent soil-borne disease buildup.
- Companion plant with basil, which repels aphids and thrips, and with carrots, whose taproots loosen soil and improve drainage around pepper roots.
Pick your Bell Pepper
California Wonder
The classic open-pollinated bell pepper with thick-walled, blocky green fruits that ripen to red. 75 days to maturity. Reliable and widely adapted, an excellent choice for beginners.
King Arthur
A hybrid producing large, thick-walled fruits with excellent disease resistance including tobacco mosaic virus. 72 days. Ripens from green to deep red with outstanding sweet flavor.
Golden California Wonder
A color variant of the classic, producing bright golden-yellow fruits with sweet, mild flavor. 70-75 days. Thick walls make it perfect for stuffing and grilling.
Purple Beauty
A compact plant producing stunning deep purple fruits that are sweet and mild at the green-purple stage. 70 days. Unique color makes it a standout in salads and vegetable platters.
Orange Sun
A vibrant orange hybrid with exceptionally sweet flavor and high vitamin C content. 75 days. Thick-walled fruits are ideal for fresh eating, roasting, and stuffing.
A single bell pepper plant costing $3-5 can produce 6-10 peppers per season, with each colored pepper selling for $1.50-3.00 at the grocery store. Growing just 4-6 plants can save $50-120 per season on fresh peppers alone, and home-grown peppers ripened fully on the vine deliver dramatically superior sweetness and vitamin C content compared to store-bought peppers picked green and shipped long distances.
Quick recipes

Classic Stuffed Bell Peppers
45 minColorful bell peppers filled with seasoned rice, ground beef, tomatoes, and melted cheese — a satisfying one-dish meal.
8 ingredients
Roasted Red Pepper Hummus
15 minCreamy chickpea hummus elevated with smoky roasted red peppers — perfect with pita bread or fresh vegetables.
8 ingredientsPepper and Onion Fajitas
25 minSizzling sliced bell peppers and onions with seasoned chicken or steak, served in warm tortillas with fresh toppings.
7 ingredientsCulinary Uses
Bell peppers are culinary chameleons — equally at home raw, roasted, stuffed, sautéed, grilled, or pickled. Their crisp texture and naturally sweet flavor make them one of the most versatile vegetables in any kitchen. Raw, they shine in crunchy salads, crudité platters with hummus or ranch dip, and fresh salsas. Sliced into strips, they are the ultimate healthy snack — sweet, satisfying, and loaded with vitamin C. The color you choose matters: green peppers have a sharper, slightly bitter edge perfect for cooking, while red, yellow, and orange peppers are sweeter and best enjoyed raw or lightly roasted.
Roasting transforms bell peppers into something magical. Char whole peppers under a broiler or directly over a gas flame, turning until the skin is blackened and blistered on all sides. Steam in a covered bowl for 10 minutes, then peel away the skin to reveal silky, intensely sweet flesh with a deep smoky flavor. Roasted peppers are the foundation of countless Mediterranean dishes — pureed into smoky red pepper hummus, layered into antipasti platters, blended into romesco sauce, or tossed with pasta and goat cheese. Classically stuffed with a mixture of seasoned rice, ground meat, tomatoes, herbs, and melted cheese, bell peppers become a complete one-dish meal that feeds a family.
In world cuisines, bell peppers are indispensable: Hungarian goulash and chicken paprikash rely on them, Chinese and Thai stir-fries use them for color and crunch, Mexican fajitas sizzle with strips of peppers and onions, and Spanish piperade combines them with eggs and tomatoes. Nutritionally, red bell peppers are superstars — a single red pepper provides over 150% of the daily vitamin C requirement (nearly triple that of an orange), plus significant amounts of vitamin A, folate, and potassium. Cooking tip: lightly sautéing peppers in olive oil actually increases the absorption of their fat-soluble vitamins A and E.
What's inside
Health Benefits
- Exceptional vitamin C content supports immune function, collagen synthesis, and iron absorption from plant-based foods
- Beta-carotene in red and orange peppers converts to vitamin A, essential for healthy vision, skin, and immune defense
- Contains capsanthin and violaxanthin — potent antioxidants that protect cells from oxidative damage
- Anti-inflammatory compounds may help reduce the risk of chronic diseases including heart disease and certain cancers
- High water content (92%) and low calorie density make bell peppers excellent for hydration and weight management
- B-vitamins including B6 and folate support cardiovascular health by helping regulate homocysteine levels
Where Bell Pepper comes from
Bell peppers (Capsicum annuum) are native to Central and South America, where archaeological evidence shows they were cultivated as early as 7,500 BC in what is now Mexico. They were among the first plants domesticated in the Americas, predating the cultivation of corn and beans.
When Christopher Columbus encountered peppers during his voyages in the late 1490s, he called them 'peppers' because their spicy relatives reminded him of the valuable black pepper (Piper nigrum) that European traders sought from Asia. Spanish and Portuguese explorers carried pepper seeds back to Europe in the early 1500s, from where they spread rapidly to Africa, Asia, and the Middle East through colonial trade routes.
The sweet, non-pungent bell pepper varieties we know today were selectively bred over centuries, primarily in Europe, where Hungarian and Spanish growers developed the large, thick-walled, mild varieties that became the foundation of modern bell pepper cultivation. Hungary's extensive pepper breeding programs in the 18th and 19th centuries also produced the famous paprika varieties that remain central to Hungarian cuisine.
Bell Pepper: did you know?
Fascinating facts about Bell Pepper
Bell peppers are the only member of the Capsicum genus that produce no capsaicin, the compound that makes other peppers hot — they score zero on the Scoville scale.
Bell Pepper questions, answered
When should I plant Bell Pepper?
What are good companion plants for Bell Pepper?
What hardiness zones can Bell Pepper grow in?
How much sun does Bell Pepper need?
How far apart should I space Bell Pepper?
What pests and diseases affect Bell Pepper?
How do I store Bell Pepper after harvest?
What are the best Bell Pepper varieties to grow?
What soil does Bell Pepper need?
Why are my bell pepper flowers falling off without setting fruit?
How do I get my green peppers to turn red?
What causes blossom end rot on bell peppers?
Can I grow bell peppers in containers?
Why are my bell peppers small and thin-walled?
Are bell peppers perennial?
You just read the theory. Now grow it on autopilot.
Everything that makes Bell Pepper fiddly — the timing, the spacing, the companions, the harvest window — is exactly what PlotMyGarden handles for you, for every plant in your garden.
A plan that knows your weather
Set your location once. Get sow, feed and harvest dates built around your real last-frost date and live forecast — no more guessing from a generic seed packet.
From the “When to plant” sectionDrag-and-drop bed planner
Design beds on a grid. Every plant snaps to its proper spacing, and you can see your whole season laid out before you spend a cent on seed.
From the “Growing guide” sectionCompanion conflicts, caught early
200+ good-and-bad pairings checked live as you plant — so a season-wrecking mistake never makes it into the ground.
From the “Companions” sectionReminders you'll actually act on
“Water the beans.” “Pick today before it turns.” Timely, specific, and tied to the plants you're really growing.
From the “Harvest” sectionSuccession, scheduled
Want a harvest for six weeks, not six days? It spaces your sowings automatically and reminds you when each new block is due.
From the “When to plant” sectionA record that gets smarter
Every harvest you log teaches it your garden. Next year's plan starts from what actually worked in your soil, not a textbook's.
From the “Overview” sectionPlant these alongside Bell Pepper

More Nightshades


Keep Bell Pepper away from these


Grow your best Bell Pepper yet — and everything around it.
Start a free plan today. Lay out your beds, drop in your Bell Pepper, and let PlotMyGarden handle the timing, spacing, companions and reminders from seed to harvest basket.