Jerusalem Artichoke
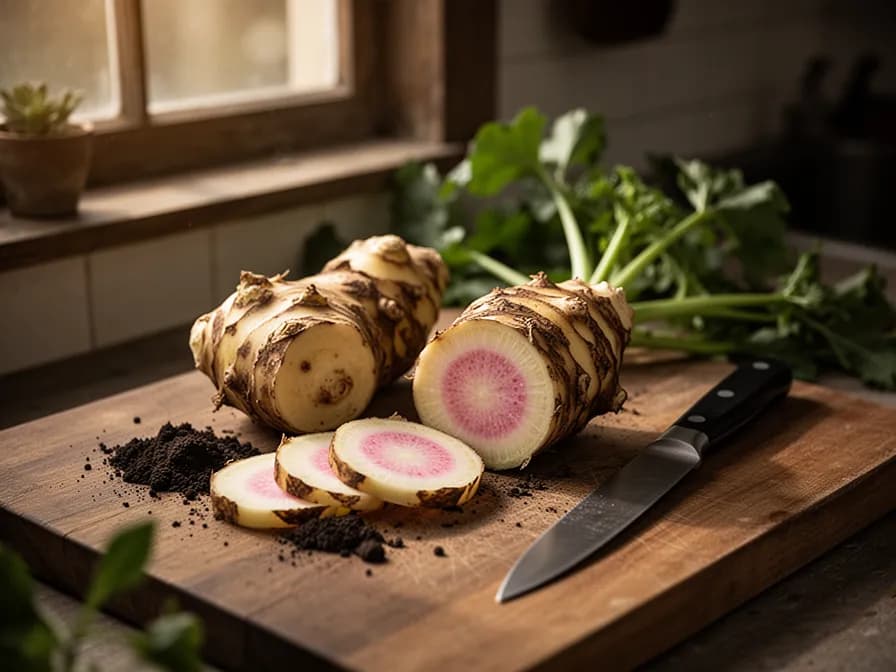
A sunflower relative producing knobby, edible tubers with a sweet, nutty flavor and crisp water chestnut-like texture.


On this pageOverview
Meet Jerusalem Artichoke
A sunflower relative producing knobby, edible tubers with a sweet, nutty flavor and crisp water chestnut-like texture. Jerusalem artichokes spread vigorously and can become invasive, so plant in a contained area or harvest thoroughly each year. The tubers are rich in inulin rather than starch, making them suitable for some diabetic diets but potentially causing digestive discomfort in large quantities. Harvest after frost for the sweetest flavor and enjoy raw in salads, roasted, or pureed into silky soups.
When to plant Jerusalem Artichoke
Jerusalem artichokes are grown from tuber pieces rather than seed. Purchase certified tubers from a garden supplier or use tubers from a known productive patch. Plant whole small tubers or cut larger ones into egg-sized pieces with at least two eyes each. Allow cut surfaces to dry for a day before planting. Set tubers 4-6 inches deep and 12-18 inches apart in early spring about 2 weeks before the last frost. They tolerate cold soil and will emerge when temperatures warm. No indoor starting is needed as they are extremely cold-hardy.
We watch the calendar so you don't have to
Tell us where you garden once. We line your sow and harvest windows up with your local season — and nudge you the moment each one opens.
See your exact Jerusalem Artichoke dates
Share your location once and we'll line every sow and harvest date up with your real local season — not a generic seed-packet guess.
Used once to set your season · never sharedHow to grow Jerusalem Artichoke
Jerusalem artichokes are among the easiest root crops to grow, thriving in almost any soil condition with minimal care. Plant tubers 4-6 inches deep and 12-18 inches apart in early spring, about 2 weeks before the last frost date. Choose a permanent location or contained bed, as any tuber fragments left in the soil will regrow vigorously the following year.
The plants grow rapidly to 6-10 feet tall, producing attractive yellow sunflower-like blooms in late summer. They tolerate poor soil, partial shade, and drought once established, though consistent moisture and full sun produce the best tuber yields. Provide a windbreak or stake tall plants in exposed locations to prevent wind damage.
Jerusalem artichokes spread aggressively through underground tubers and can quickly take over a garden bed. Plant in large containers, raised beds with solid bottoms, or dedicated areas bordered by paths or mowed grass. Harvest thoroughly each fall, removing even small tuber fragments to control spread. The tall stems make excellent windbreaks or screens for other garden crops during the growing season.
The bed planner spaces every plant for you
Pick a bed size and PlotMyGarden spaces your Jerusalem Artichoke at 45 cm, counts how many fit, and lays the block out before you buy a single seed.
Jerusalem Artichoke's best neighbours
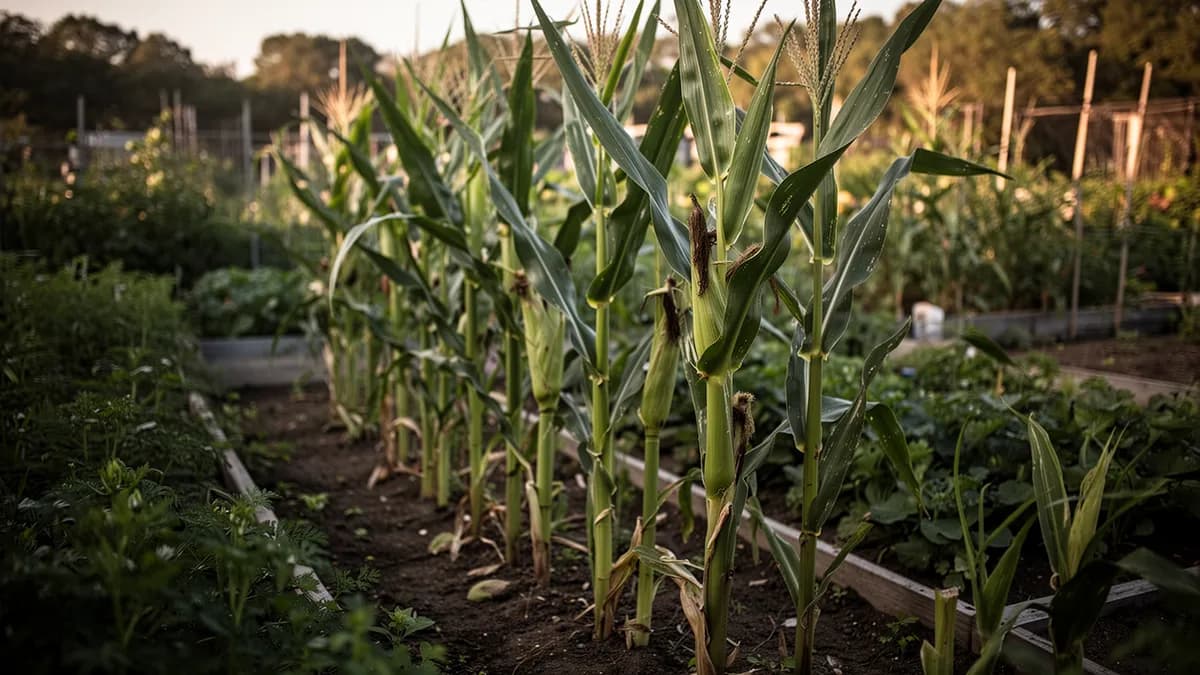
Jerusalem artichokes work well as a tall backdrop or windbreak along the north side of the garden, where they will not shade shorter crops. They pair well with corn and sunflowers in a tall-crop border. Their vigorous root system and height make them poor neighbors for most vegetables, so keep them in dedicated beds. Beans and peas can climb the tall stems as natural trellises. Avoid planting near tomatoes, as both are susceptible to similar soil-borne diseases.
It flags clashes before you plant, not after
Every plant you place is checked against its neighbours in real time. Good matches glow green; conflicts get flagged on the spot — so a season-wrecking mistake never makes it into the ground.
Feed it well
Jerusalem artichokes thrive in virtually any soil type from heavy clay to sandy loam, though loose, well-drained soil produces the best-shaped tubers. They tolerate pH from 5.8 to 7.5. These are not heavy feeders and excessive fertilization promotes tall, floppy stems at the expense of tuber production. A single application of balanced fertilizer or compost at planting is usually sufficient. In very poor soils, side-dress with compost mid-season. Avoid heavy nitrogen applications that encourage excessive top growth.
Ideal Temperature
Hardiness Zone Compatibility
From seed to harvest, stage by stage
Tuber Sprouting
Planted tuber pieces send up shoots from their eyes, pushing through the soil surface as thick, hairy stems. Roots develop simultaneously, anchoring the plant and beginning to explore outward. Sprouting occurs reliably even in cool soil temperatures of 6-10°C (43-50°F).
Vegetative Growth
Stems grow rapidly, reaching 1-2 meters tall with rough, sandpaper-textured leaves arranged oppositely on the lower stem and alternately higher up. The root system expands aggressively, and new stolons begin forming underground. Growth accelerates dramatically in warm weather.
Rapid Height Growth
Plants reach their full height of 2-3 meters, forming a dense canopy of foliage. Underground, stolons begin swelling at their tips as the plant stores energy in developing tubers. The stem becomes woody and sturdy at the base.
Flowering
Small bright yellow sunflower-like blooms 5-8 cm across appear at the stem tips in late summer to early autumn. The flowers attract bees and butterflies but rarely produce viable seed in most climates. Tuber swelling intensifies as the plant channels photosynthetic energy underground.
Tuber Bulking
The critical tuber-sizing phase occurs as autumn days shorten and temperatures cool. Foliage begins to yellow and senesce, and all remaining energy is directed into the underground tubers. Tubers grow rapidly in size during this period, sometimes doubling in weight in the final weeks.
Harvest Ready
After the first hard frosts kill the top growth, tubers are at peak sweetness as inulin converts to fructose in the cold. The tubers can remain in the ground through winter under mulch and be harvested as needed. Each original tuber piece has produced a cluster of 10-20 new tubers.
Plant tubers 10-15 cm deep with eyes facing upward. Keep the soil moderately moist but not waterlogged. Mark planting locations, as emergence can take 2-3 weeks depending on soil temperature.

Caring for Jerusalem Artichoke month by month
What to do each month for your Jerusalem Artichoke
July
You are herePlants approach full height. Stop nitrogen feeding to promote tuber development over top growth. Monitor for powdery mildew on lower leaves in humid conditions and improve air circulation if needed. Top plants at 2 meters if lodging is a concern.
Harvesting Jerusalem Artichoke
Jerusalem artichokes are best harvested after the first fall frosts, which convert inulin to fructose and sweeten the tubers. Cut the tall stems down to 6 inches, then use a garden fork to carefully dig around the root zone, lifting the entire clump. Collect all tubers, including small ones, to prevent unwanted regrowth. Tubers can also be left in the ground under mulch and dug as needed through winter, which keeps them fresher than any storage method. Harvest before spring growth resumes, as sprouting tubers become soft and lose flavor.
We count the days and tell you when to pick
Tell us when you planted and PlotMyGarden tracks the 130-day countdown to harvest, then pings you the day your Jerusalem Artichoke is ready.
Storage & Preservation
Jerusalem artichoke tubers are best stored in the ground under mulch for the freshest quality. Once dug, they keep only 1-2 weeks in the refrigerator in a paper bag, as their thin skin causes rapid dehydration. For longer cold storage, pack unwashed tubers in damp sand in a root cellar at 32-35°F for up to 2 months. Tubers can be sliced thin and dehydrated for chips, or pickled in vinegar for extended storage. Unlike potatoes, Jerusalem artichokes do not store well long-term after harvest, so dig only what you need at a time.
What goes wrong — and the fix
Sclerotinia Rot
DiseaseWhite cottony mold on stems near the soil line, wilting plants, and soft rotting tubers with white fungal growth.
Slugs and Snails
PestIrregular holes in leaves, slime trails on foliage, and damage to young shoots emerging in spring.
Powdery Mildew
DiseaseWhite powdery coating on leaves in late summer, followed by yellowing and premature leaf drop.
Troubleshooting Common Problems
The biggest challenge with Jerusalem artichokes is their invasive spreading habit. Even tiny tuber fragments left in the soil will regrow, making them difficult to eradicate once established. Plant only in contained areas you can manage. The tall plants can shade neighboring crops and may blow over in strong winds. Digestive discomfort from inulin is common when eating large quantities; gradually increase consumption to allow gut bacteria to adjust. Tubers stored after harvest dehydrate quickly due to their thin skin.
Growing Tips
- Containment is the single most important consideration when planting Jerusalem artichokes. Use a dedicated bed bordered by paths, install root barriers 60 cm deep, or plant in large containers. Any tuber fragment the size of a pea left in the ground will regrow, making removal nearly impossible once established in an open garden bed.
- Plant in full sun for maximum tuber production, but know that Jerusalem artichokes tolerate partial shade better than almost any other root crop. Plants in shade grow taller and leggier with smaller tuber yields, but still produce a worthwhile harvest.
- Choose smoother-skinned varieties like Red Fuseau or Clearwater to save hours of cleaning and preparation time. Wild-type and heirloom varieties with deeply knobby tubers are frustrating to peel and clean, though they often have excellent flavor.
- Leave tubers in the ground under mulch rather than digging and storing them. They stay fresh and crisp in the soil for months longer than they would in the refrigerator, and the cold soil continues to sweeten them. Dig only what you need at a time.
- Introduce Jerusalem artichokes into your diet gradually. The high inulin content causes significant digestive gas in most people when eaten in large quantities. Start with small portions (50-100g) and increase over 2-3 weeks as your gut bacteria adapt.
- Hill the plants like potatoes when stems reach 30 cm tall — mound soil 10-15 cm up around the base to encourage more tuber formation at multiple levels, significantly increasing your total harvest.
- Cut or top the plants at about 2 meters tall if they are growing in an exposed or windy location. This prevents the tall, top-heavy stems from lodging (falling over) in storms and also redirects some energy into tuber production.
- For the sweetest possible flavor, wait to harvest until after several hard frosts. Cold temperatures trigger the enzymatic conversion of inulin to fructose, noticeably sweetening the tubers. Tubers dug before frost have a more starchy, bland flavor.
Pick your Jerusalem Artichoke
Stampede
An early-maturing variety producing smooth, rounded tubers that are easier to clean and peel than knobby types.
Red Fuseau
Features elongated, smooth red-skinned tubers with fewer knobs, making preparation much easier than wild types.
Dwarf Sunray
A shorter variety reaching only 5-6 feet tall, more suitable for small gardens while still producing good tuber yields.
Clearwater
Produces exceptionally smooth, white-skinned tubers with mild, sweet flavor and good storage qualities.
Jerusalem artichokes are one of the most cost-effective crops a home gardener can grow. A few tubers costing $5-10 can produce 20-50 kg of harvest in the first year, with free replanting stock for all subsequent years since the tubers regenerate annually. At specialty grocery prices of $6-10 per pound, this represents $250-1000 in value from a one-time investment. The plants require virtually no inputs — no fertilizer, no pest control, no seed purchases — making them among the lowest-cost-per-kilogram crops possible in a home garden.
Quick recipes

Roasted Jerusalem Artichokes with Herbs
35 minScrubbed and halved tubers roasted at high heat until golden and caramelized, bringing out their natural sweetness and creating crispy edges with a creamy interior. No peeling needed — the thin skin adds flavor and texture.
7 ingredientsCreamy Jerusalem Artichoke Soup
40 minA silky, elegant soup with a subtle nutty sweetness that rivals the finest restaurant bisques. The natural creaminess of the tubers means you need very little actual cream for a luxurious texture.
8 ingredientsRaw Jerusalem Artichoke and Apple Slaw
15 minA crisp, refreshing slaw that showcases the water-chestnut-like crunch and mild sweetness of raw Jerusalem artichokes. The lemon dressing prevents browning and adds brightness.
8 ingredientsCulinary Uses
Jerusalem artichokes have a sweet, nutty flavor with a crisp, water-chestnut-like texture when raw. Slice thinly for salads or crudites. Roast with olive oil and herbs until caramelized for an exceptional side dish. Puree roasted tubers into silky soups with cream and nutmeg. They can be sauteed, baked into gratins, or added to stir-fries. The tubers also make excellent chips when sliced thin and fried or dehydrated.
What's inside
Health Benefits
- Outstanding prebiotic properties — the high inulin content feeds beneficial Bifidobacteria and Lactobacillus species in the gut, promoting a healthy microbiome and improved digestive function with regular consumption.
- Rich in iron (3.4mg per 100g, 19% DV), making Jerusalem artichokes one of the best plant-based iron sources among root vegetables — particularly valuable for vegetarians and vegans.
- High potassium content (429mg per 100g) supports cardiovascular health by helping regulate blood pressure and counteracting the effects of excess dietary sodium.
- Contains thiamine (vitamin B1) at 13% of the daily value per 100g, essential for converting carbohydrates into energy and supporting proper nerve and muscle function.
- The inulin fiber may help regulate blood sugar by slowing carbohydrate absorption and improving insulin sensitivity — studies suggest potential benefits for people managing type 2 diabetes.
- Low in fat and moderate in calories (73 per 100g), with a high satiety factor from the fiber content, making Jerusalem artichokes a filling food that supports weight management.
Where Jerusalem Artichoke comes from
Jerusalem artichoke (Helianthus tuberosus) is native to eastern North America, where it was cultivated by indigenous peoples for thousands of years before European contact. Archaeological evidence suggests Native American tribes including the Huron, Abenaki, and various Algonquin-speaking peoples grew the tubers as a staple food crop, selecting for larger, smoother tubers over many generations. The plant grows wild from Ontario to Georgia and west to the Great Plains, thriving along riverbanks, forest edges, and disturbed ground.
The French explorer Samuel de Champlain first documented Jerusalem artichokes in 1605 at Cape Cod, noting that the Nauset people cultivated them in large gardens. He sent tubers to France, where they arrived around 1607 and quickly became a popular vegetable in Parisian markets and aristocratic gardens. The Italian botanist Fabio Colonna grew them in Rome around the same time, and the plant spread rapidly across Europe. In France, they were initially called 'topinambours' after a Brazilian tribal name, a word still used in French today.
Jerusalem artichokes experienced cycles of popularity and neglect in European cuisine. They were a fashionable delicacy in 17th-century France but fell from favor when the potato became dominant. During both World Wars, they returned as an important food source because they grew productively on marginal land with virtually no care — this wartime association actually hurt their reputation afterward, as many Europeans associated them with deprivation and hardship. Today, Jerusalem artichokes are experiencing a renaissance in fine dining and health-conscious cooking, valued for their unique flavor, prebiotic inulin content, and exceptional ease of cultivation. They are commercially grown in France, Germany, the Netherlands, and parts of North America.
Jerusalem Artichoke: did you know?
Fascinating facts about Jerusalem Artichoke
Jerusalem artichokes have nothing to do with Jerusalem and are not artichokes — the name likely derives from the Italian word 'girasole' (sunflower), which was corrupted into 'Jerusalem' by English speakers. The 'artichoke' part comes from the similar flavor of the tubers to globe artichoke hearts.
Jerusalem Artichoke questions, answered
When should I plant Jerusalem Artichoke?
What are good companion plants for Jerusalem Artichoke?
What hardiness zones can Jerusalem Artichoke grow in?
How much sun does Jerusalem Artichoke need?
How far apart should I space Jerusalem Artichoke?
What pests and diseases affect Jerusalem Artichoke?
How do I store Jerusalem Artichoke after harvest?
What are the best Jerusalem Artichoke varieties to grow?
What soil does Jerusalem Artichoke need?
How do I stop Jerusalem artichokes from taking over my garden?
Why do Jerusalem artichokes cause so much gas and bloating?
When is the best time to harvest Jerusalem artichokes?
Can I grow Jerusalem artichokes in containers?
Do Jerusalem artichokes need to be peeled before eating?
Are Jerusalem artichokes safe for diabetics?
You just read the theory. Now grow it on autopilot.
Everything that makes Jerusalem Artichoke fiddly — the timing, the spacing, the companions, the harvest window — is exactly what PlotMyGarden handles for you, for every plant in your garden.
A plan that knows your weather
Set your location once. Get sow, feed and harvest dates built around your real last-frost date and live forecast — no more guessing from a generic seed packet.
From the “When to plant” sectionDrag-and-drop bed planner
Design beds on a grid. Every plant snaps to its proper spacing, and you can see your whole season laid out before you spend a cent on seed.
From the “Growing guide” sectionCompanion conflicts, caught early
200+ good-and-bad pairings checked live as you plant — so a season-wrecking mistake never makes it into the ground.
From the “Companions” sectionReminders you'll actually act on
“Water the beans.” “Pick today before it turns.” Timely, specific, and tied to the plants you're really growing.
From the “Harvest” sectionSuccession, scheduled
Want a harvest for six weeks, not six days? It spaces your sowings automatically and reminds you when each new block is due.
From the “When to plant” sectionA record that gets smarter
Every harvest you log teaches it your garden. Next year's plan starts from what actually worked in your soil, not a textbook's.
From the “Overview” sectionPlant these alongside Jerusalem Artichoke

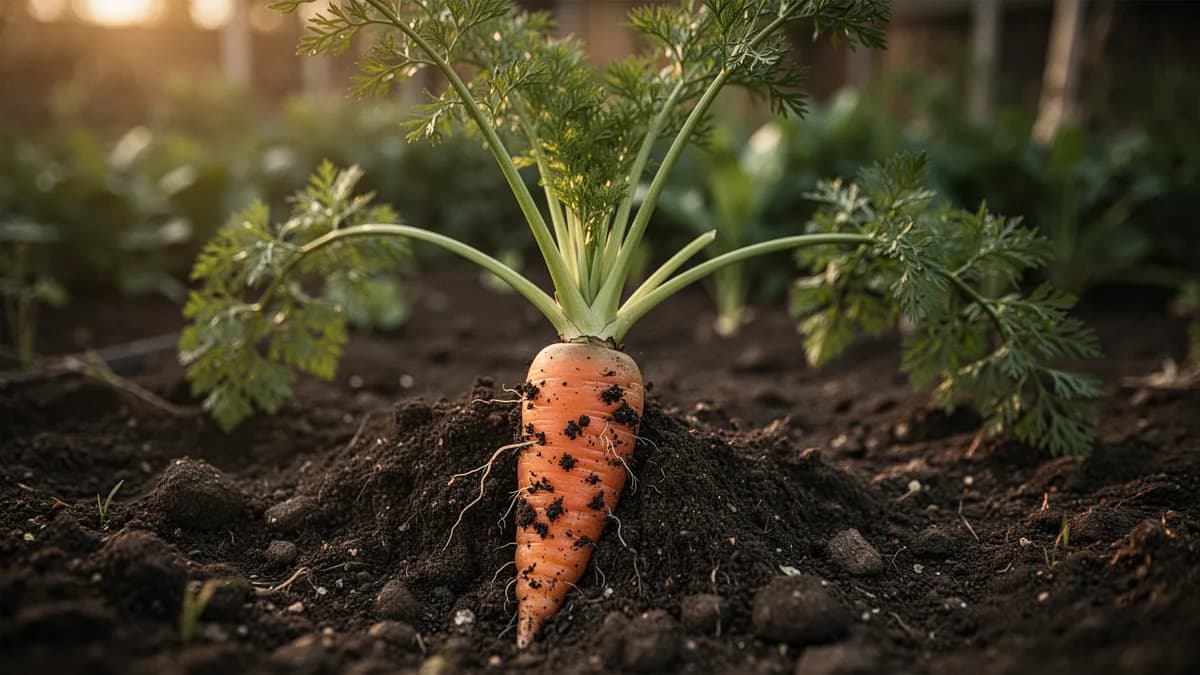
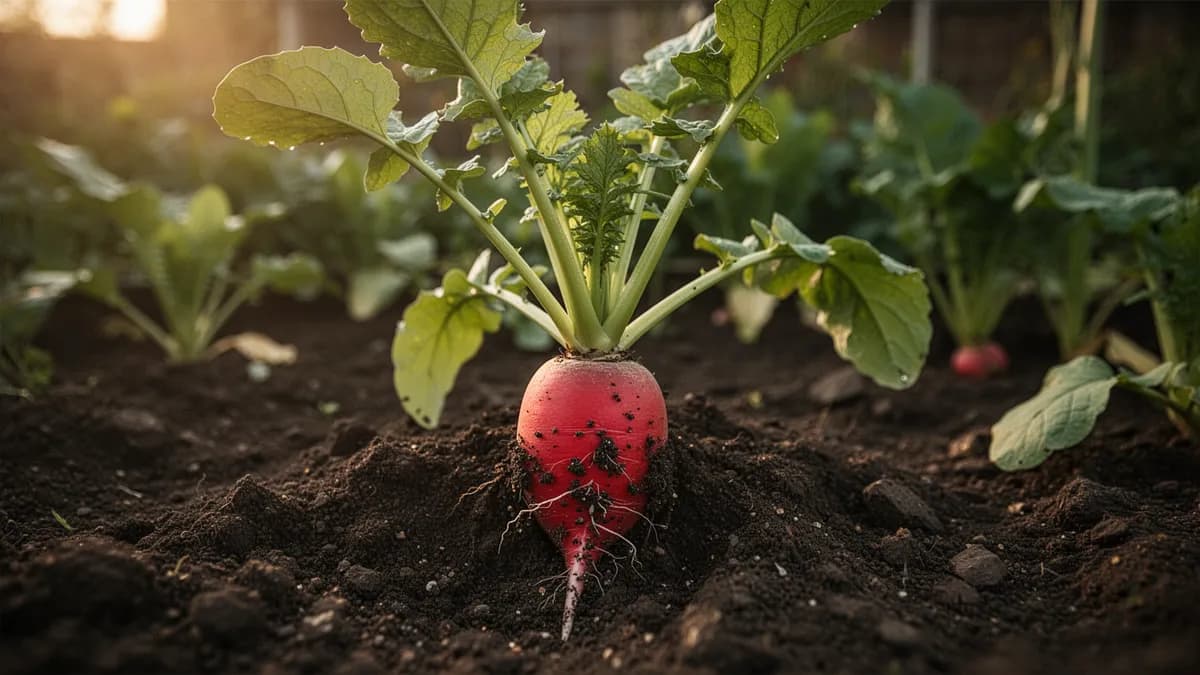
More Root Vegetables


Grow your best Jerusalem Artichoke yet — and everything around it.
Start a free plan today. Lay out your beds, drop in your Jerusalem Artichoke, and let PlotMyGarden handle the timing, spacing, companions and reminders from seed to harvest basket.