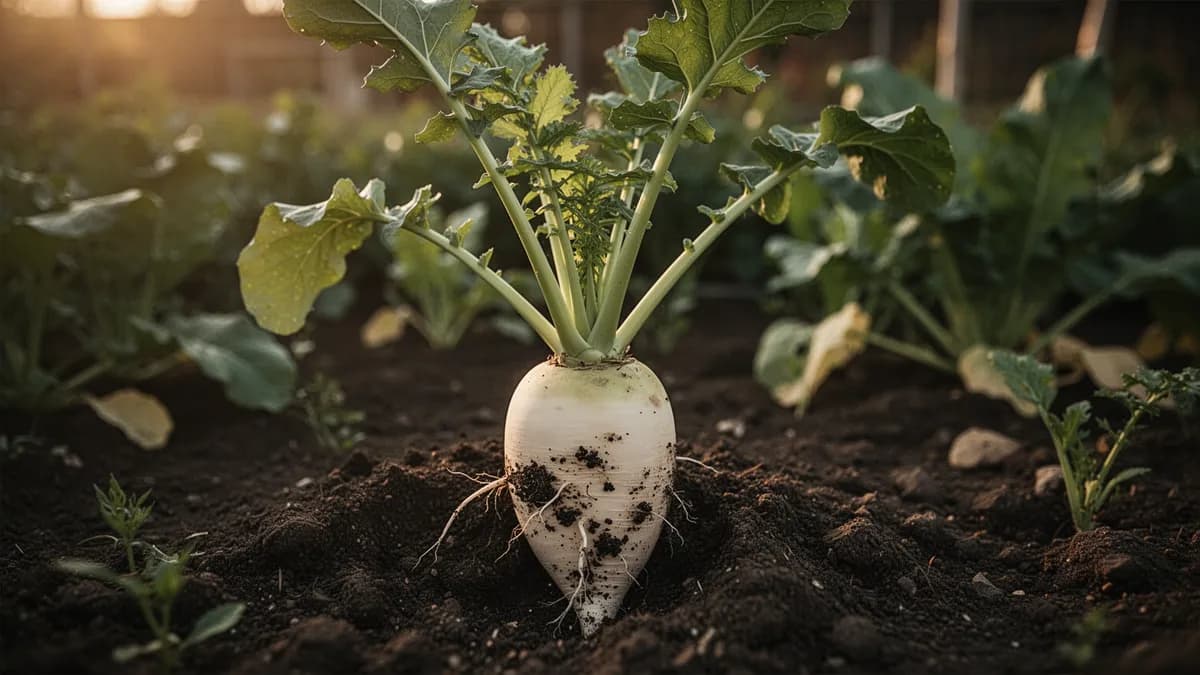
Taro
A tropical root crop with large, dramatic heart-shaped leaves, grown for its starchy corm that must be cooked before eating.


On this pageOverview
Meet Taro
A tropical root crop with large, dramatic heart-shaped leaves, grown for its starchy corm that must be cooked before eating. Taro thrives in wet, boggy conditions and can even be grown in standing water like rice paddies. The corms are rich in starch and fiber, with a nutty, slightly sweet flavor when boiled, steamed, or fried into chips. All parts contain calcium oxalate crystals that are destroyed by thorough cooking, so never eat taro raw.
When to plant Taro
Taro is propagated vegetatively from corm sections or small cormels rather than seed. Select healthy cormels or cut the top inch of a large corm including at least one growing point. Allow cut surfaces to dry for 1-2 days to prevent rot. In zones 9-12, plant directly outdoors after the last frost when soil temperatures reach 70°F. In cooler climates, start corms indoors in large pots 6-8 weeks before the last frost date, keeping them warm and moist. Transplant outdoors when nighttime temperatures consistently stay above 60°F. Space plants 18-24 inches apart in rows 36-48 inches apart.
We watch the calendar so you don't have to
Tell us where you garden once. We line your sow and harvest windows up with your local season — and nudge you the moment each one opens.
See your exact Taro dates
Share your location once and we'll line every sow and harvest date up with your real local season — not a generic seed-packet guess.
Used once to set your season · never sharedHow to grow Taro
Taro requires consistently warm temperatures above 70°F and a long frost-free growing season of at least six months. Start by planting small corms or corm sections with at least one growth bud in spring after all danger of frost has passed. Plant 3-4 inches deep in rich, moisture-retentive soil amended with generous amounts of compost or well-rotted manure.
This crop thrives in boggy, waterlogged conditions that would kill most other vegetables. Many growers cultivate taro in flooded paddies or in containers placed in shallow trays of water. If growing in regular garden soil, mulch heavily and water deeply and frequently to keep the soil constantly moist. Provide partial shade in hot climates, as the large leaves can scorch in intense direct sun.
Fertilize every 3-4 weeks with a balanced organic fertilizer or fish emulsion during the active growing season. Taro is a heavy feeder that benefits from side-dressing with compost mid-season. In cooler climates (zones 7-8), start corms indoors 6-8 weeks before the last frost and grow in large containers that can be moved indoors before fall temperatures drop. Hilling soil around the base encourages larger corm development.

The bed planner spaces every plant for you
Pick a bed size and PlotMyGarden spaces your Taro at 60 cm, counts how many fit, and lays the block out before you buy a single seed.
Taro's best neighbours
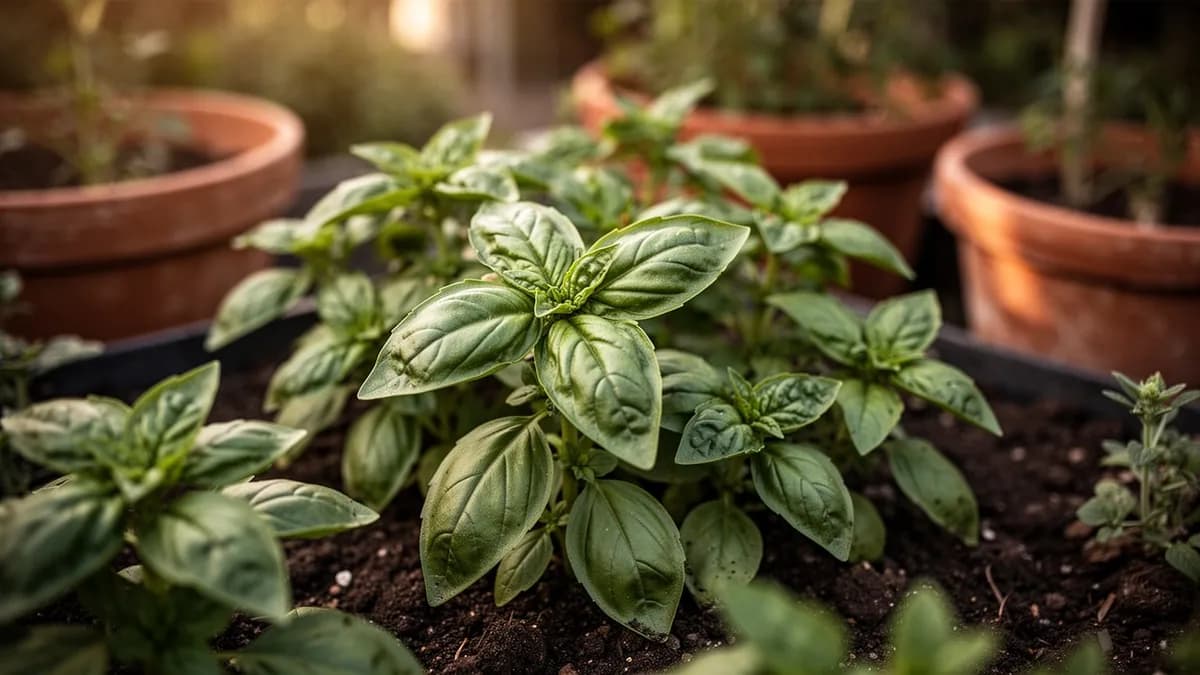
Taro grows well alongside ginger and turmeric, which share similar tropical growing requirements and partial shade preferences. Lemongrass planted nearby can help repel certain pests. In traditional Polynesian garden systems, taro is grown with sweet potato, banana, and breadfruit in complementary polycultures. Avoid planting near heavy-feeding brassicas that compete for nutrients. Taro's large leaves provide ground shade that can benefit shallow-rooted herbs planted nearby. Legumes grown in adjacent beds fix nitrogen that benefits taro's heavy feeding needs.
It flags clashes before you plant, not after
Every plant you place is checked against its neighbours in real time. Good matches glow green; conflicts get flagged on the spot — so a season-wrecking mistake never makes it into the ground.
Feed it well
Taro thrives in rich, heavy, moisture-retentive soil with a pH of 5.5-6.5. Amend planting areas with generous amounts of compost, aged manure, and leaf mold to increase organic matter content. For wetland culture, heavy clay soils work well as they retain standing water. Apply a balanced fertilizer (10-10-10) at planting, then switch to a nitrogen-rich fertilizer every 3-4 weeks during active growth. Side-dress with compost or well-rotted manure mid-season. Potassium is especially important for corm development, so supplement with wood ash or kelp meal as corms begin to size up.
Ideal Temperature
Hardiness Zone Compatibility
From seed to harvest, stage by stage
Corm Planting
Corm sections or small cormels are planted 8-10 cm deep in warm, moist soil. Roots emerge from the base of the corm within the first week, anchoring the plant and beginning to absorb water and nutrients. The first shoot appears as a tightly rolled spear pushing up through the soil surface after 2-3 weeks.
Early Leaf Development
The first leaves unfurl one at a time from the central growing point, each larger than the last. Young leaves are arrow-shaped and pale green, darkening and broadening as they mature. The plant develops 4-6 leaves during this stage and begins building its root system aggressively.
Rapid Vegetative Growth
Plants enter an explosive growth phase during the warmest months. Leaves expand to their full 40-60 cm width on tall petioles reaching 90-120 cm. The canopy closes over, shading the ground and suppressing weeds. Underground, the main corm begins to enlarge as the plant stores starch produced by the large leaf surface.
Corm Bulking
The underground corm swells rapidly as the plant redirects energy from leaf production to starch storage. Older outer leaves begin to yellow and die back naturally while the central leaves remain green. Side cormels develop around the base of the main corm. Growth above ground slows noticeably.
Maturation and Harvest
Most leaves yellow and collapse as the plant signals maturity. The corm has reached its maximum size and starch content. In tropical climates, taro can be left in the ground for several additional months without deterioration, effectively using the soil as storage. Harvest when 70-80% of leaves have yellowed.
Keep soil consistently saturated but not submerged during initial rooting. Soil temperature must be at least 21°C (70°F) for reliable sprouting. Planting in cold, wet soil invites corm rot before roots can establish.

Caring for Taro month by month
What to do each month for your Taro
July
You are herePeak vegetative growth — leaves reach maximum size. Maintain consistent water supply without interruption. Apply potassium-rich fertilizer (kelp meal, wood ash) to begin supporting corm bulking. Remove any yellowing outer leaves to improve air circulation.
Harvesting Taro
Taro is ready to harvest when the leaves begin to yellow and die back naturally, typically 7-12 months after planting depending on the variety. Carefully dig around the plant with a garden fork, loosening soil well away from the corm to avoid damage. Lift the entire plant and shake off excess soil. Separate the main corm from the smaller cormels, which can be saved for replanting. Cure harvested corms in a warm, dry location for a few days before storage. Remember that all parts must be thoroughly cooked before eating to destroy calcium oxalate crystals.

We count the days and tell you when to pick
Tell us when you planted and PlotMyGarden tracks the 180-day countdown to harvest, then pings you the day your Taro is ready.
Storage & Preservation
Store unwashed taro corms in a cool, dark, well-ventilated area at 45-55°F with moderate humidity. Under proper conditions, corms will keep for several months. Do not refrigerate, as temperatures below 45°F cause chilling injury. For longer preservation, peel, cut into cubes, blanch for 3 minutes, and freeze for up to 12 months. Taro can also be peeled, sliced thin, and dehydrated into chips. Cooked taro mash freezes well and can be thawed for poi, soups, or baking applications.
What goes wrong — and the fix
Taro Leaf Blight
DiseaseCircular brown or purple lesions on leaves that expand rapidly in wet weather, eventually destroying the entire leaf.
Aphids
PestClusters of small soft-bodied insects on leaf undersides and new growth, causing curled or distorted leaves and sticky honeydew residue.
Corm Rot
DiseaseSoft, mushy areas in the corm with foul odor, often starting at wounds or damage sites. Plants may wilt suddenly.
Spider Mites
PestFine stippling on leaf surfaces, yellowing leaves, and visible webbing on the undersides of leaves in dry conditions.
Troubleshooting Common Problems
The most common challenge with taro is providing enough warmth and moisture in temperate climates. Insufficient water leads to small, fibrous corms with poor flavor. Cold temperatures below 60°F slow growth dramatically and frost kills the plant outright. Leaves may develop brown edges from wind damage or low humidity. Corms planted too shallowly may turn green and become bitter. In areas with short growing seasons, start plants indoors and use black plastic mulch to warm the soil. Overwatering in poorly drained non-paddy soil can lead to root rot.
Growing Tips
- Moisture is everything with taro. Unlike nearly every other vegetable, taro cannot be overwatered. In paddy culture, maintain 5-10 cm of standing water throughout the growing season. In dryland culture, water deeply every 2-3 days and never allow the soil to dry out — a single drought episode during corm bulking can reduce yields by 40-60%.
- Start with the best planting material you can find. The top 2-3 cm of a mature corm (called the huli) with a portion of the petiole attached produces the fastest, most vigorous growth. Small cormels also work well. Avoid planting old, shriveled, or damaged corms that are prone to rot.
- Partial shade produces the best results in most gardens. Taro evolved as an understory plant and performs optimally with 4-6 hours of direct sun plus filtered light for the remainder of the day. Full tropical sun can scorch leaves and stress plants — provide afternoon shade in hot climates.
- Feed heavily and often. Taro is one of the heaviest-feeding crops in the garden. Apply a nitrogen-rich fertilizer every 3-4 weeks during vegetative growth, then switch to potassium-rich feeds (kelp meal, wood ash) once corms begin bulking at around 4 months. Compost tea applied every 2 weeks gives excellent results.
- Hill the soil around the base of the plant as it grows, similar to potatoes. This encourages larger corm development, prevents the top of the corm from turning green (which causes bitterness), and provides support for the tall, heavy leaf canopy.
- In temperate climates (zones 7-8), use every trick available to extend the season. Start corms indoors 6-8 weeks early, use black plastic mulch to warm the soil, plant against a south-facing wall for reflected heat, and cover with row fabric on cool nights. Every extra week of warm growing conditions translates directly into larger corms.
- Grow in containers if your climate is marginal. A 60-80 liter container (15-20 gallons) placed in a shallow tray kept filled with water mimics paddy conditions beautifully. Containers can be moved indoors or to a greenhouse when temperatures threaten to drop below 15°C (60°F).
- Never eat any part of the taro plant raw. All parts contain calcium oxalate crystals (raphides) that cause intense burning and irritation of the mouth and throat. Thorough cooking — boiling for at least 30-45 minutes, steaming, or baking — completely neutralizes these crystals and makes taro perfectly safe and delicious to eat.
Pick your Taro
Bun Long
A popular wetland variety with elongated corms and excellent flavor, widely grown in Hawaii for making poi.
Dasheen
A large-cormed variety grown primarily for its main corm rather than cormels, with smooth, creamy flesh when cooked.
Eddoe
A smaller, hardier type that produces clusters of small cormels rather than one large corm, better suited to drier conditions.
Lehua Maoli
A traditional Hawaiian variety with pinkish flesh prized for making high-quality poi with a distinctive sweet flavor.
Chinese Taro
A compact variety well-suited to container growing with smaller corms and attractive ornamental foliage.
Taro corms sell for $3-6 per pound at specialty and Asian grocery stores, and $6-12 per pound at farmers markets. A single plant producing 2-4 kg of corms represents $13-50 worth of taro at retail prices. Growing 6-10 plants can save $80-300 per season. The savings are even more dramatic for processed taro products — frozen taro costs $5-8 per bag, taro chips sell for $6-10 per bag, and prepared poi runs $8-15 per pound. Growing your own taro also guarantees access to a crop that is frequently unavailable or of poor quality in mainstream grocery stores outside of Hawaii and major Asian markets.
Quick recipes
Traditional Hawaiian Poi
45 minThe sacred staple food of Hawaiian culture — taro corms steamed until tender, then pounded into a smooth, starchy paste and thinned with water. Fresh poi has a mild, slightly sweet flavor that develops a pleasant tanginess as it naturally ferments over 2-3 days.
4 ingredientsCrispy Taro Chips
30 minThinly sliced taro fried until golden and shatteringly crisp — a beloved snack across Southeast Asia and the Pacific Islands. The natural starch in taro creates an exceptionally crunchy chip with a subtle nutty sweetness that pairs perfectly with sea salt.
4 ingredientsCoconut Taro Soup
40 minA creamy, comforting soup where cubed taro melts into a rich coconut broth infused with ginger and lemongrass. Common throughout Southeast Asian and Pacific Island cuisines, this soup showcases taro's ability to create a velvety, naturally thickened broth.
7 ingredientsCulinary Uses
Taro must always be cooked thoroughly before eating. The starchy corms can be boiled, steamed, roasted, or fried into crispy chips. Traditional Hawaiian poi is made by mashing cooked taro with water. Taro is used in soups, stews, and curries across Asian and Pacific Island cuisines. The cooked corm can be sliced and pan-fried, mashed as a potato substitute, or used in baked goods like taro bread and mochi. Young taro leaves can also be cooked thoroughly and eaten like spinach.
What's inside
Health Benefits
- Taro's high resistant starch content acts as a prebiotic, feeding beneficial gut bacteria (particularly Bifidobacterium and Lactobacillus species) and promoting the production of short-chain fatty acids that support colon health and reduce inflammation.
- Exceptionally rich in potassium (591mg per 100g), taro helps regulate blood pressure by counteracting the effects of sodium and supporting healthy cardiovascular function — particularly important for people on typical high-sodium Western diets.
- Contains a unique protein called tarin, which has demonstrated anti-tumor and immunomodulatory properties in laboratory studies, stimulating the activity of macrophages and other immune cells.
- The high fiber content (4.1g per 100g) combined with resistant starch gives taro a relatively low glycemic index (53-58) compared to other starchy staples like white rice or potatoes, supporting more stable blood sugar levels after meals.
- Rich in vitamin B6, which plays a critical role in over 100 enzyme reactions in the body, including amino acid metabolism, neurotransmitter synthesis, and hemoglobin production for oxygen transport in the blood.
- Taro's hypoallergenic properties make it one of the safest starchy foods for people with food allergies or sensitivities — poi made from taro is medically prescribed as a first food for infants with multiple food allergies.
Where Taro comes from
Taro (Colocasia esculenta) originated in the tropical wetlands of Southeast Asia, most likely in the region spanning modern-day Malaysia, Indonesia, and northeastern India. It is among the oldest cultivated food crops in human history, with evidence of deliberate cultivation at the Kuk Swamp archaeological site in the highlands of Papua New Guinea dating to approximately 10,000 years ago — making taro agriculture roughly contemporary with the earliest grain cultivation in the Fertile Crescent.
From its Southeast Asian homeland, taro spread in two great waves. The first carried it westward through India and into Africa, where it became a dietary staple in West Africa, Madagascar, and the Nile Delta of Egypt — the ancient Egyptians called it 'kolkas,' a name that survives in the modern Arabic word for taro. The second wave carried taro eastward into the Pacific, where it became the most important food crop of the Austronesian-speaking peoples who colonized Melanesia, Micronesia, and Polynesia over thousands of years.
In Hawaii, taro (kalo) achieved a cultural significance unmatched anywhere else in the world. It was not merely a food but a sacred ancestor — the embodiment of Haloa, the firstborn child of the gods. The sophisticated flooded taro paddy systems (lo'i kalo) developed by Native Hawaiians were engineering marvels that sustained populations of hundreds of thousands across the island chain. At the time of European contact in 1778, Hawaii had an estimated 20,000 acres of taro under cultivation. Colonial disruption, water diversion, and the introduction of foreign diseases devastated both the Hawaiian people and their taro cultivation.
Today, taro remains a staple food for hundreds of millions of people across the tropics. Nigeria is the world's largest producer, followed by China, Cameroon, and Ghana. In the Pacific Islands, taro cultivation is experiencing a cultural renaissance as indigenous communities reclaim traditional agricultural knowledge. Modern breeding programs are developing disease-resistant varieties to combat taro leaf blight, which has devastated crops in Samoa and other Pacific nations.
Taro: did you know?
Fascinating facts about Taro
Taro is one of the oldest cultivated crops on Earth, with archaeological evidence of taro cultivation in the Kuk Swamp of Papua New Guinea dating back nearly 10,000 years — predating rice and wheat agriculture by thousands of years.
Taro questions, answered
When should I plant Taro?
What are good companion plants for Taro?
What hardiness zones can Taro grow in?
How much sun does Taro need?
How far apart should I space Taro?
What pests and diseases affect Taro?
How do I store Taro after harvest?
What are the best Taro varieties to grow?
What soil does Taro need?
Can I grow taro from corms bought at the grocery store?
Why are my taro leaves turning yellow before the plant is mature?
Is it safe to eat taro leaves, and how do I prepare them?
Can taro be grown in a regular garden without standing water?
How long does taro take to mature, and can I speed it up?
What is the difference between taro, eddoe, and malanga?
You just read the theory. Now grow it on autopilot.
Everything that makes Taro fiddly — the timing, the spacing, the companions, the harvest window — is exactly what PlotMyGarden handles for you, for every plant in your garden.
A plan that knows your weather
Set your location once. Get sow, feed and harvest dates built around your real last-frost date and live forecast — no more guessing from a generic seed packet.
From the “When to plant” sectionDrag-and-drop bed planner
Design beds on a grid. Every plant snaps to its proper spacing, and you can see your whole season laid out before you spend a cent on seed.
From the “Growing guide” sectionCompanion conflicts, caught early
200+ good-and-bad pairings checked live as you plant — so a season-wrecking mistake never makes it into the ground.
From the “Companions” sectionReminders you'll actually act on
“Water the beans.” “Pick today before it turns.” Timely, specific, and tied to the plants you're really growing.
From the “Harvest” sectionSuccession, scheduled
Want a harvest for six weeks, not six days? It spaces your sowings automatically and reminds you when each new block is due.
From the “When to plant” sectionA record that gets smarter
Every harvest you log teaches it your garden. Next year's plan starts from what actually worked in your soil, not a textbook's.
From the “Overview” sectionPlant these alongside Taro

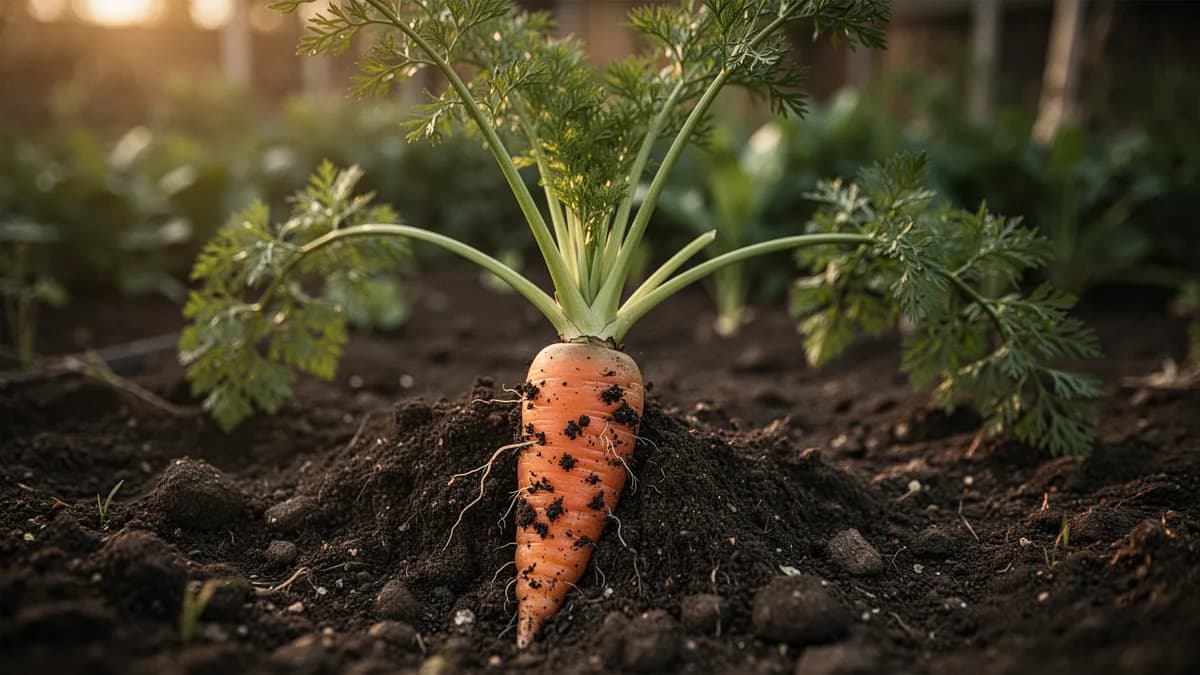
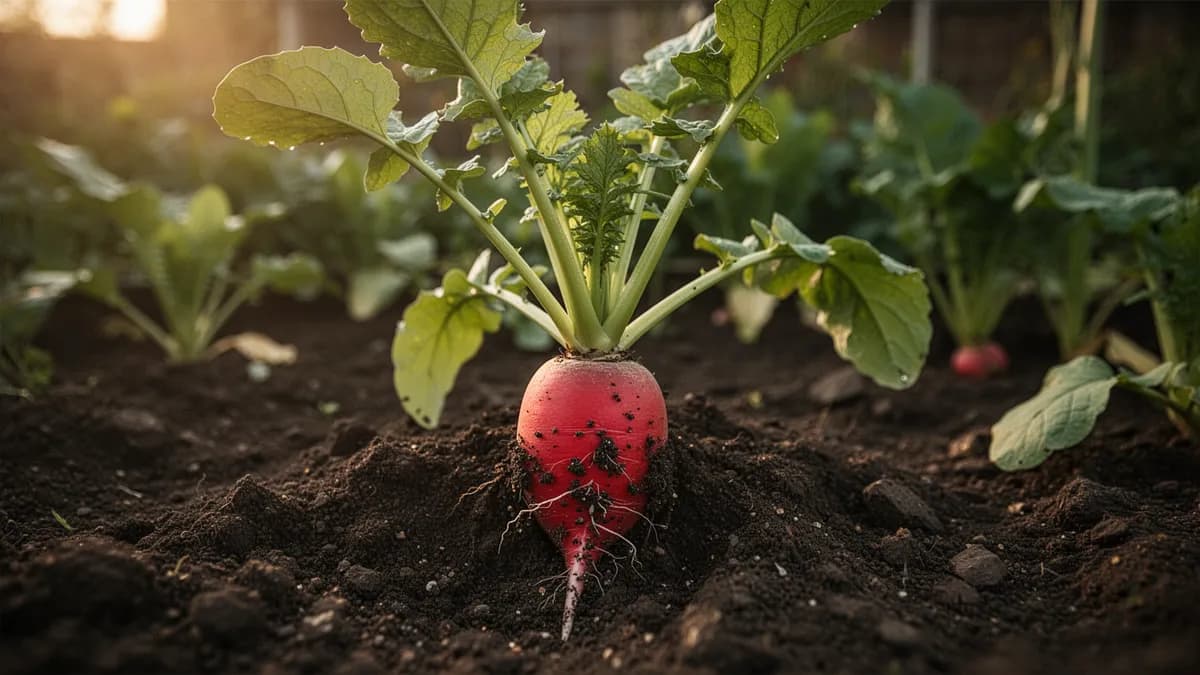
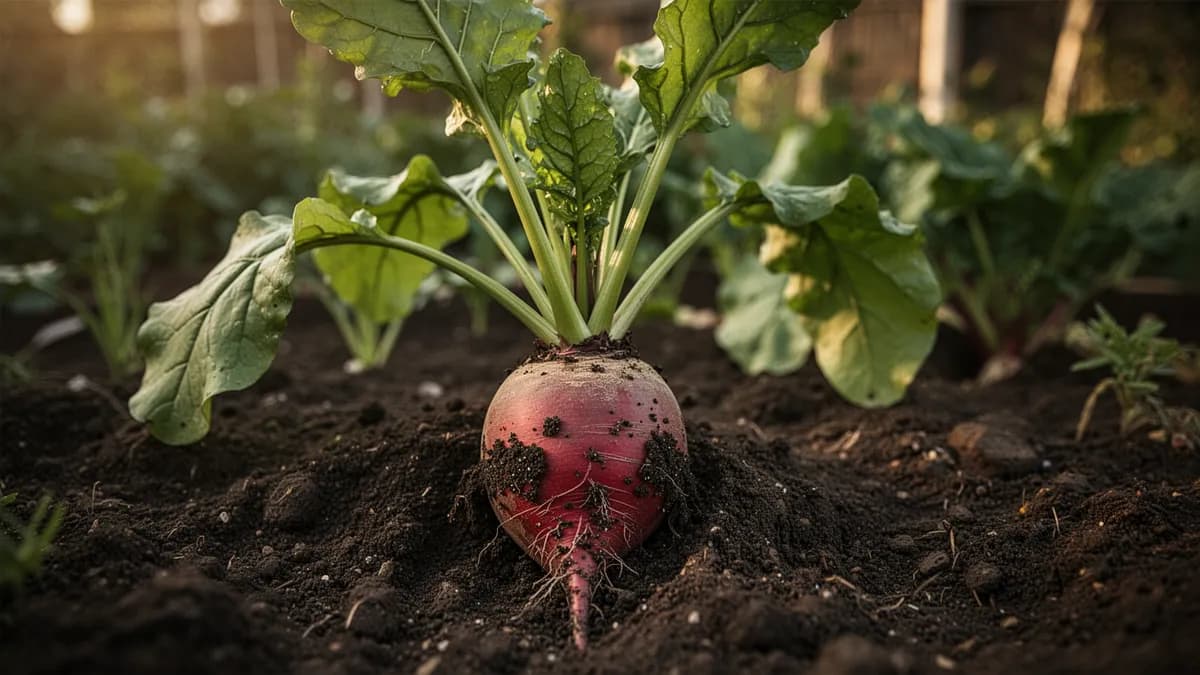
More Root Vegetables


Grow your best Taro yet — and everything around it.
Start a free plan today. Lay out your beds, drop in your Taro, and let PlotMyGarden handle the timing, spacing, companions and reminders from seed to harvest basket.