Self-Heal
A low-growing mint family member with purple flower spikes, used in traditional herbal medicine as an all-purpose healing herb.


On this pageOverview
Meet Self-Heal
A low-growing mint family member with purple flower spikes, used in traditional herbal medicine as an all-purpose healing herb. Self-heal makes an excellent ground cover in shaded areas and is one of the most commonly found medicinal plants worldwide. Harvest the flowering tops for teas and topical preparations used for minor wound care.
When to plant Self-Heal
Self-heal seeds germinate best with cold stratification—mix seeds with damp sand and refrigerate for 4-6 weeks before sowing. Surface-sow on moist compost as seeds need light to germinate. Keep at 15-20°C and expect germination in 2-4 weeks. Alternatively, direct-sow outdoors in autumn and let winter provide natural stratification. Self-heal also spreads readily by division of established clumps in spring or autumn, which is the fastest way to establish new patches.
We watch the calendar so you don't have to
Tell us where you garden once. We line your sow and harvest windows up with your local season — and nudge you the moment each one opens.
See your exact Self-Heal dates
Share your location once and we'll line every sow and harvest date up with your real local season — not a generic seed-packet guess.
Used once to set your season · never sharedHow to grow Self-Heal
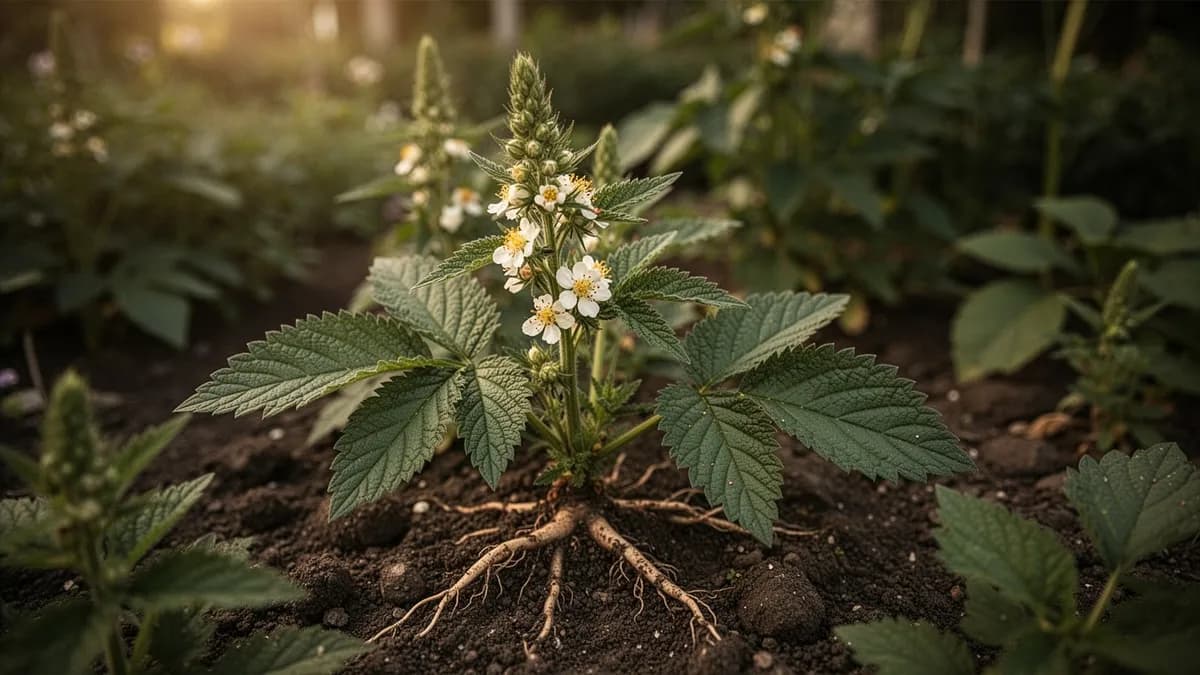
Self-heal is one of the easiest medicinal herbs to establish, often naturalizing so readily that gardeners must manage its spread rather than encourage growth. Plant in partial shade to full sun in any reasonable garden soil—self-heal adapts to clay, loam, sandy, and even rocky conditions. It spreads by short stolons and self-seeding, forming a dense mat of foliage 10-20cm tall with flower spikes reaching 30cm.
Water regularly during establishment but reduce once plants are rooted, as self-heal tolerates moderate drought surprisingly well for a mint family member. Mow or trim after the first flowering flush in midsummer to encourage a second bloom period. In lawn settings, self-heal coexists beautifully with grass if mowing height is kept at 7-10cm.
Self-heal thrives in the understory of orchards, along garden paths, and as a ground cover beneath taller herbs. It is essentially maintenance-free once established and returns reliably year after year even in harsh climates. Divide spreading patches every 3-4 years to share plants or control coverage area.
The bed planner spaces every plant for you
Pick a bed size and PlotMyGarden spaces your Self-Heal at 20 cm, counts how many fit, and lays the block out before you buy a single seed.
Self-Heal's best neighbours
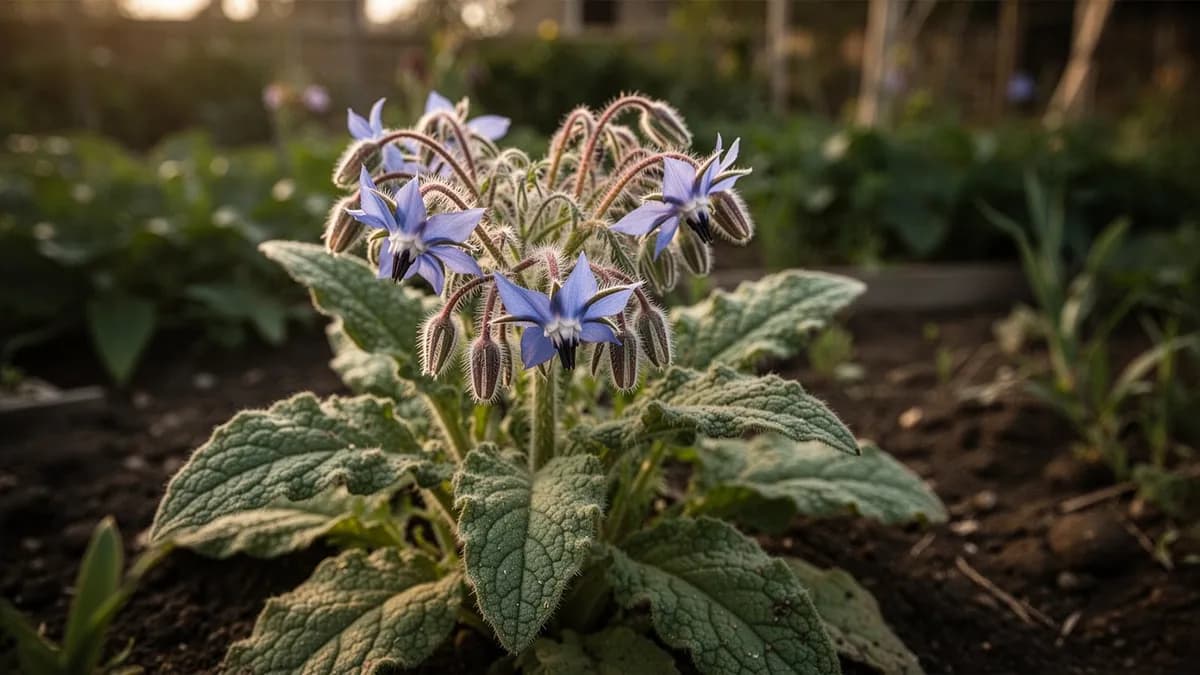
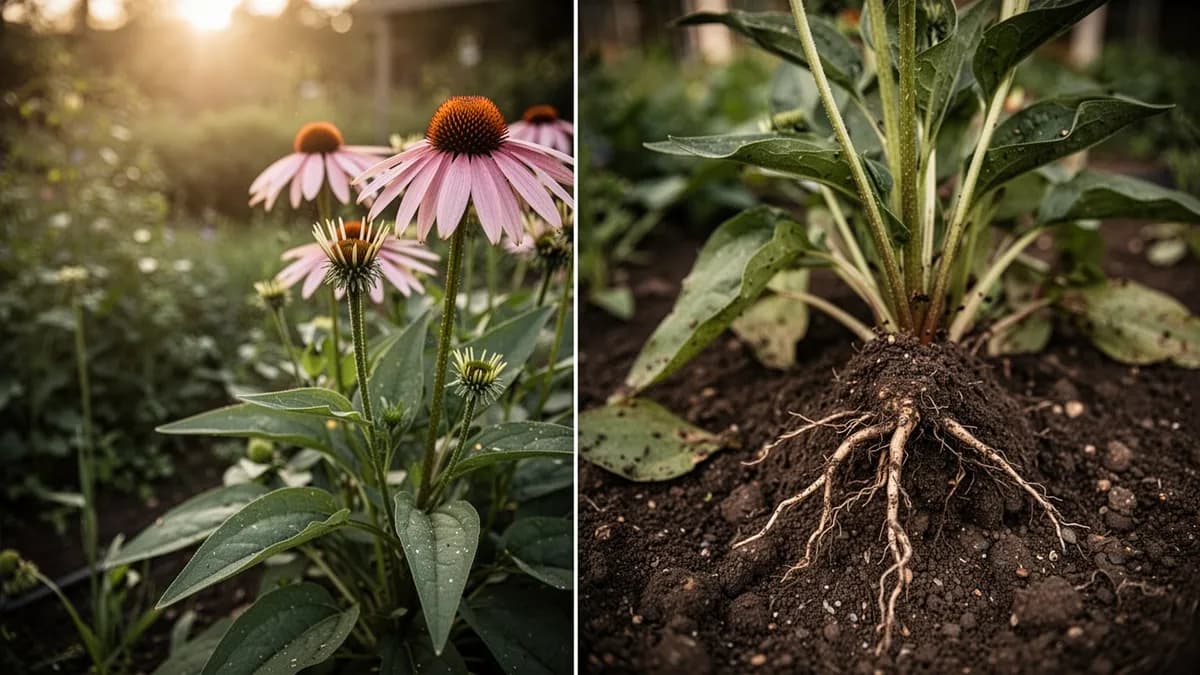
Self-heal is an excellent pollinator-friendly ground cover beneath taller medicinal herbs like echinacea, valerian, and elecampane. It fills gaps that might otherwise become weedy while attracting bees and beneficial insects to the garden. In wildflower meadows, it coexists with clover, plantain, yarrow, and native grasses. The low growth habit means it rarely competes with neighboring plants for light.
It flags clashes before you plant, not after
Every plant you place is checked against its neighbours in real time. Good matches glow green; conflicts get flagged on the spot — so a season-wrecking mistake never makes it into the ground.
Feed it well
Self-heal grows in virtually any soil type from heavy clay to sandy loam, pH 5.5-7.5. It actually performs best in moderately fertile soil—overly rich conditions produce lush foliage but weaker medicinal compounds. No fertilizer is typically needed. If soil is extremely poor, a light top-dressing of compost in spring is sufficient. Avoid high-nitrogen feeds which promote leaf growth at the expense of flowering.
Ideal Temperature
Hardiness Zone Compatibility
From seed to harvest, stage by stage
Seed Sowing
Self-Heal seeds require a period of cold stratification (2-4 weeks at 1-5°C) to break dormancy before sowing. Sow seeds on the surface of moist, well-drained seed-starting mix and press lightly without covering, as they need light to germinate.
Germination
Seedlings emerge slowly and irregularly over 2-3 weeks. The first leaves are small, rounded cotyledons followed by opposite pairs of oval true leaves with slightly scalloped edges. Growth is slow at this stage.
Vegetative Rosette
Plants form low basal rosettes of dark green, slightly hairy oval leaves. The square stems characteristic of the mint family become apparent. Plants begin to spread via short stolons that root at the nodes, gradually forming a dense mat.
Stem Elongation
Upright flowering stems rise 10-30 cm from the spreading rosettes. The square stems bear opposite pairs of lance-shaped to oval leaves. Compact cylindrical flower buds begin forming at the stem tips, resembling small green pinecones.
Flowering
Dense cylindrical flower spikes open from the bottom upward, displaying clusters of two-lipped tubular flowers in violet, purple, or occasionally pink or white. Each spike is 2-5 cm long and surrounded by leaf-like bracts. Flowering continues for 6-8 weeks.
Seed Set
After pollination, the flower spikes dry to brown and develop four small nutlets per floret within the persistent calyx. The dried spikes resemble small brown clubs and remain on the plant through autumn. Seeds drop naturally or are dispersed by wind and rain.
Dormancy and Overwintering
As temperatures drop, the above-ground growth dies back to the basal rosettes, which persist through winter in most climates. The creeping stolons and root crowns remain alive under the soil, ready to produce vigorous new growth the following spring.
If direct sowing outdoors in autumn, natural winter cold provides the stratification needed. For spring sowing indoors, mix seeds with damp sand and refrigerate for 4 weeks before planting.

Caring for Self-Heal month by month
What to do each month for your Self-Heal
July
You are hereNo specific care tasks for this month.
Harvesting Self-Heal
Harvest self-heal when flowers are in full bloom, typically from June through August. Cut the flowering stems just above the basal rosette of leaves, leaving enough foliage for the plant to regenerate. The entire above-ground portion is used medicinally. Harvest in mid-morning after dew has dried but before the heat of day. For the strongest medicinal properties, gather from plants growing in partial shade rather than full sun.

We count the days and tell you when to pick
Tell us when you planted and PlotMyGarden tracks the 90-day countdown to harvest, then pings you the day your Self-Heal is ready.
Storage & Preservation
Dry self-heal by bundling stems and hanging upside down in a warm, airy space away from direct sunlight. Alternatively, spread on screens in a dehydrator at 35°C. Once fully dry and brittle, strip leaves and flowers from stems and store in airtight glass jars in a cool, dark place. Dried self-heal retains potency for 12-18 months. Fresh herb can also be tinctured immediately in vodka or glycerin for longer-lasting preparations.
What goes wrong — and the fix
Powdery Mildew
DiseaseWhite powdery coating on leaves, especially in humid conditions with poor air circulation.
Slugs and Snails
PestIrregular holes in leaves and slime trails, particularly on young growth in moist conditions.
Troubleshooting Common Problems
The most common 'problem' with self-heal is its enthusiastic spreading—it can colonize lawn areas and garden beds if not contained. Use edging or barriers to control spread. In very dry conditions, plants may go dormant and look brown, but they recover with rain. Failure to flower usually indicates too much shade or too-frequent mowing. If grown in deep shade, plants become leggy and sparse.
Growing Tips
- Cold-stratify Self-Heal seeds for 2-4 weeks in damp sand in the refrigerator before spring sowing to break dormancy and improve germination rates. Alternatively, sow outdoors in autumn and let winter provide natural stratification.
- Surface-sow seeds on moist soil and press lightly without covering, as Self-Heal seeds need light to germinate. Keep the seedbed consistently moist with a fine mist until sprouts appear in 14-30 days.
- Choose a site with partial shade to full sun and moist, well-drained soil. Self-Heal naturally grows in meadows, woodland edges, and along paths, and it thrives in conditions that mimic these habitats.
- Space transplants 20-30 cm apart and expect them to fill in quickly via creeping stolons. Self-Heal makes an excellent living ground cover between stepping stones, along garden borders, or beneath taller perennials.
- Water regularly during the first growing season to help plants establish a strong root system. Once established, Self-Heal is moderately drought-tolerant but produces the best flowers with consistent moisture.
- Avoid heavy fertilization. Self-Heal thrives in average to lean soil and excessive nitrogen promotes rank vegetative growth with fewer flower spikes and lower concentrations of medicinal compounds.
- Harvest the aerial parts when about two-thirds of the flowers on a spike are open, typically in midsummer. Cut stems 5-8 cm above the ground to allow regrowth and a possible second harvest later in the season.
- Dry harvested herb promptly by spreading it in a single layer on screens in a warm, well-ventilated area out of direct sunlight. Properly dried Self-Heal should retain its purple color and have a faint minty aroma.
- Manage spread by removing unwanted stolons or planting Self-Heal within defined borders, raised beds, or containers. While not aggressively invasive, it can colonize open ground readily in favorable conditions.
- Divide established clumps in early spring or autumn every 2-3 years to rejuvenate plantings and share with fellow gardeners. Each division should include a portion of the root crown with several rosette shoots.
Pick your Self-Heal
Common Self-Heal
The standard wild species with purple flowers, found across temperate regions worldwide. Most commonly used medicinally.
Prunella vulgaris var. lanceolata
North American native variety with narrower leaves and slightly taller growth habit. Equally medicinal.
Prunella grandiflora
Large-flowered self-heal with showier purple blooms. More ornamental but less commonly used in herbal medicine.
Self-Heal is one of the most cost-effective medicinal herbs to grow at home. A single packet of seeds costs $2-4 and produces dozens of plants that spread readily and return year after year without replanting. Once established, a 1-square-meter patch can yield 200-400 g of dried herb per season. With dried Self-Heal selling for $15-30 per 100 g at herbal apothecaries and health stores, a modest garden patch can save $30-120 annually. The plant requires virtually no fertilizer, tolerates poor soil, and is rarely affected by pests or diseases, keeping ongoing costs near zero.
Quick recipes

Self-Heal Herbal Tea Infusion
15 minutesA gentle, earthy herbal tea made from dried Self-Heal flower spikes and leaves. Traditionally taken to support immune function, soothe sore throats, and promote overall wellness. The infusion has a mild, slightly astringent flavor with faint minty undertones.
5 ingredients
Self-Heal Wound Salve
30 minutes active, 2-4 weeks infusingA soothing herbal salve made by infusing Self-Heal in oil, then thickening with beeswax. Applied topically to minor cuts, scrapes, insect bites, and skin irritations. This traditional preparation harnesses the herb's astringent and anti-inflammatory compounds for natural first-aid care.
5 ingredientsSelf-Heal and Mint Cold Tonic
20 minutes plus chillingA refreshing chilled herbal tonic combining Self-Heal with fresh mint and lemon. Traditionally enjoyed during summer as a cooling health drink, this tonic is rich in antioxidants and has a pleasant, lightly herbaceous flavor that is both restorative and thirst-quenching.
6 ingredientsWhat's inside
Health Benefits
- Rich in rosmarinic acid, a powerful antioxidant and anti-inflammatory compound that has demonstrated antiviral activity against herpes simplex and other viruses in laboratory studies.
- Traditionally used as a throat and mouth remedy, Self-Heal tea or gargle can help soothe sore throats, mouth ulcers, and inflamed gums thanks to its astringent tannins and mucilage content.
- Contains ursolic acid and oleanolic acid, triterpenoids that have shown potential anticancer, liver-protective, and anti-diabetic properties in preclinical research.
- Supports wound healing when applied topically as a poultice, compress, or salve. The herb's antibacterial and astringent properties help cleanse minor cuts and promote tissue repair.
- May support cardiovascular health through its flavonoid content, including rutin, which strengthens capillary walls and helps reduce blood pressure in traditional herbal practice.
- Used in Traditional Chinese Medicine for over two millennia to clear liver heat and reduce swelling, particularly for treating headaches, dizziness, and swollen lymph nodes associated with inflammatory conditions.
Where Self-Heal comes from
Self-Heal (Prunella vulgaris) is a remarkably resilient perennial herb belonging to the Lamiaceae (mint) family, with a medicinal history spanning thousands of years and virtually every traditional healing system across the Northern Hemisphere. The plant is native to Europe, Asia, and North Africa, and has naturalized throughout North America, Australia, and other temperate regions worldwide. Its presence in such diverse ecosystems speaks to its extraordinary adaptability. In European folk medicine, Self-Heal was one of the most important wound herbs from the medieval period onward. The 16th-century herbalist John Gerard declared it effective for closing wounds and healing sores, while Nicholas Culpeper later recommended it for ailments of the throat, mouth, and internal organs. Its common names tell the story of its reputation: Heal-All, Carpenter's Herb (used to treat tool injuries), Sicklewort, and Hook-Heal all point to its association with wound care among laborers and tradespeople. In Traditional Chinese Medicine, Prunella vulgaris has an even longer documented history. Known as Xia Ku Cao, it appears in classical texts dating back over two millennia and remains a staple in modern Chinese herbal pharmacopeias. It is classified as a herb that clears liver fire and is prescribed for conditions including headaches, dizziness, eye inflammation, and swollen lymph nodes. Native American peoples also adopted Self-Heal extensively after its introduction to the continent, using it in poultices for wounds, as a wash for sore eyes, and as an infusion for fevers and digestive complaints. Modern pharmacological research has validated many traditional uses by identifying potent bioactive compounds in the plant, including rosmarinic acid, ursolic acid, oleanolic acid, and various flavonoids. Studies have demonstrated significant antioxidant, anti-inflammatory, antimicrobial, and antiviral properties. Today Self-Heal is experiencing a renaissance in herbal medicine circles and is increasingly valued in pollinator-friendly gardens as a hardy, low-maintenance ground cover that supports native bee populations.
Self-Heal: did you know?
Fascinating facts about Self-Heal
The genus name Prunella is believed to derive from the German word 'Braune' (quinsy or tonsillitis), reflecting the herb's long history of use as a throat remedy throughout Central Europe.
Self-Heal questions, answered
When should I plant Self-Heal?
What are good companion plants for Self-Heal?
What hardiness zones can Self-Heal grow in?
How much sun does Self-Heal need?
How far apart should I space Self-Heal?
What pests and diseases affect Self-Heal?
How do I store Self-Heal after harvest?
What are the best Self-Heal varieties to grow?
What soil does Self-Heal need?
Is Self-Heal safe to eat and use medicinally?
How do I prevent Self-Heal from spreading too aggressively in my garden?
Can I grow Self-Heal in a container or pot?
When and how should I harvest Self-Heal for maximum medicinal potency?
What growing conditions does Self-Heal prefer?
Does Self-Heal attract pollinators to the garden?
You just read the theory. Now grow it on autopilot.
Everything that makes Self-Heal fiddly — the timing, the spacing, the companions, the harvest window — is exactly what PlotMyGarden handles for you, for every plant in your garden.
A plan that knows your weather
Set your location once. Get sow, feed and harvest dates built around your real last-frost date and live forecast — no more guessing from a generic seed packet.
From the “When to plant” sectionDrag-and-drop bed planner
Design beds on a grid. Every plant snaps to its proper spacing, and you can see your whole season laid out before you spend a cent on seed.
From the “Growing guide” sectionCompanion conflicts, caught early
200+ good-and-bad pairings checked live as you plant — so a season-wrecking mistake never makes it into the ground.
From the “Companions” sectionReminders you'll actually act on
“Water the beans.” “Pick today before it turns.” Timely, specific, and tied to the plants you're really growing.
From the “Harvest” sectionSuccession, scheduled
Want a harvest for six weeks, not six days? It spaces your sowings automatically and reminds you when each new block is due.
From the “When to plant” sectionA record that gets smarter
Every harvest you log teaches it your garden. Next year's plan starts from what actually worked in your soil, not a textbook's.
From the “Overview” sectionPlant these alongside Self-Heal


More Medicinal Herbs


Grow your best Self-Heal yet — and everything around it.
Start a free plan today. Lay out your beds, drop in your Self-Heal, and let PlotMyGarden handle the timing, spacing, companions and reminders from seed to harvest basket.