Malabar Spinach
A tropical vining green that thrives in hot weather when true spinach has long bolted, producing thick, succulent leaves.





On this pageOverview
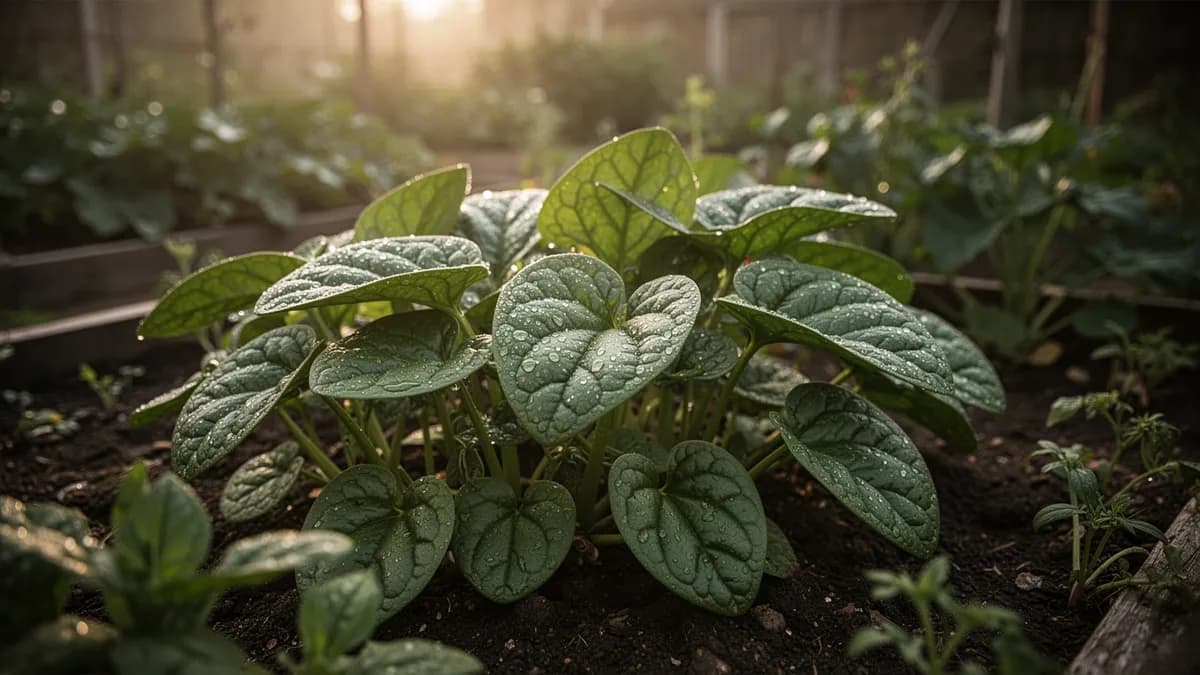
Meet Malabar Spinach
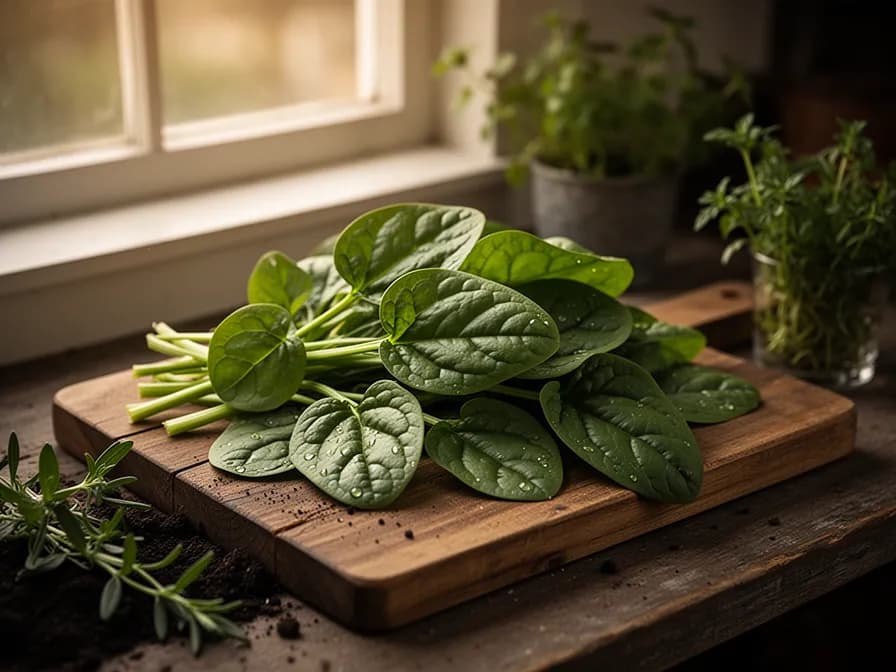
A tropical vining green that thrives in hot weather when true spinach has long bolted, producing thick, succulent leaves. Malabar spinach is a vigorous climber that needs a trellis and can quickly cover a fence with attractive glossy foliage. The mucilaginous texture thickens when cooked, making it excellent in soups, stews, and curries. Plant after all danger of frost has passed and provide full sun and warm soil for best growth.
When to plant Malabar Spinach
Soak seeds in warm water for 24 hours before sowing to soften the hard seed coat and improve germination. Start indoors 6-8 weeks before last frost, sowing 1/2 inch deep in warm conditions (75-85°F). Germination is slow, taking 10-21 days. A heat mat significantly improves germination rates. Transplant after all frost danger when soil is warm (65°F+). Direct sowing is only practical in long-season, warm climates. Scarifying seeds with sandpaper can also improve germination speed.
Your Malabar Spinach Year
Composed for Zone 7 · typical seasons · frost passes Apr 2, returns Nov 1
Plant Malabar Spinach May – Jun, pick Jul – Oct. Check the planting methods below and set your climate to personalize these windows.
How to grow Malabar Spinach
Start Malabar spinach seeds indoors 6-8 weeks before the last frost date, as germination is slow. Soak seeds in warm water for 24 hours before sowing 1/2 inch deep. Seeds germinate in 10-21 days at 75-85°F. Transplant outdoors only after all frost danger has passed and soil temperature exceeds 65°F. Space plants 12-18 inches apart along a sturdy trellis or fence.
Malabar spinach is a true tropical plant that thrives in heat and humidity. It grows slowly in temperatures below 80°F and stops growing entirely below 60°F. Provide full sun and consistent moisture for the lushest growth. This vigorous vine can reach 10-15 feet in a single season and needs a strong support structure. Water regularly and feed every 2-3 weeks with a balanced fertilizer.
Begin harvesting individual leaves and young shoot tips once vines reach 2-3 feet long. Regular harvesting encourages branching and bushier growth. The plant produces throughout summer and into fall, providing spinach-like greens during the hottest months when true spinach is impossible to grow. In tropical climates, Malabar spinach is a perennial; in temperate zones, it is grown as an annual.
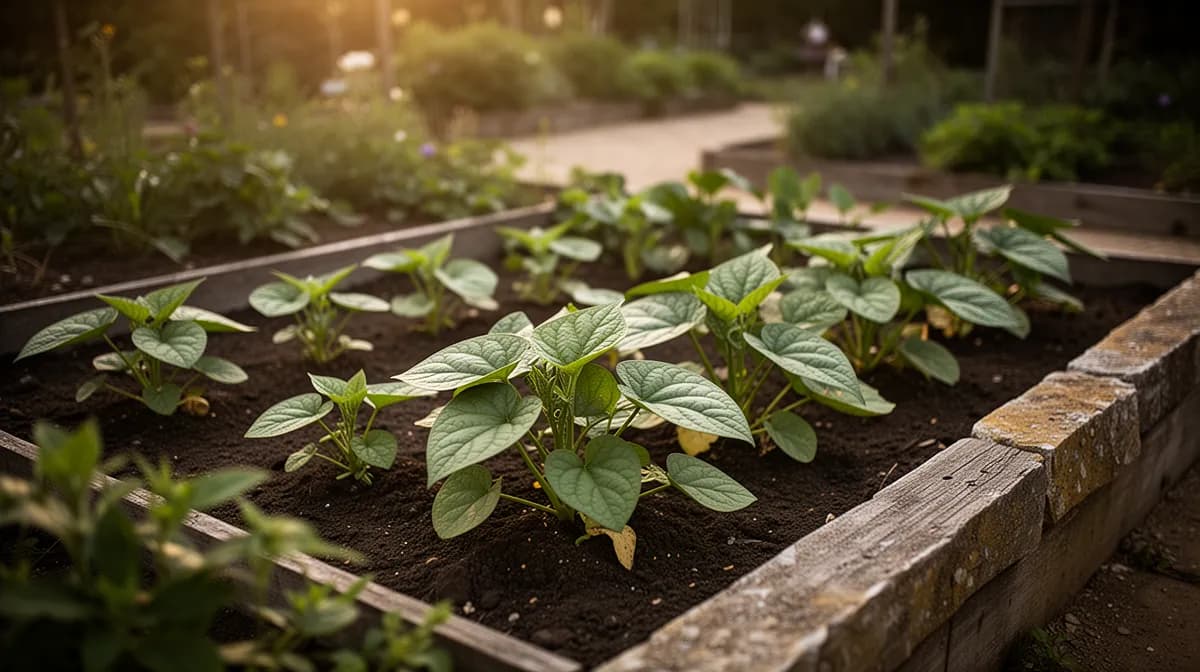
32 plants fit a 4 × 8 ft bed
Each Malabar Spinach wants 30 cm of elbow room. The planner keeps that spacing for you — every plant, every bed.
Malabar Spinach's best neighbours
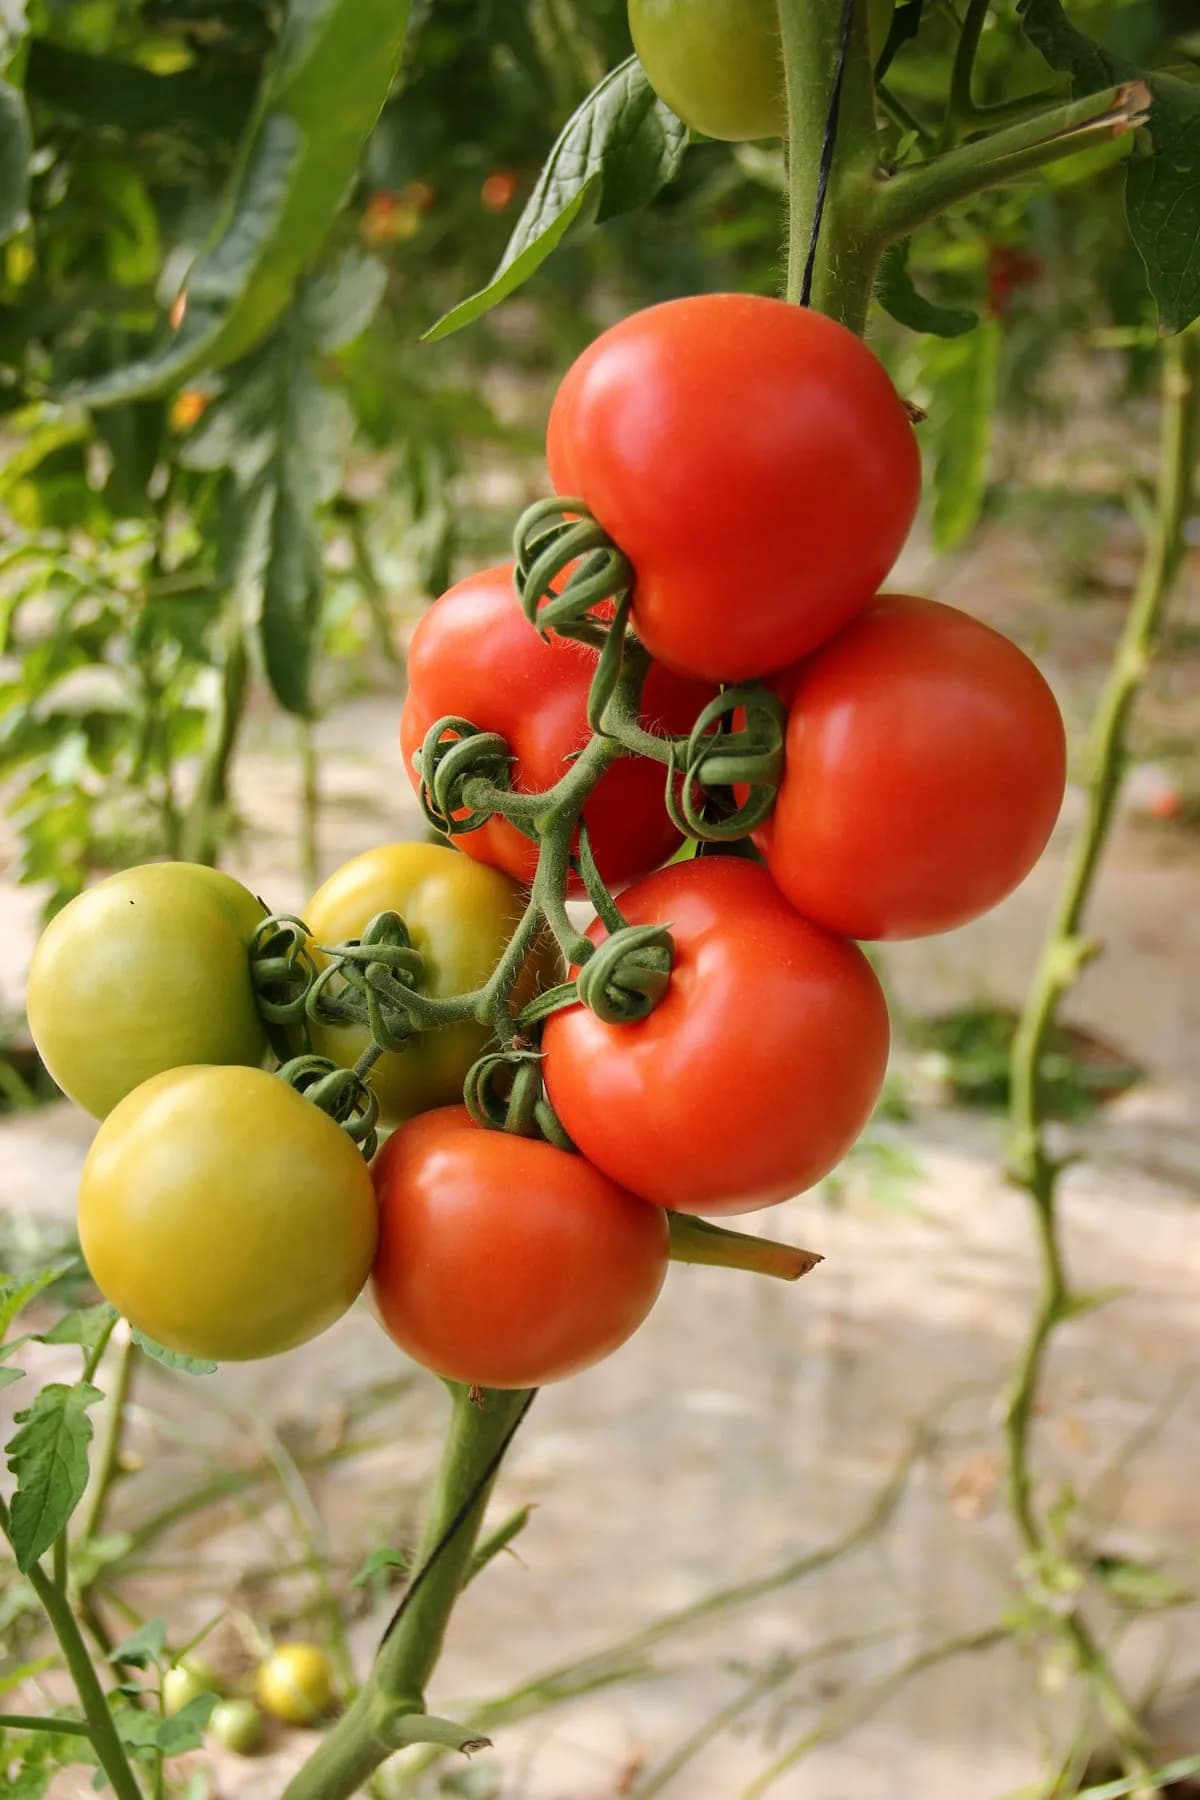
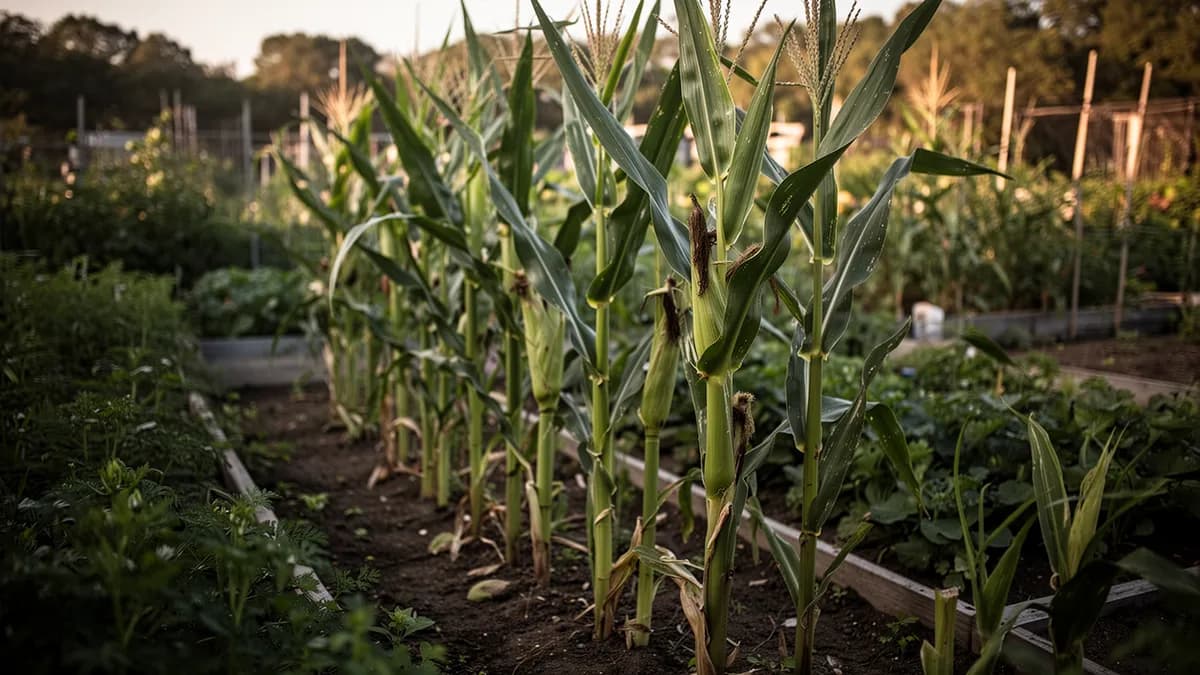
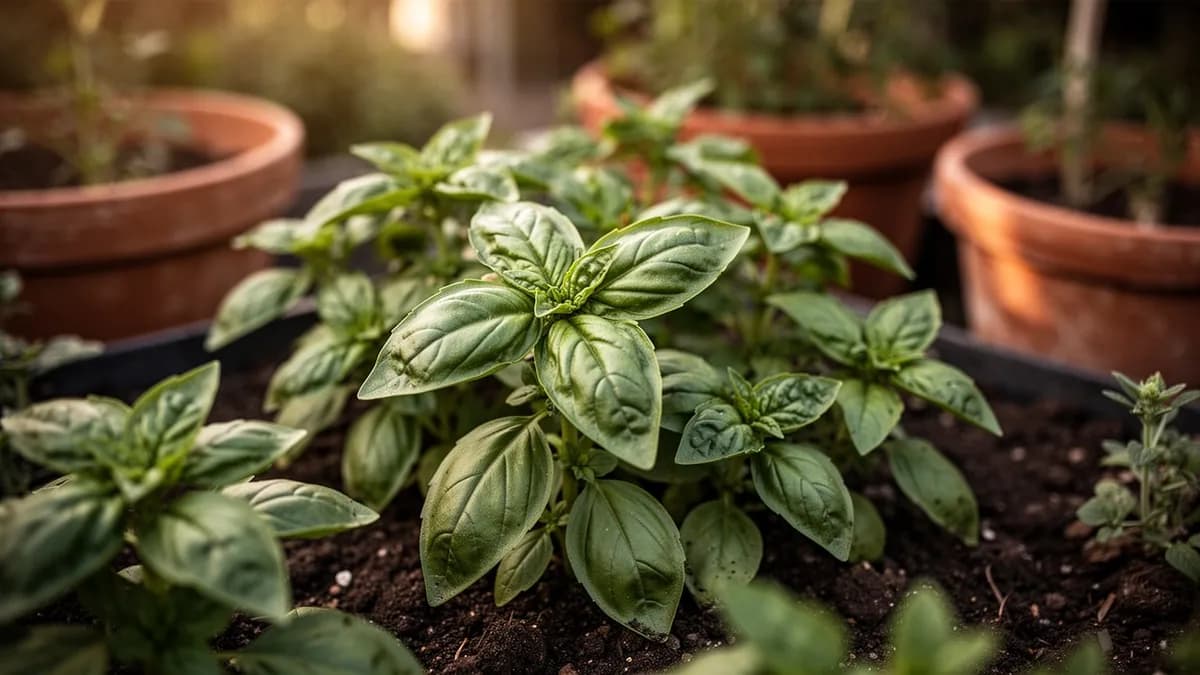
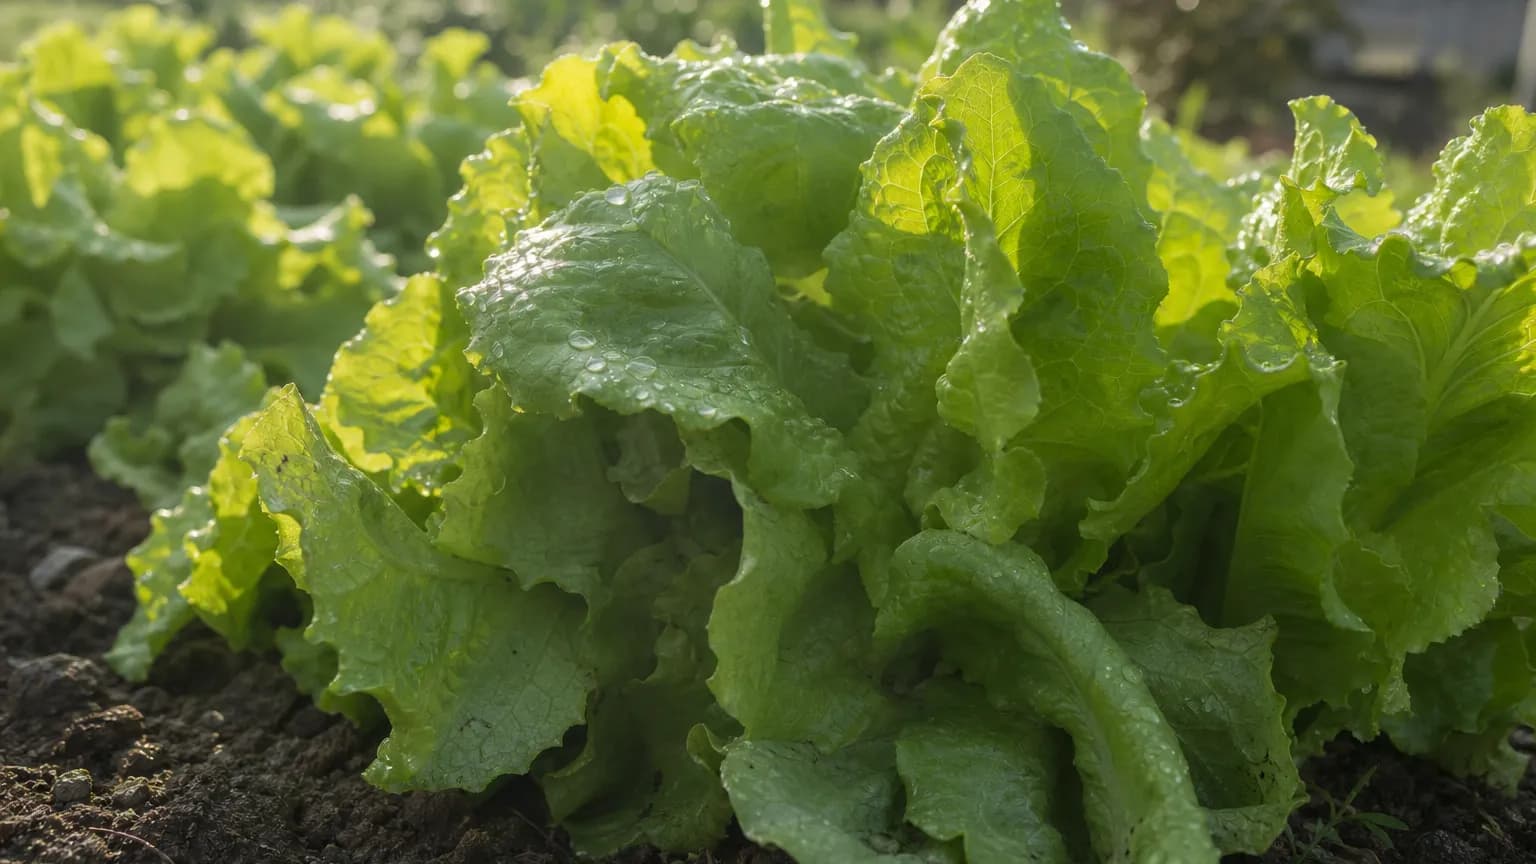
Malabar spinach grows well with heat-loving crops like tomatoes, corn, basil, and peppers. Train vines to climb corn stalks or trellised tomato cages for double use of vertical space. The lush vines can provide shade for lettuce or other cool-season crops planted at the base. Avoid planting near cool-season crops that would be harvested before the Malabar spinach begins producing. The attractive purple-stemmed variety doubles as an ornamental screen.
Tomato belongs beside it.
Old growers' knowledge, checked against Malabar Spinach's real companion table below — test any plant you're growing.
Try Malabar Spinach in a bed — right here
A real planner bed with Malabar Spinach already in it. Tap a companion to place it and watch the pairing checks answer — green for good neighbours, red for a clash.


Related growing guides
Feed it well
Malabar spinach thrives in rich, moist, well-drained soil with a pH of 6.0-6.8. Amend with generous compost and aged manure before planting. Apply a balanced fertilizer every 2-3 weeks during the growing season to support vigorous vine growth. As a tropical plant, it benefits from warm, fertile soil. Mulch around the base to maintain moisture. In containers, use a large pot (at least 5 gallons) with rich potting mix and provide regular feeding.
Ideal Temperature
Hardiness Zone Compatibility
From seed to harvest, stage by stage
Seed Germination
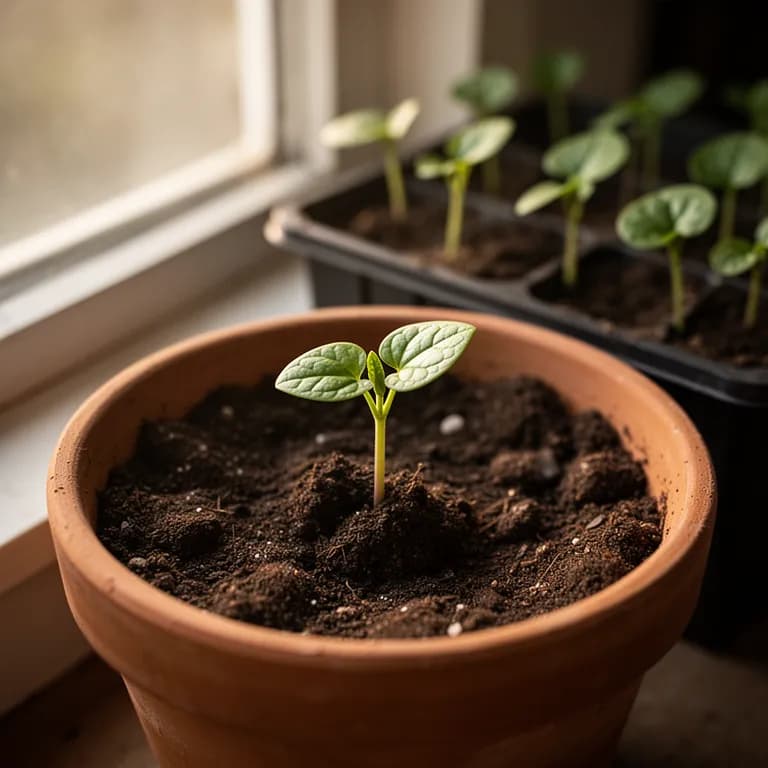
Seeds germinate slowly due to their hard, dark seed coat. After soaking for 24 hours, a white radicle emerges followed by thick, rounded cotyledon leaves. Germination requires consistent warmth of 24-29°C (75-85°F) and takes 10-21 days even with pre-treatment.
Seedling Establishment
Seedlings develop their first true leaves, which are noticeably thicker and more succulent than most vegetable seedlings. Growth is slow in temperatures below 27°C (80°F) but accelerates rapidly once heat arrives. The stem begins to show its characteristic twining habit.
Vine Establishment
The vine begins its rapid climbing phase, seeking support and producing increasingly larger, glossier leaves. Tendrils wrap around any available structure. In ideal heat, vines can grow 15-30 cm per week. The stem thickens and becomes semi-woody at the base.
Active Growth and First Harvest
Vines enter peak vegetative growth, producing abundant large, glossy leaves and branching freely. This is when the first leaves and shoot tips can be harvested. The plant responds to harvesting by producing even more side shoots and leaves.
Peak Production
The vine reaches its full productive capacity during the hottest months, covering trellises with dense, lush foliage. Leaves are produced continuously and can be harvested every few days. Small pink or white flower clusters begin to appear, followed by dark purple berries.
Flowering and Berry Production
As days shorten in late summer, the plant produces more flower spikes and dark purple-black berries. Leaf production slows but continues. The berries are edible but mildly laxative and contain a vivid purple dye. The vine continues until killed by the first frost.
Soak seeds in warm water for 24 hours or scarify with sandpaper before planting. Use a heat mat set to 27°C (80°F) for the most reliable germination. Do not let the growing medium dry out during this slow germination period.
Caring for Malabar Spinach month by month
What to do each month for your Malabar Spinach
October
You are hereFinal harvests in most zones as temperatures drop. Collect ripe purple-black berries for seed saving before frost. In zones 10-12, the vine may continue producing. In cooler zones, harvest all remaining usable leaves before frost.
Know exactly what to do in your garden — every month
One email at the start of each month: what to sow, plant, and tackle right now — for your Malabar Spinach and everything growing around it. Plus a short starter course that helps you dodge the classic mistakes.
- What to do, right now
- Matched to your season
- Starter course included
Harvesting Malabar Spinach
Begin harvesting Malabar spinach leaves and tender shoot tips when vines reach 2-3 feet, typically 55-70 days after planting. Pick individual large leaves or cut 6-inch shoot tips. Regular harvesting every few days encourages branching and increased production. The thick, fleshy leaves are best when young and tender. Avoid harvesting more than one-third of the vine at once. Harvest continues until the first frost kills the tropical vine. The small purple berries are also edible but mildly laxative.
assuming you plant when the window opens — set your real date
Pick Malabar Spinach promptly and the plant keeps producing.
Storage & Preservation
Store fresh Malabar spinach leaves in a plastic bag in the refrigerator for 4-5 days. The thick leaves hold up better than true spinach but should be used relatively quickly. Blanch leaves briefly and freeze for up to 6 months for use in cooked dishes. Malabar spinach can be dehydrated and powdered for adding to smoothies and soups. The mucilaginous quality increases with cooking, making frozen leaves ideal for thickening soups and stews.
What goes wrong — and the fix
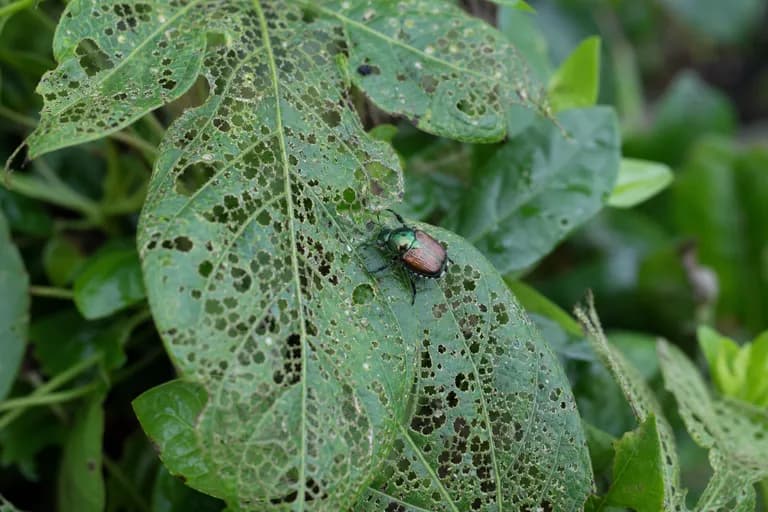
Japanese Beetles
PestSkeletonized leaves with veins remaining, metallic green and bronze beetles visible on foliage.
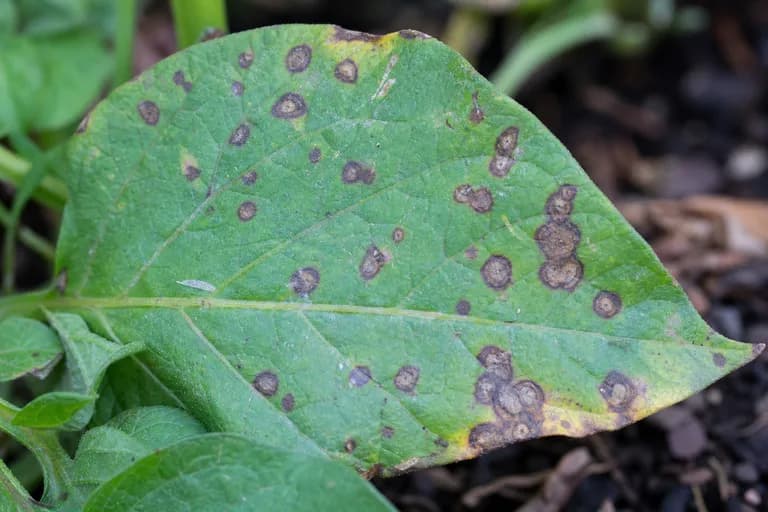
Leaf Spot
DiseaseBrown or dark spots on leaves, spots may have yellow halos, defoliation in severe cases.
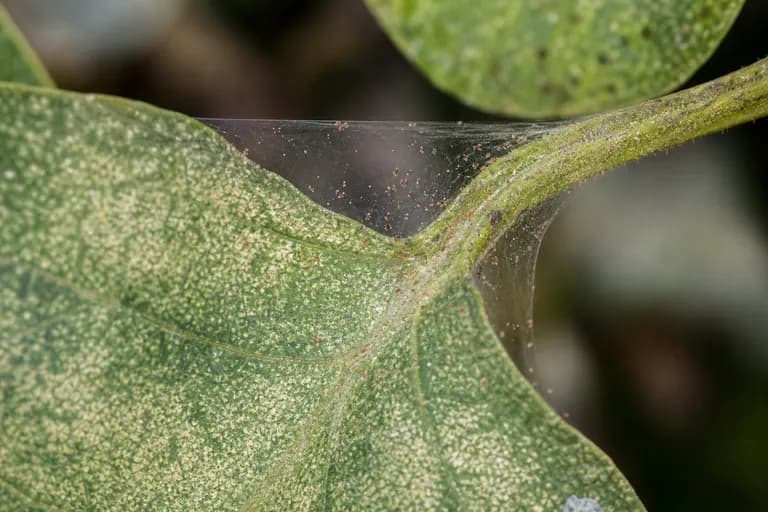
Spider Mites
PestFine stippling on leaves, tiny webbing on undersides, leaves become dry and bronzed.
Troubleshooting Common Problems
Slow growth in cool weather is the main frustration; do not plant until temperatures are consistently warm. The mucilaginous (slimy) texture when cooked is off-putting to some; use in soups and curries where it acts as a thickener. Without adequate support, vines sprawl and become tangled. The plant cannot survive any frost. In short-season climates, starting indoors is essential to get a meaningful harvest. Seeds have hard coats and germinate slowly without pre-soaking.
Growing Tips
- Patience with germination is essential. Malabar spinach seeds are notoriously slow — expect 10-21 days even with pre-soaking. Do not assume seeds have failed and replant too early. The combination of 24-hour warm water soak plus a heat mat at 27°C (80°F) gives the best results.
- Never rush outdoor transplanting. Malabar spinach planted in cool soil will sulk for weeks and may never recover. Wait until nighttime temperatures are reliably above 15°C (60°F) and soil has warmed to at least 18°C (65°F).
- Invest in a strong trellis from the start. Malabar spinach vines are heavy and vigorous, reaching 3-5 meters in a single season. A flimsy support will collapse under the weight of mature vines. Sturdy fencing, heavy-gauge cattle panels, or thick bamboo poles are ideal.
- Harvest frequently and from the top. Picking the growing tips and young leaves every few days forces the vine to produce more side branches, resulting in a bushier, more productive plant with more tender growth overall.
- Provide consistent moisture and high humidity. While Malabar spinach tolerates brief dry spells, leaf production drops noticeably without regular watering. Mulch heavily and water at the base during dry periods. The plant loves humid conditions.
- Grow the red-stemmed variety (Basella rubra) if you want ornamental value alongside food production. The striking purple stems, dark green leaves, and colorful berries make this one of the most attractive edible vines for trellises, arbors, and fences.
- Pinch off flower buds to extend leaf production. Once the plant starts flowering and producing berries, leaf growth slows significantly as energy shifts to reproduction. Delay flowering as long as possible for maximum green harvest.
- In short-season climates, start seeds as early as possible indoors — 8 weeks before last frost is not too early. Every week of indoor head start translates to additional weeks of productive harvest before autumn frost ends the season.
Grow your best Malabar Spinach yet — and everything around it.
Start a free plan today. Lay out your beds, drop in your Malabar Spinach, and let PlotMyGarden handle the timing, spacing, companions and reminders from seed to harvest basket.
Pick your Malabar Spinach
Basella alba
Green-stemmed variety with thick, glossy dark green leaves. Slightly milder flavor than the red type.
Basella rubra
Purple-red stemmed variety with attractive ornamental value. Produces deep purple berries used as natural dye.
Broad Leaf
Selected for extra-large leaves up to 6 inches across. Very productive and vigorous climbing habit.
Malabar spinach seeds cost $2-4 per packet (enough for 10-20 plants), and each vine produces 1.5-3 kg of greens over a season. With specialty Asian greens selling for $4-8 per bunch at farmers markets and Asian grocery stores, just 2-3 plants can easily save $30-60 over a summer. The real value is in providing fresh, heat-tolerant greens during the summer months when store-bought spinach is expensive, wilts quickly, and often comes from distant farms with high food miles.
Quick recipes
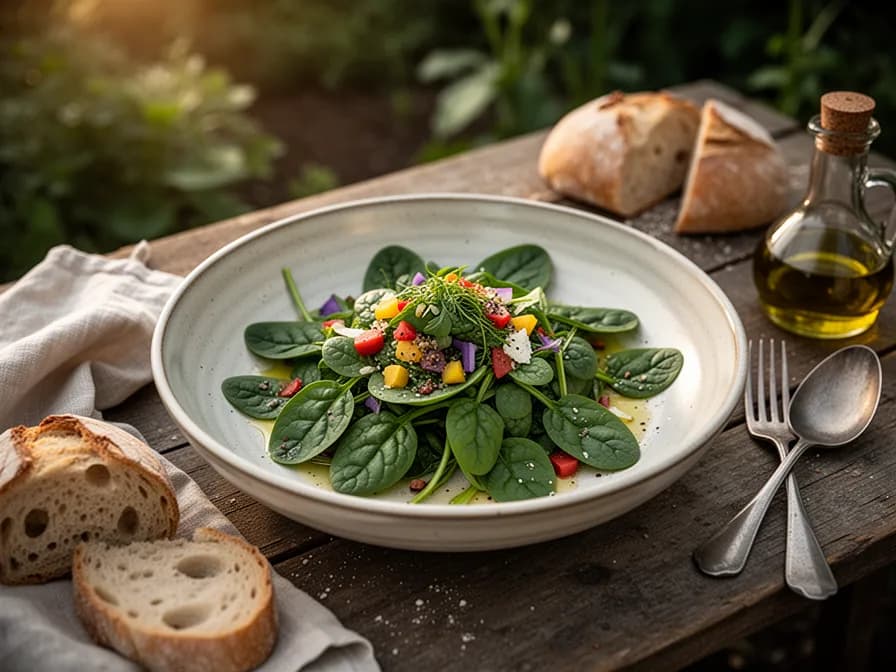
Malabar Spinach and Lentil Dal
35 minA comforting Indian-inspired dal where Malabar spinach's mucilaginous texture melts into a creamy, protein-rich lentil stew. The thick leaves hold up beautifully in the simmering broth and add a silky body to the dish.
10 ingredientsGarlic Stir-Fried Malabar Spinach
10 minThe quickest and most popular way to prepare Malabar spinach across Southeast Asia — high-heat stir-frying with garlic keeps the leaves tender while minimizing the mucilaginous texture. Ready in minutes for a vibrant, nutritious side dish.
7 ingredientsMalabar Spinach and Coconut Soup
25 minA silky, vibrant green soup inspired by Filipino and Sri Lankan traditions. The natural mucilage of Malabar spinach creates a luxuriously smooth texture without any added thickener, and the coconut milk adds richness.
8 ingredientsCulinary Uses
Malabar spinach is excellent in soups, stews, and curries where its mucilaginous texture acts as a natural thickener. Stir-fry young leaves with garlic and chili. Use raw in salads when young and tender (before mucilage develops). Popular in Indian, Filipino, and Southeast Asian cuisines. Substitute for spinach in cooked dishes. The thick leaves hold up well in long-cooked preparations. The purple berries can be used as natural food coloring.
What's inside
Health Benefits
- Exceptionally high in vitamin A (160% DV per 100g), supporting healthy vision, immune function, and skin cell renewal — one of the richest plant sources of beta-carotene among leafy greens.
- Outstanding vitamin C content (113% DV per 100g) that far exceeds true spinach, boosting immune defense, enhancing iron absorption from plant foods, and supporting collagen production.
- Provides more bioavailable calcium than true spinach because Malabar spinach contains significantly less oxalic acid — the compound in regular spinach that binds calcium and prevents absorption.
- The mucilaginous fiber in Malabar spinach soothes the digestive tract lining, may help reduce inflammation in the gut, and acts as a prebiotic to support beneficial gut bacteria.
- Contains iron, magnesium, and manganese that support energy metabolism, oxygen transport in the blood, and enzymatic reactions throughout the body.
- Very low calorie density (19 calories per 100g) combined with high water content makes Malabar spinach an excellent food for weight management while still delivering concentrated nutrition.
Where Malabar Spinach comes from
Malabar spinach (Basella alba and Basella rubra) is native to tropical South and Southeast Asia, with its center of origin believed to be the Indian subcontinent, particularly the Malabar Coast of southwestern India — the region that gives the plant its common English name. Archaeological and historical evidence suggests that Malabar spinach has been cultivated in India for at least 2,000 years, where it remains one of the most important leafy greens in tropical and subtropical regions. The plant spread eastward along ancient trade routes to China, where it has been cultivated since at least the 4th century and is recorded in early Chinese agricultural texts as a valued summer green.
From South Asia, Malabar spinach traveled throughout Southeast Asia — to the Philippines, Indonesia, Malaysia, Vietnam, and Thailand — where it became deeply integrated into local cuisines and traditional medicine systems. Portuguese and Spanish colonial traders introduced the plant to tropical Africa and the Americas during the 16th and 17th centuries. In Africa, it found a welcoming climate and was quickly adopted into local food systems, particularly in West and East Africa where it is now a commercially important leafy vegetable.
Today, Malabar spinach is cultivated throughout the tropics and warm subtropics worldwide, from India and China (the largest producers) to the Caribbean, Central America, and the southeastern United States. It has gained renewed interest among temperate-zone gardeners as a heat-tolerant summer green that fills the gap when true spinach, lettuce, and other cool-season greens have bolted. The red-stemmed variety (Basella rubra) has also found a niche as an ornamental edible vine, valued for its attractive purple stems, glossy leaves, and colorful berries that add visual interest to trellises and arbors while providing a continuous supply of nutritious greens.
Malabar Spinach: did you know?
Fascinating facts about Malabar Spinach
Malabar spinach is not actually related to true spinach (Spinacia oleracea) at all — it belongs to the family Basellaceae and is more closely related to the ornamental Madeira vine. The common name is simply a nod to its spinach-like use in the kitchen.
Malabar Spinach questions, answered
When should I plant Malabar Spinach?
What are good companion plants for Malabar Spinach?
What hardiness zones can Malabar Spinach grow in?
How much sun does Malabar Spinach need?
How far apart should I space Malabar Spinach?
What pests and diseases affect Malabar Spinach?
How do I store Malabar Spinach after harvest?
What are the best Malabar Spinach varieties to grow?
What soil does Malabar Spinach need?
Why is my Malabar spinach growing so slowly?
Is Malabar spinach slimy, and how do I deal with the texture?
Can I grow Malabar spinach in a container?
Is Malabar spinach a good substitute for regular spinach?
Will Malabar spinach come back next year?
Are the purple berries of Malabar spinach edible?
You just read the theory. Now grow it on autopilot.
Everything that makes Malabar Spinach fiddly — the timing, the spacing, the companions, the harvest window — is exactly what PlotMyGarden handles for you, for every plant in your garden.
A plan that knows your weather
Set your location once. Get sow, feed and harvest dates built around your real last-frost date and live forecast — no more guessing from a generic seed packet.
From the “When to plant” sectionDrag-and-drop bed planner
Design beds on a grid. Every plant snaps to its proper spacing, and you can see your whole season laid out before you spend a cent on seed.
From the “Growing guide” sectionCompanion conflicts, caught early
200+ good-and-bad pairings checked live as you plant — so a season-wrecking mistake never makes it into the ground.
From the “Companions” sectionReminders you'll actually act on
“Water the beans.” “Pick today before it turns.” Timely, specific, and tied to the plants you're really growing.
From the “Harvest” sectionSuccession, scheduled
Want a harvest for six weeks, not six days? It spaces your sowings automatically and reminds you when each new block is due.
From the “When to plant” sectionA record that gets smarter
Every harvest you log teaches it your garden. Next year's plan starts from what actually worked in your soil, not a textbook's.
From the “Overview” sectionPlant these alongside Malabar Spinach
More Leafy Greens
Garden plans featuring Malabar Spinach
Grow your best Malabar Spinach yet — and everything around it.
Start a free plan today. Lay out your beds, drop in your Malabar Spinach, and let PlotMyGarden handle the timing, spacing, companions and reminders from seed to harvest basket.